


Originally posted by Phantom
View Post
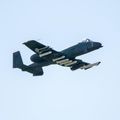
That fan is a 64mm right? Mine is using a 50mm,
the fan location is right at the flap leading edge

 Looks amazing, Congrats on the Check Flight, Sir. Ya got skills. Best, LB


Comment