


Originally posted by paulrkytek
View Post
-
I don't think you'll get that much thrust installed. More like 3.8 - 4kg, I would think.
-
perhaps you are right kallend but on the principal that one of these has more than enough power in my Hawk and F16 which weigh 2 to 2.1kg each I figure I will have enough power for the SU35 and that will be fine by me. I dont need a rocket ship just a good margin of power if I need it.Comment
-
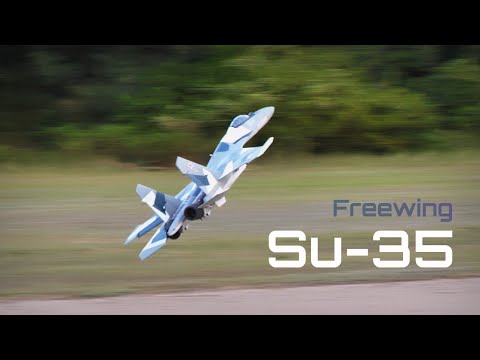
Checkout my Thrust Vector flatspin! 3rd flight for me on the SU35
Comment
-
Will do JohnVH, thats 11pm over here in the uk just in time for supper !!!Comment
-
Oh man, late one! Ill still be at work, shhhh. haha :DOriginally posted by paulrkytek View PostComment
-
Has anybody taken the TV Servos/linkages off to save weight what all needs to be done to the cones?Comment
-
That's 3 little servos. They don't weigh much. I don't see the point. If you change to a different brand of battery, you are adding or subtracting much more weight than those servos.Originally posted by Turbo5efhe View Post
If you do remove the servos, you need to find a way to set the nozzles in the correct neutral position and lock them in place.Comment
-
Yeah, I would advise against it if only for the fact that nailing your thrustline is hard, and if you mess up you will kill your jet.
Know of someone that glued his nozzles in straight and now he struggles with a jet that doesn't fly well because of that.
Love to hear maiden went well and I was of help! :)Originally posted by N4Speed View Post
Now time to enjoy the jet! :D
Whoa.Originally posted by N4Speed View Post
I like that Lambo!

Comment
-
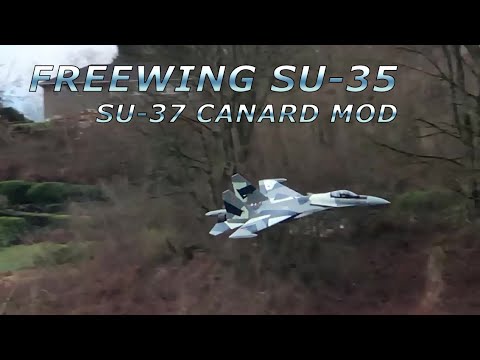
Thanks to the MRC team for sharing my SU-37 flight on today's video (I go by ShadowVFX on Youtube). I have been dragging my feet on putting together a build log for what I did, but it motivated me to get one made and share it with everyone. Right now the 3D print files aren't shared.The STL files for this conversion are available on my Thingiverse page (link below). I suggest you read through this entire build log before beginning the conversion process.
Freewing SU-35 to SU-37 Conversion Mod on Thingiverse
It took many hours of iteration and design work to make this conversion mod. If you like my designs and find this guide helpful, a tip would be appreciated. Tips can be sent to:
Regarding the SU-37 Mod:
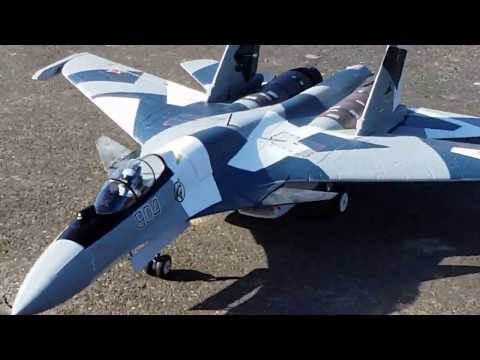
I made this conversion a few months ago and have been having a blast with the plane ever since. I thought it would be a good idea to put together a short build blog showing the process and steps I went through to create my SU-37.
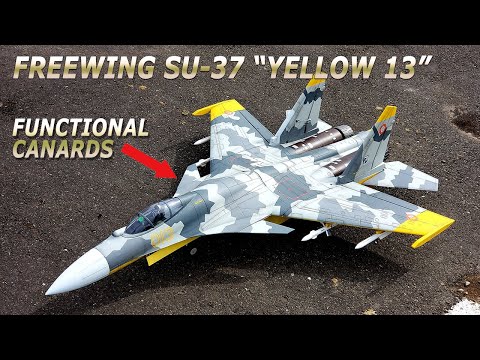

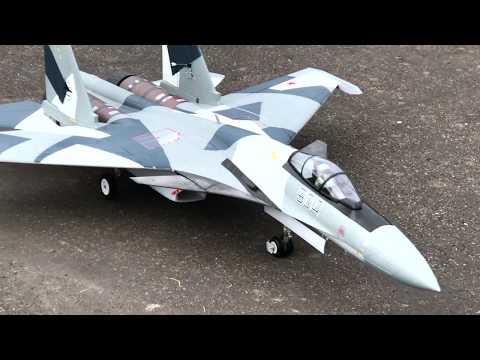
The desire to convert my SU-35 into the Terminator is because of a video game called Ace Combat 04. In that game, the main antagonist goes by the callsign "Yellow 13" and flies an SU-37. Ever since I played that game (which came out in the mid 2000s), I've had a strong desire to recreate this plane in RC form. That is what spawned this project and why the plane has the paint scheme it does.
When I began my conversion, I looked online to see if this had been done already. I saw that dusmmdb34 did a conversion on his SU-35 a few years back. His thread is linked below. His conversion used spare pieces of foam and spackle to create static canards. I knew from experience on a small pusher SU-37 I owned that static canards would not adversely affect the plane much (if at all) and would be a relatively simple mod to do. However, if I was going to do this mod, I was going to do it right - Moving canards or bust!
https://www.rcgroups.com/forums/show...ersion-to-SU37
I took a look at the Freewing EF-2000 Typhoon and borrowed a few ideas from that setup. The rest was trial and error design work. For this mod I needed to design 3 major parts:
1) The canard control surfaces
2) The fuselage extensions
3) Mounting and control hardware
I began by designing the fuselage extensions and canards in SketchUp. Using some blueprints of the real plane and some as-built measurements from the model, I designed the 1st fuselage test piece and fit it onto the plane - It fit very well. This was a great start. However, I then spent countless hours tweaking the design, going through multiple iterations. And, believe it or not, none of the changes were better than that original v1 design. Eventually I just went back to the v1 design, made a few tweaks and ran with it.

After I was happy with the fit and location of the fuselage extensions, I took a hollow brass tube and "drilled" out the foam to allow a path for the canard's spar to pass through unobstructed.


On each canard I added a set screw hole on the bottom and a hollow recess where I could insert a carbon fiber shaft and plate. I used a carbon fiber spar and glued it into the canards with a flat plate slotted into the CF spar. I did this so that there was a good amount of surface area in contact with the canard itself. I didn't want the shaft slipping inside the canard.

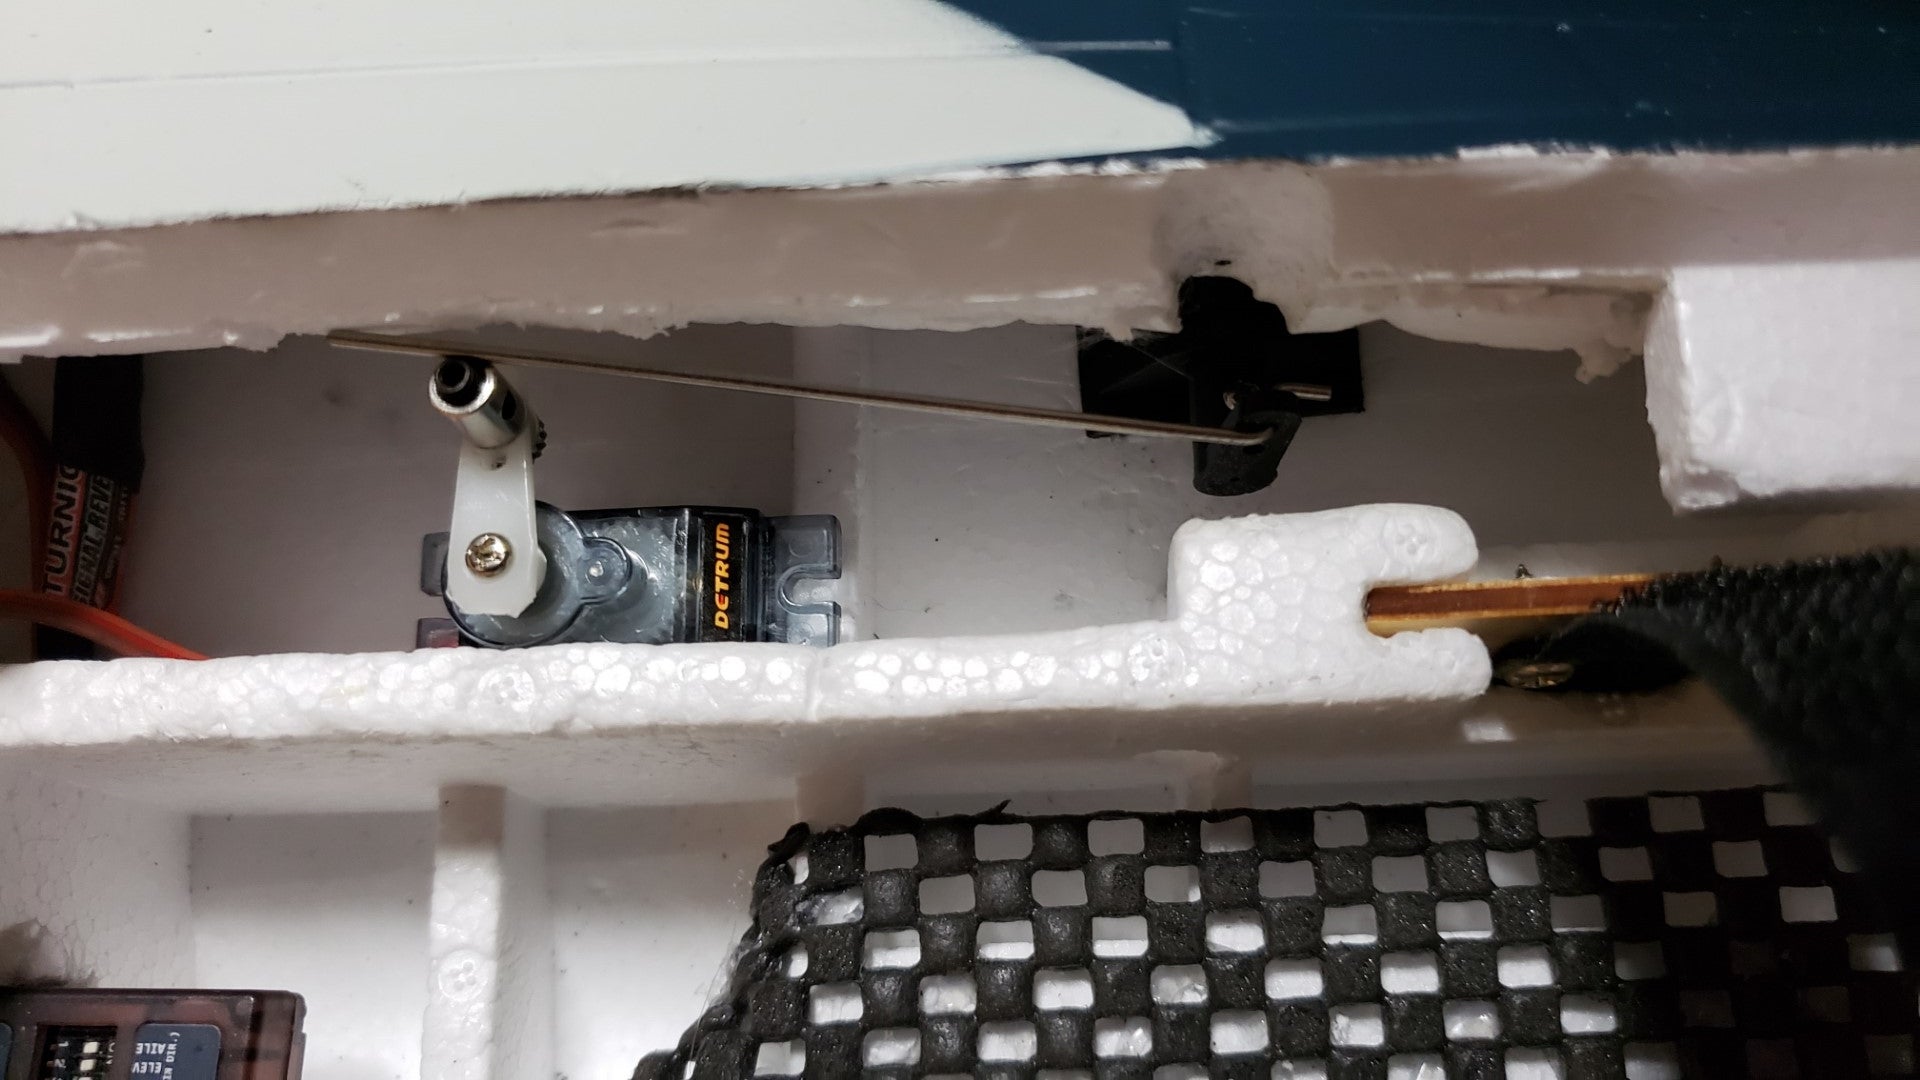
Lastly was the control hardware in the plane. It was important to test fit everything multiple times before gluing stuff down. I secured the fuselage extensions to the body of the plane, then took my canards (with the CF shafts sticking out of them) and put them in place - making sure the CF spars had enough length to go through the extensions and the foam fuselage and still have enough length to work with. I then taped the canards to the extensions to "lock" everything in place where I wanted them. I then moved to the inside of the plane.
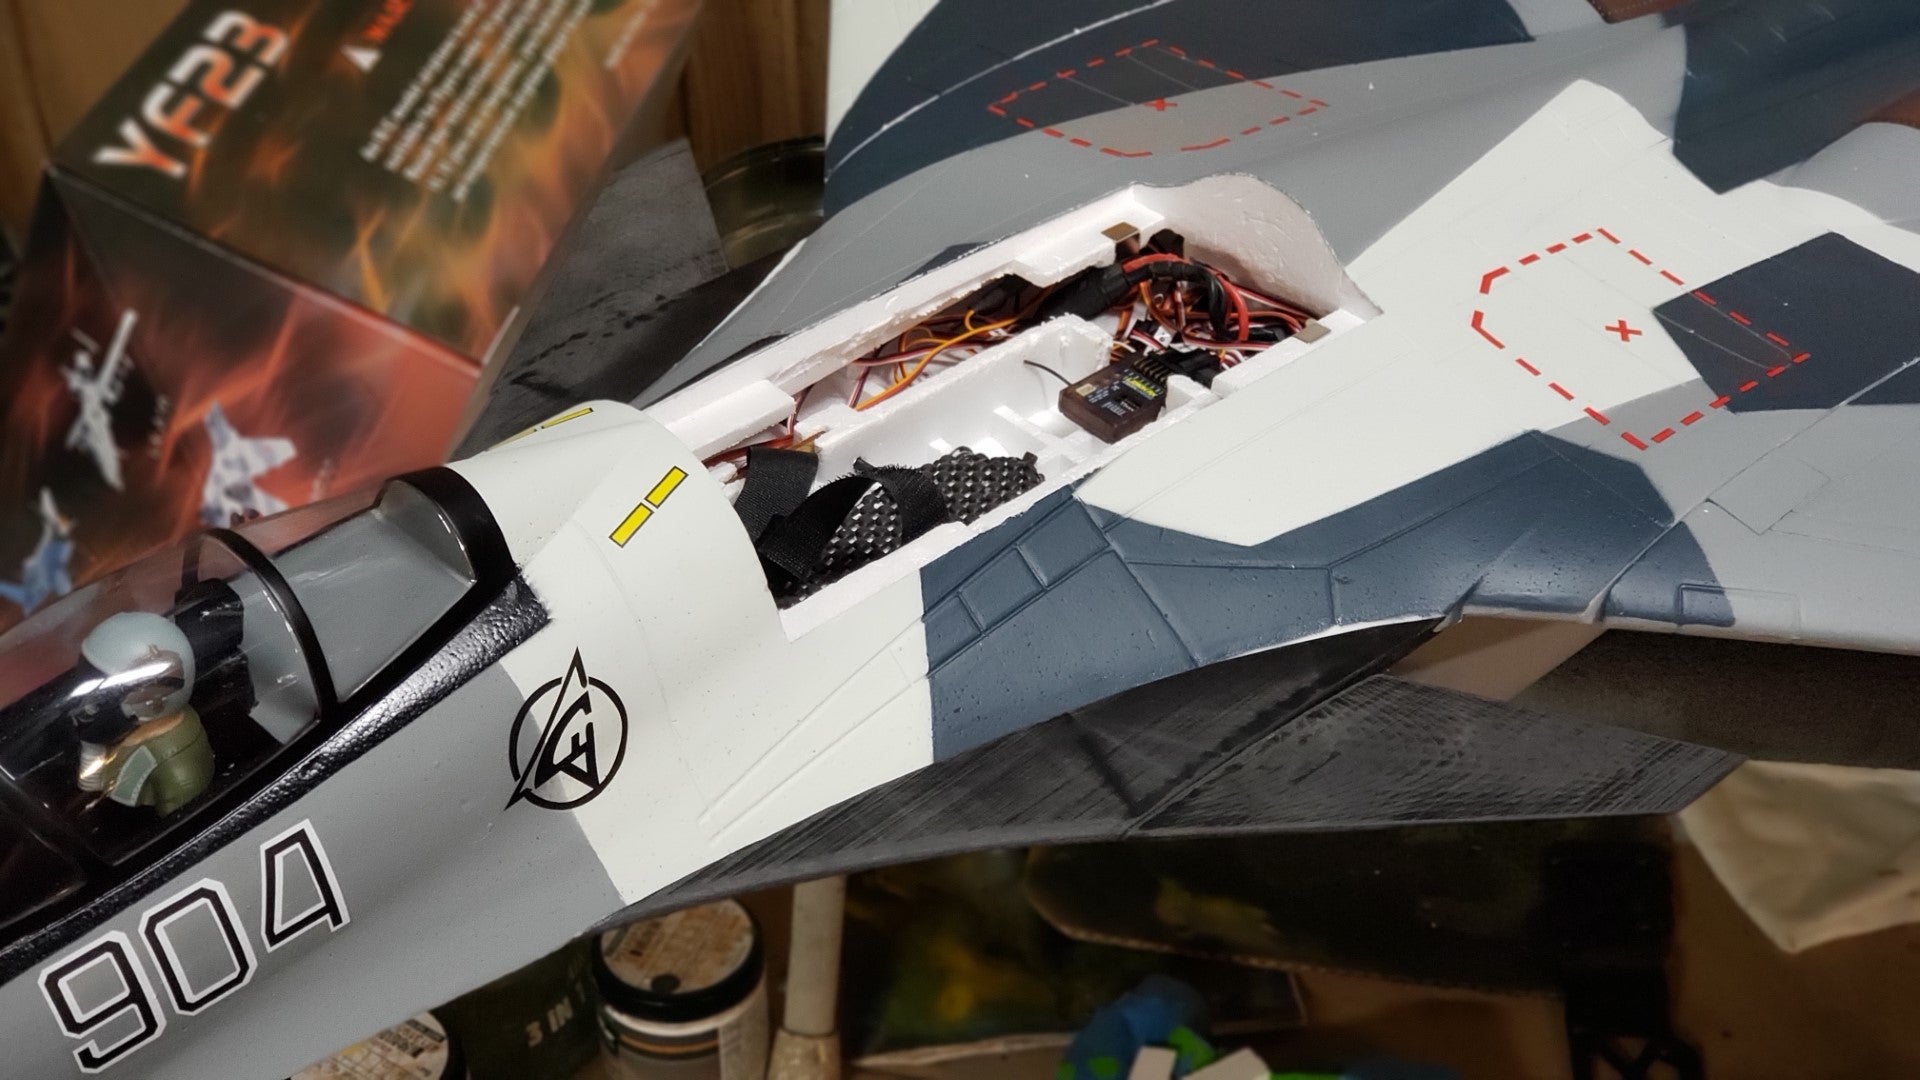
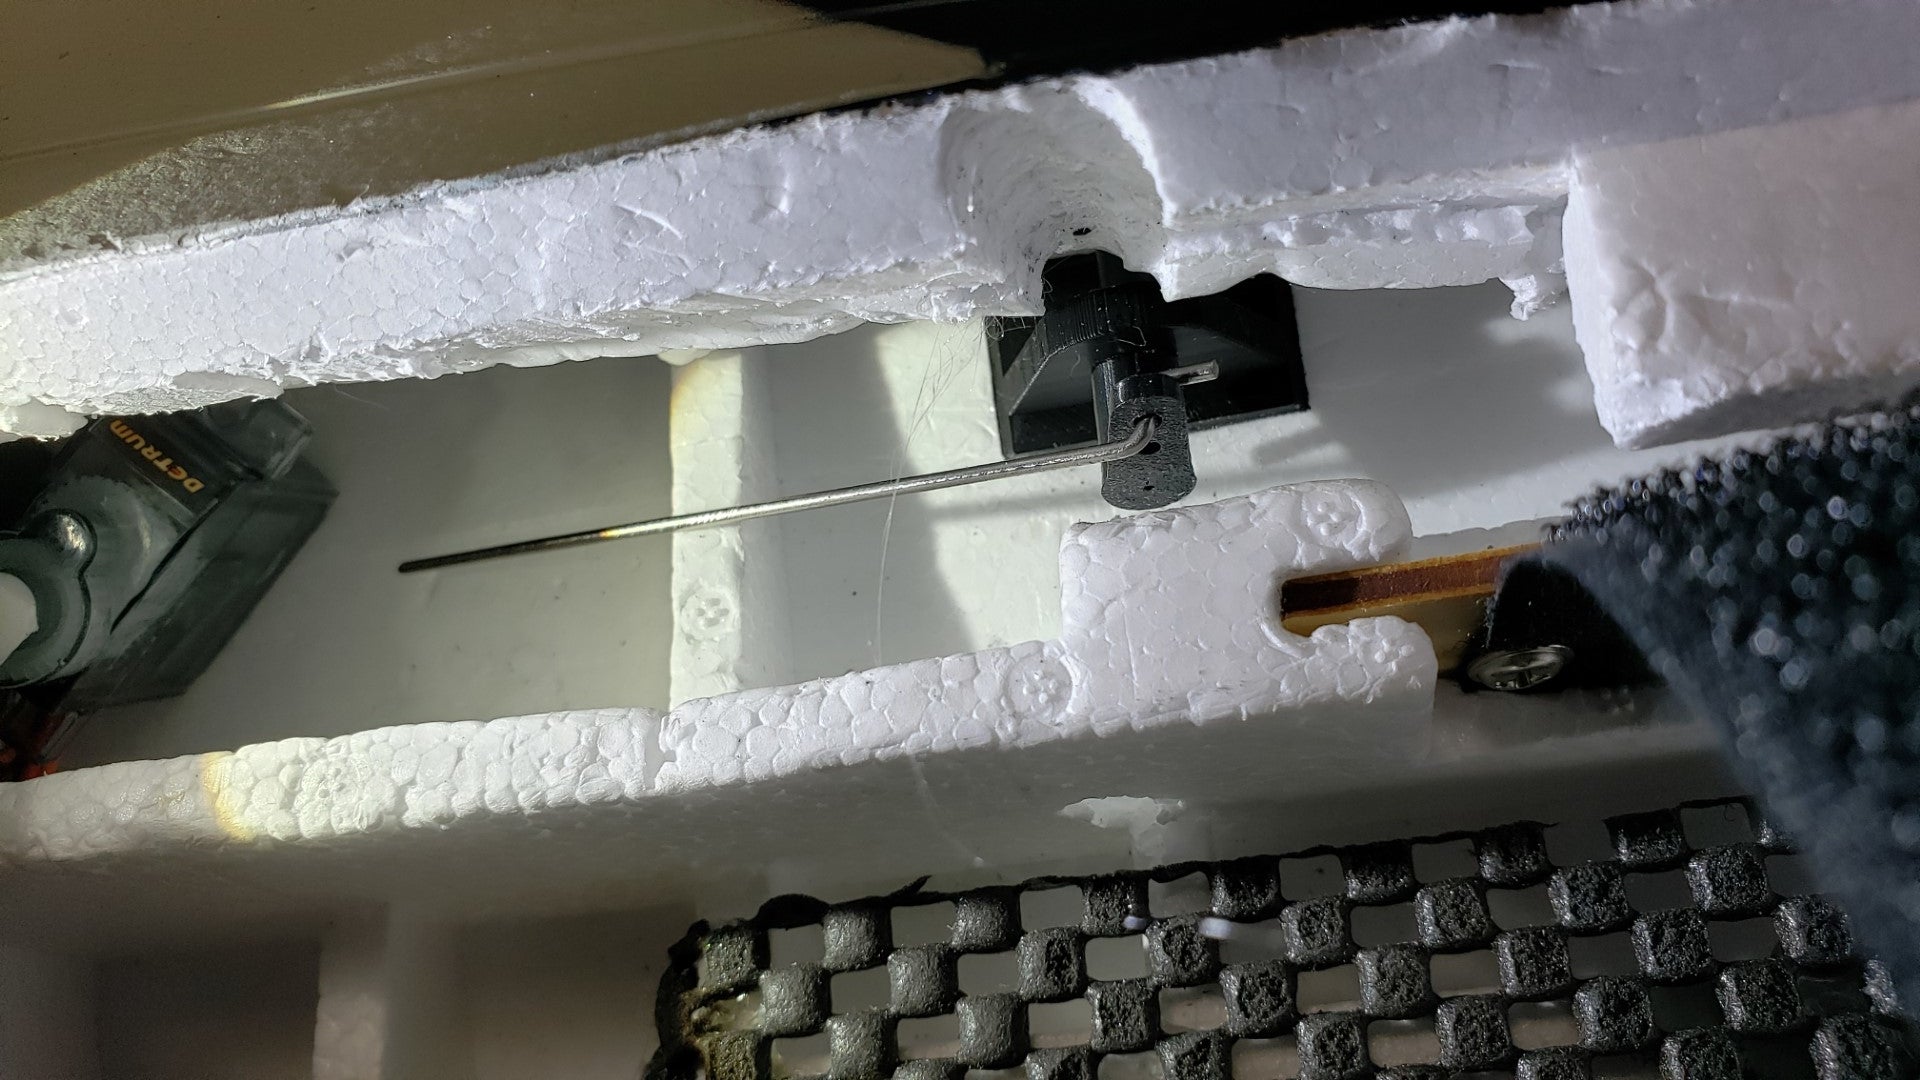
Luckily, the control rods and hardware are all accessible from the battery hatch area. I 3D printed some parts that were needed to make the canards function correctly. One item is the eyelet anchor. This part keeps the canard control rod in-place to prevent it from moving up and down and also keeps it from getting loose. Once I threaded the canard spar through the eyelet, I attached a 3D printed control arm (like a servo arm). This can be attached with a set screw, but I also glued mine in to be safe. the goal is to have the base of the control arm resting against the eyelet anchor. This makes sure that the canards stay snug against the fuselage and don't slide away, causing a gap. once everything seems to be setup correctly, I got out my glue and fixed everything in place where it belongs. I cannot emphasize this enough: Double, Triple and Quadruple check that everything is where it should be and that there's no binding of the controls BEFORE gluing stuff down. Once it is in place, it'll be a pain to remove or adjust.
Here's a breakout view of how the 3D parts should go together.
Now you should almost be done. All that is left is to add two servos and affix some control rod to the canard control horns. You can see how I placed my servos in the photos/videos. You can put them wherever you want, but I found this place to work best.
The seams between the 3D parts and the original fuselage were very small. The fit went together really well. However, it still looks nice to take some spackle and flush out the gap and make it smooth. I did this in two coats and it turned out great.
The last thing to do is setup the canards and go fly. Some advice: put your canards on a switch so you can turn them on/off at will. I now fly with mine always-on, but for the first flight, you might want to fly with them "static" and off.
Also note that I found the CG of my model and it's slow-speed behavior changed a lot. The canards up front generate much more lift in front of the CG. My first few flights I did not adjust for this CG shift and the plane behaved a bit odd. It wasn't uncontrollable or anything, but when the speed got slow, the plane would pitch up dramatically instead of nosing down (like most planes do when they get slow). Because of this, I found I needed to add some nose weight to my model to make it behave a little better. Obviously, every pilot has their own preferences and if you want hyper-maneuverability, then by all means, I recommend leaving the CG as you had it (when it was an SU-35). Just be ready to push the nose DOWN when coming in for a landing.
Comment
-
great skill, time and effort which has been rewarded for the benefit of us all.. Great videos SukoComment
-
Maiden flight on my SU35 yesterday went well from our grass field, 1/2 flaps, 3/4 throttle gradually applied , smooth take off and climb out into left turn,, gear up, flaps up, half throttle to level flight, no trimming required, did a few circuits couple of loops and rolls, 1/4 throttle pass, dirty pass with full flaps, reduced power for final, floats on in, one small bounce on the landing, just a little fast on this first flight, will get it on the next one, just need to put in stronger spring on the front oleo ( Its not a Freewing front leg ) and better elevator servos ( again I did not use not freewing originals but othe ones I chose are ok with 3kg torque but a bit notchy so I am trying the Turnigy DMC809 19.5gm 3.8kgf .07 sec digital metal gear ball bearing servos . Flight time was 3.5 mins on Turnigy 5000mah 60 c heavy duty lipo 30% left. Power system 2 number 70mm FMS 3060 1900kv inrunners, 2 Hobbywing skywalker 80amp esc, ztw 6 to 10 amp bec with 500mah 2s lipo, cg 160mm back from the book wing joint picture in the manual. Thrust vectoring switched off for maiden and probably will remain off for my first 6 flights until I am happy with everything. Thrust vectoring nozzles set with 2mm gap on underside as per Air Guardian video. Plenty of power , very happy so far. Thanks to Air Guardian for the build video and the slow mo 180hd flight video which gave good indication of control movementsComment
-
Congrats on the maiden, glad to be useful! :)Comment
-
Having fun! :p

Comment
-
New air-ballet video :p
Comment
-
Indeed- couldn't have said it better!! Wonderful work Suko- the modifications, the testing, the videos. Well done man!Originally posted by paulrkytek View Post
TomComment
-
My maiden flight was last week, went well until landing... Had a bad depth perception (also known as brainfart) and missed the runway by one metre
Spent a few hours fixing and reinforcing the front nose gear even more and flew six packs yesterday. This airplane is amazing! Have started doing some TV-manoeuvres and looking forward to next couple of flights. I would not be so confident in the setup and enhancements made to the SU if not for this thread and mostly the build video made by Airguardian , thank you! If it survives until winter, I will drop in the FMS motors to hopefully be able to power out of some post stall stuff.
Comment
-
Great news!
Enjoy it! :D
I am looking forward to hear reports of anyone trying the 1900kv FMS fan combo on the Su-35. Everyone keeps telling me about it but I have seen no one doing it yet, and giving numbers/flight videos of how it performs. I am already invested into other setups so I won't be changing anytime soon but I keep an eye open for what others find out ;)Comment
-
Here's a no music version of a video I made recently ;)
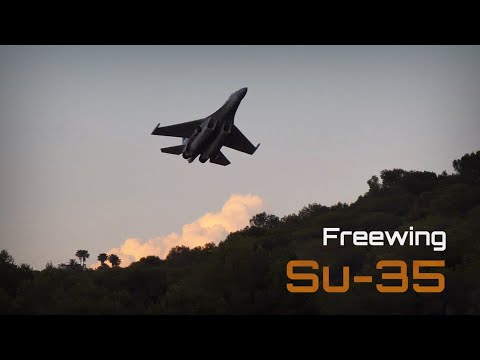
High-alpha focused flights! ;)
Comment
-
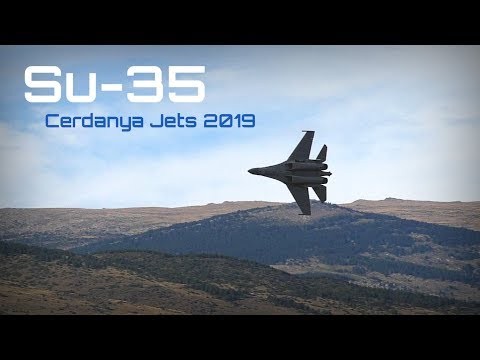
Another video published... this one is from a jet event back in fall of 2019:

I had some music/slowmo edits of that, too

Comment
-
I was able to get a successful maiden today. ~160mm CG point and stock servo control layout (no tailerons yet). VT was enabled and was a bit pitch sensitive even on low rates.
Flight #2 I configured the TV on a switch and could definitely notice the extra input needed to rotate from the runway without TV. Still pitch sensitive, but after enabling the Eagle A3 gyro it was more docile. I did encounter a scary few moments when I was flying pretty level when I lost signal for maybe 5 seconds. I regained control and I begin bringing the plane back, but the controls felt intermittent and I thought I was going to lose the plane at one point from 3 brief periods of signal loss. I have a capacitor installed, a satellite, and the antennas are 90 degrees apart so not sure what went wrong. I cut my flying day short and packed up.
I may pull out the admiral receiver and replace it with a Lemon, which I have been flying with no issues the past 3 years. both flights were ~30-50% throttle the whole flight and came down with 50-56% capacity remaining.Comment


Comment