


https://www.ebay.com/itm/LED-Chip-COB-1W-3W-5W-PCB-SMD-Bead-RGB-White-Warm-Blue-Green-Red-High-Power-Lamp/164603004866
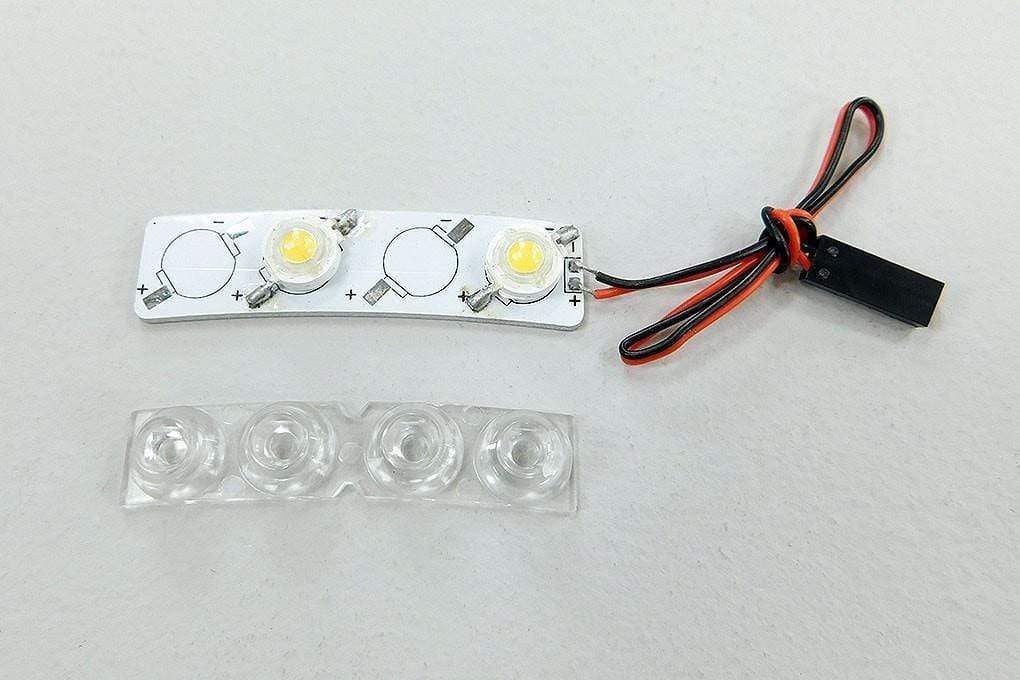
Rob, great to read your face, again. Your corsair is a beauty, Sir. As for your LED, check the output voltage. If it is 3-3.5v, any of the Chip-on-Board (COB) LEDs should work fine.
If it's 5v, I have not sourced those, but you could add a small resistor to a 3v.LED. Get 5 watt LEDs if available, those are brighter in my experience.
Also, if it's 5v at the wingtip and you cannot source the correct LEDs, you could get the white landing light set from any Freewing model, then you use transparent green (Tamiya: x-25 Clear Green acrylic) on the inside of the wing tip lens.
Best, Steve
Originally posted by RCAV8R
View Post
Your corsair is a beauty, Sir. As for your LED, check the output voltage. If it is 3-3.5v, any of the Chip-on-Board (COB) LEDs should work fine.If it's 5v, I have not sourced those, but you could add a small resistor to a 3v.LED. Get 5 watt LEDs if available, those are brighter in my experience.
Also, if it's 5v at the wingtip and you cannot source the correct LEDs, you could get the white landing light set from any Freewing model, then you use transparent green (Tamiya: x-25 Clear Green acrylic) on the inside of the wing tip lens.
Best, Steve


 Back on the flight line!
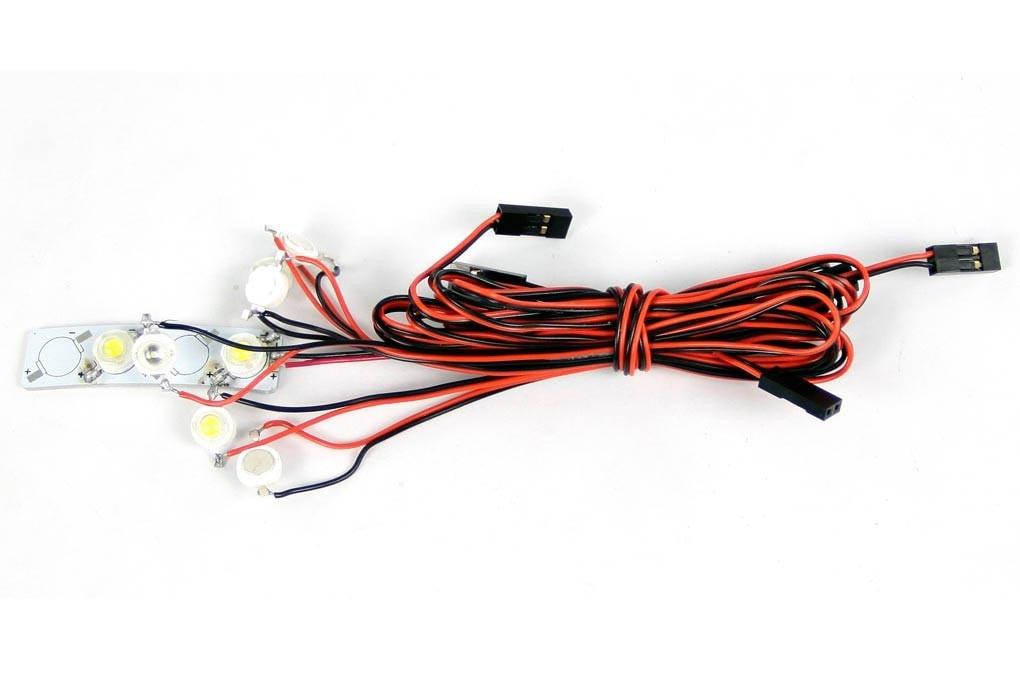


Comment