
1/10 Scale 3D Printed Lippisch P.13a (600mm Wingspan, 50mm EDF)

Collapse
X
Collapse
First Prev Next Last
 
  • Time
  • Show
Clear All
new posts
  • Dirty Dee
    Member

    • Dec 2016
    • 768
    • Northern Illinois
    • Send PM

    #1

    1/10 Scale 3D Printed Lippisch P.13a (600mm Wingspan, 50mm EDF)

    I recently completed another 3D printed project based on the Lippisch P.13a. It's a belly lander powered by a 4S 50mm EDF setup.

    For those with a 3D printer, I have the files available to download here:
    https://cults3d.com/en/3d-model/game...600mm-wingspan

    I'm currently looking over some liveries and hope to have it painted in a few weeks


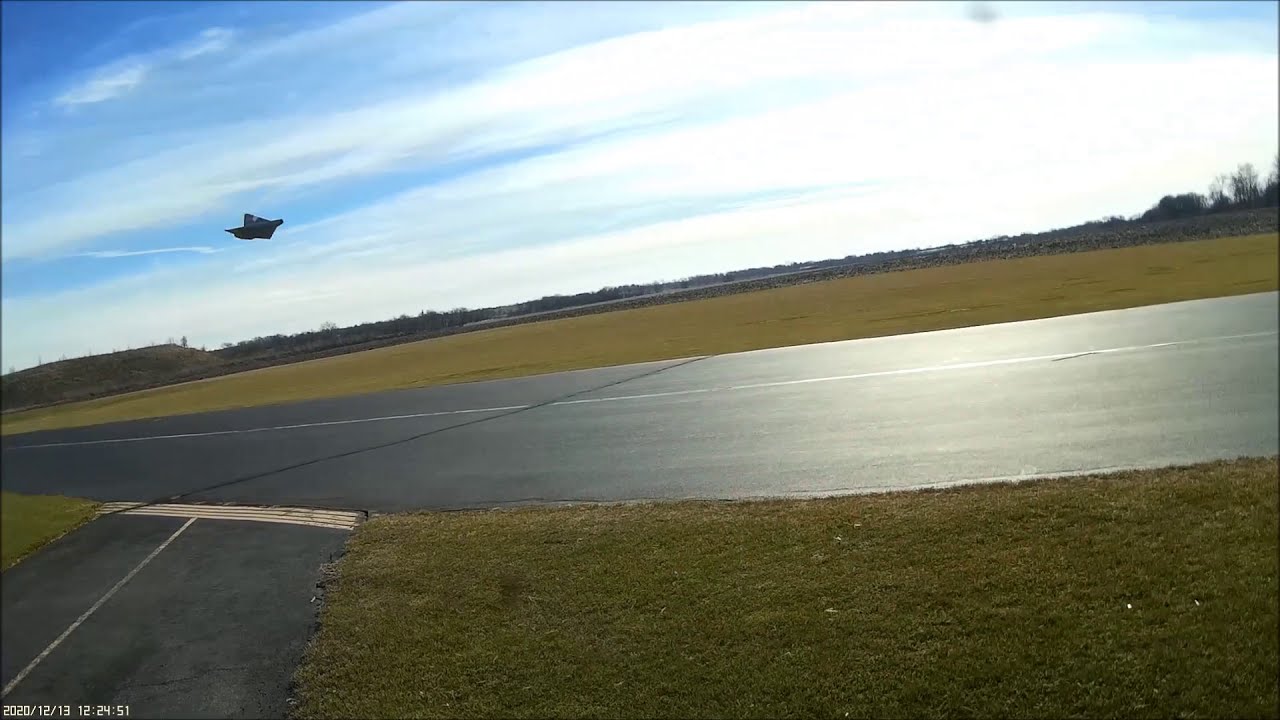
    Flight video from the past weekend. 1000mAH pack was a bit overworked due to the cold, and likely a bit undersized too. I have 1300mAH packs I will be using instead, and should get closer to 3 minute flight times.
  • James
    Administrator

    • Aug 2017
    • 1543
    • Send PM

    #2
    Really cool design Dirty Dee. looks like she flies nice!

    Comment

    • Dirty Dee
      Member

      • Dec 2016
      • 768
      • Northern Illinois
      • Send PM

      #3
      Thanks! Its definitely an interesting looking plane, but its a fun flier

      Comment

      • Dirty Dee
        Member

        • Dec 2016
        • 768
        • Northern Illinois
        • Send PM

        #4
        I designed a quick instrument panel and cockpit, and got the base colors applied. Awaiting vinyl graphics from Red5 Designs

        Comment

        • Gilatrout
          RC Pilot Addict

          • Dec 2016
          • 806
          • Albuquerque NM
          • Send PM

          #5
          Originally posted by Dirty Dee
          I recently completed another 3D printed project based on the Lippisch P.13a. It's a belly lander powered by a 4S 50mm EDF setup.

          For those with a 3D printer, I have the files available to download here:
          https://cults3d.com/en/3d-model/game...600mm-wingspan

          I'm currently looking over some liveries and hope to have it painted in a few weeks


          Flight video from the past weekend. 1000mAH pack was a bit overworked due to the cold, and likely a bit undersized too. I have 1300mAH packs I will be using instead, and should get closer to 3 minute flight times.

          I'd like to know more about your bungee launcher.

          Comment

          • Dirty Dee
            Member

            • Dec 2016
            • 768
            • Northern Illinois
            • Send PM

            #6
            Originally posted by Gilatrout

            I'd like to know more about your bungee launcher.
            I printed this foot pedal release:
            I've never been very good at hand launching except on flying wings, so whenever possible I bungee launch, plus I think it looks cool to do so. In case it comes up, this launcher was not inspired by the laser cut launcher on Thingiverse, although they are somewhat similar. I had never even seen it until I did a search for Bungee before posting mine. I'll give the launcher it's due though, https://www.thingiverse.com/thing:2759891, since it looks to be a well designed launcher for those with access to a laser cutter. I use my launcher with electric planes, which don't have the motor running while being launched. I have used it with pusher and tractor setups. I printed the one pictured here on a Solidoodle Workbench with 12" build surface. Not everyone has the luxury of this large of a printer, so I also included the Launcher base in two parts, which can be glued together with medium or thick CA. The pedal, as well as the remaining parts, should fit on an 8" print bed ok. I made two hook mounts, the short one can be used generically and the other longer mount should do better in foam. I printed the hook and mount with PETG, but PLA or ABS shouldn't be a problem. The main thing is for the hook and mount to be solid. Something with that much pressure on it is not where you want to skimp on plastic. I printed my Red safety cap with TPU, so that it will press fit snugly onto the retaining bolt. I would recommend not to skip using the safety cap. I learned the hard way that I needed one while placing a plane on the Bungee ring. I lifted the ring up slightly to put the hook in and the retainer ring slipped off of the bolt and rapped me right in the knuckle. Very painful. Everything else can be printed at 50% infill or more. Here is the link for the Blue bungee cord https://hobbyking.com/en_us/hobbykingr-8mm-silicon-rubber-bungee-hi-start-cord.html?___store=en_us and bungee kit, which includes the metal stake and rings https://hobbyking.com/en_us/lightweight-bungee-kit-9-5m.html?___store=en_us. Alternatively, a plastic tent stake from a hardware store should work equally as well and the rings, which are basically keychain rings, can be found at craft stores. The two steel spikes used to hold the launcher base to the ground and the one 1-1/2" long and two 1/2" long #8 or 5/32" machine screws are available at any hardware store or home improvement store. https://youtu.be/Bow5V5VPCXk


            bungee is configured so the tension is held by the pedal, and not on the plane.

            Comment

            • Dirty Dee
              Member

              • Dec 2016
              • 768
              • Northern Illinois
              • Send PM

              #7
              Added the decals

              Comment

              Working...