


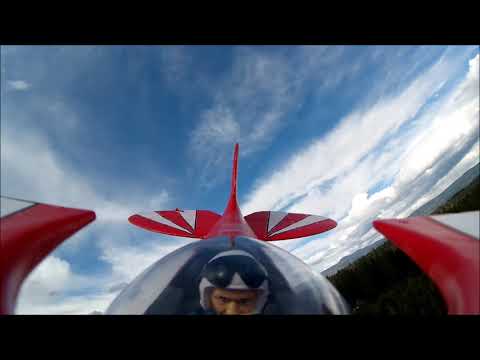
I recently had the opportunity to assemble the new E-Flite Pitts S-S Special. I've always loved the Pitts, both as a model and the full size. In fact it one of my all-time favorite aircraft. I know it's very dated by today's standards of aerobatic aircraft, but it does have that something SPECIAL.
The quality of the E-Flite model is excellent and I couldn't fault the quality of the finish on the foam. The manufacturers seem to put more work into the models and leaving less for the pilot/ builder to do, and this is evident by the number of parts count in the box. This little model can be littery ready to fly in a matter of minutes. However, I did encounter a small problem, nothing I couldn't overcome, but a problem none the less. The bottom wing is mounted to the fuselage and is held in place with spring clips, the sort of thing that is used to secure RC car bodies to the chassis. The interplane struts are held in place to the wings with a pin about 2" long, one at the top and another at the bottom. The strut fits over two mounting points on the top surface of the bottom wing and the bottom surface of the top wing. The pin slides through a small hole in the front of the strut and through the holes in the mounting points on the wing. The problem I encountered was that none of the holes lined up. I Drilled out the holes in the mounting points and the strut and everything fitted together correctly. The top wing is secured in exactly the same way as the bottom wing, and again I had to drill out the mounting point so the pin would slide into place. I used a 1/16" drill. I have informed Horizon Hobby of the issue.
Thin strips of carbon fiber rod are supplied to use a dummy flying wires and these are secured in place with a spot of CA. Please note, if you fit the flying wires you will not be able to remove the wings.
The Horizontal stabilizer is glued to the fuselage at the recessed point in the rear of the fuselage using CA glue. The elevator halves slot together one inside the other as the horizontal stabilizer is assembled to the fuselage. The landing gear is simply attached to the bottom of the fuselage with 3 countersunk Allen headed screws.
All that is left to do at this point is to attach the propeller and balance the model. The battery sits on a plastic tray inside the fuselage. The tray has been designed to slide forward and backward to remove and install the battery. A simple operation that seems to work well. The model has been designed to fly on either a 3cell or 4 cell battery. I intend to try both as well as the AS3X system. To date, I have not flown the model because of either the weather or time. I will report on the flying characteristics in due course.
Martin.


Comment