


The Cessna 208 Caravan is a utility aircraft produced by Cessna. The project was commenced on November 20, 1981, and the prototype first flew on December 9, 1982. The production model was certified by the FAA in October 1984 and its Cargomaster freighter variant was developed for FedEx. The 4 ft (1.2 m) longer 208B Super Cargomaster first flew in 1986 and was developed into the passenger 208B Grand Caravan.
The strutted, high wing 208 typically seats nine passengers in its unpressurized cabin, is powered by a single Pratt & Whitney Canada PT6A tractor turboprop and has a fixed tricycle landing gear, floats or skis. By November 2017, 2,600 have been delivered and 20 million flight hours logged. Caravans are used for flight training, commuter airlines, VIP transport, air cargo and humanitarian missions.
The Nexa CE-208 is a electric or gas option scale series warbird with a 1700mm wingspan, constructed primarily from balsa wood and covered with a fuel-resistant covering. This ARF requires assembly and installation of your choice of servos and power system, and includes fully functional flaps, painted pilots, detailed cockpit and other scale details. The large battery hatch affords ample room for either electric or gas setups. Impress at your flying field with this scale stunner!
Visit the Official Nexa Product Page at MotionRC.com
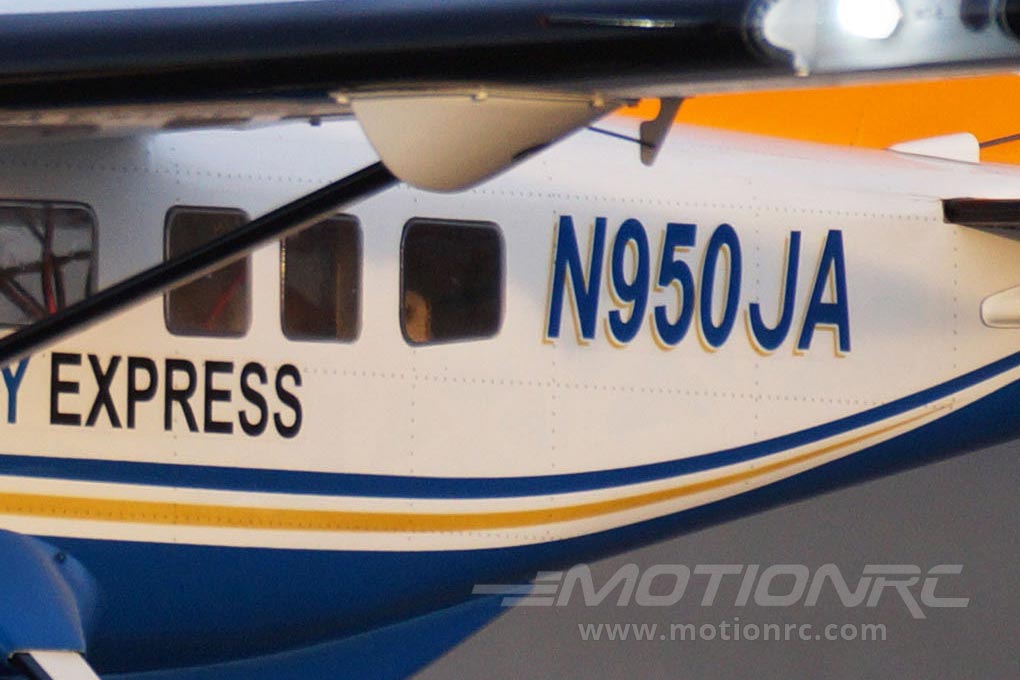 |
Fully Covered and Detailed The Nexa CE-208 comes fully covered including simulated panel lines and rivets. |
 |
Scale Details Throughout There is no shortage of scale details with this CE-208 including functional flaps, painted pilots and detailed cockpit. |
 |
Fiberglass Cowling The cowl is made of fiberglass for both looks and durability. |
 |
Detailed Cockpit To add to the array of scale detail, the Nexa CE-208 features a detailed cockpit complete with two painted pilots to finish out the scale appeal. |
- Complete Balsa and lite-ply construction for rigidity and durability
- Covered from tip to tail in scale details including functional flaps, printed simulated panel lines and rivets
- Fiberglass cowling for strength and durability
- The hand-painted pilots are housed in a detailed cockpit
- All control surfaces come out of the box pre-hinged and installed for convenience
- Large battery hatch allows for your chosen electric or gas setup
- Nexa CE-208 Airliner Express 1700mm (67") Wingspan - ARF
- Wheels and aluminum landing gear
- Fuel tank, hardware and decals
- spinner
- 6 Channel radio - select a minimum 6 channel radio from our Radio Collection
- 6 Channel receiver - select a minimum 6 channel receiver from our Receiver Collection
- 400Kv or equivalent brushless outrunner motor - we recommend the Admiral GP10 5030-400Kv Brushless Motor
- 120 Amp brushless ESC - we recommend the ZTW Gecko 125A ESC with 8A SBEC
- 4x standard servos for ailerons and flaps - we recommend Hitec HS-85BB High Torque Micro Servo Airplane Multi-Pack (4 Servos)
- 2x standard servos for rudder and elevator - we recommend Hitec HS-485HB Deluxe Ball Bearing Karbonite Gear Standard Servo Airplane Multi-Pack (2 Servos)
- 4 Cell 14.8V 4500 - 5000mAh LiPo Battery - we recommend the Admiral Pro 5000mAh 4S 14.8V 60C LiPo Battery with EC5 Connector
- Standard 13x7 2-blade electric propeller - we recommend the APC 13x8 Thin Electric Propeller - Black
- 4 Cell compatible battery charger - select a minimum 4 cell (4S) charger from our Charger Collection
- .46 - .70 (7.45cc - 11.5cc) gas engine
- Standard 12x6 2-blade gas propeller


Comment