


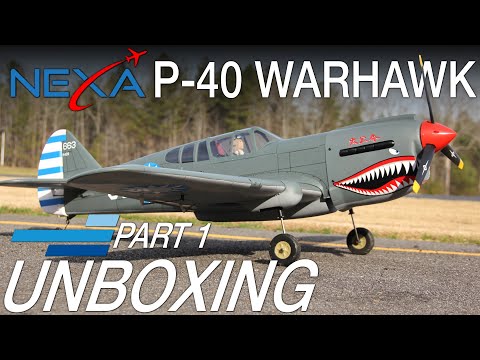
Nexa P-40 Warhawk 1570mm (61.8") Wingspan - ARF
The Curtiss P-40 Warhawk is an American single-engined, single-seat, all-metal fighter and ground-attack aircraft that first flew in 1938. The P-40 design was a modification of the previous Curtiss P-36 Hawk which reduced development time and enabled a rapid entry into production and operational service. The Warhawk was used by most Allied powers during World War II, and remained in frontline service until the end of the war. It was the third most-produced American fighter of World War II, after the P-51 and P-47; by November 1944, when production of the P-40 ceased, 13,738 had been built, all at Curtiss-Wright Corporation's main production facilities at Buffalo, New York.
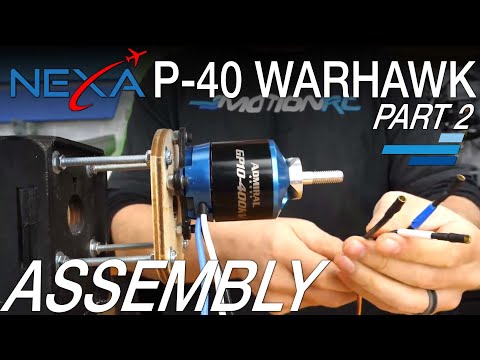
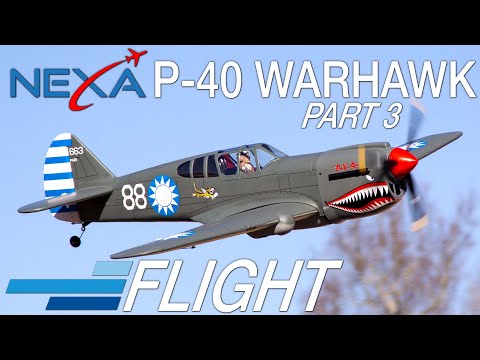
The Nexa P-40 Warhawk is a .60 size electric or gas option scale series warbird with a 1570mm wingspan, constructed primarily from balsa wood and covered with a fuel-resistant covering. This ARF requires assembly and installation of your choice of servos and power system, and includes split flaps, center drop tank, painted pilot, machine gun, antenna and other scale details. The large battery hatch affords ample room for either electric or gas setups. To complete the scale appeal of this beautiful P-40, the model includes electric retracts and scale struts. Impress at your flying field with this iconic stunner!
isit the Official Nexa P-40 Warhawk 1570mm ARF Discussion Thread on HobbySquawk.com for additional photos, videos, reviews, and customer Q&A.
 |
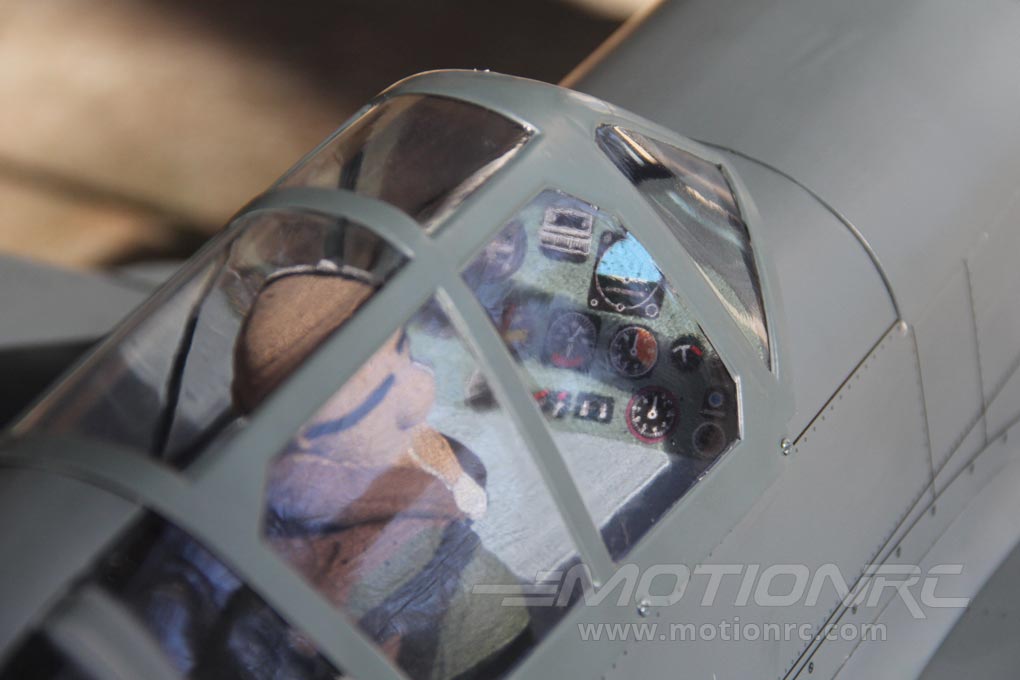
Fully Covered and Detailed The Nexa P-40 Warhawk comes fully covered including simulated panel lines, rivets, nomenclature and weathering detail. |
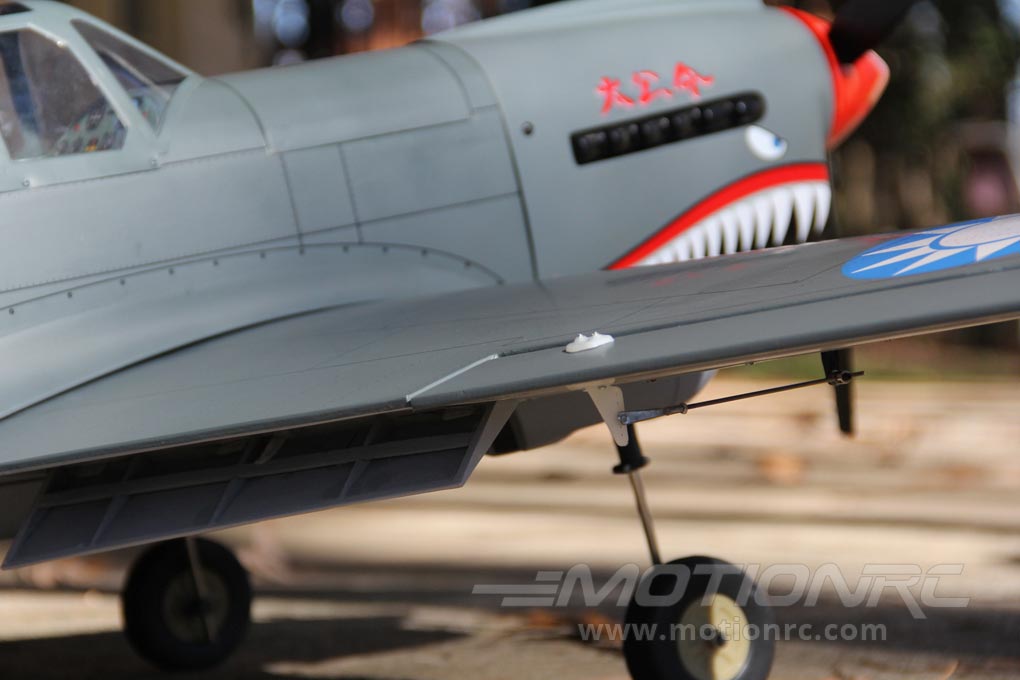
| Scale Details Throughout There is no shortage of scale details with this P-40 including functional split flaps, machine guns, painted pilot, electric retracts and metal main struts. |
 |
 |
Prehinged and Installed Control Surfaces All control surfaces come out of the box fully prehinged and installed for your convenience. |
| Large Battery Hatch The P-40 has a large battery hatch area to fit an array of LiPo battery sizes. |
 |
- Complete Balsa and lite-ply construction for rigidity and durability
- Covered from tip to tail in scale details including weathering, functional split flaps, printed simulated panel lines and rivets
- Fiberglass cowling for strength and durability
- The hand-painted pilot is ready for your added cockpit details
- Some control surfaces come out of the box pre-hinged and installed for convenience
- Large battery hatch allows for your chosen electric or gas setup
- Nexa P-40 Warhawk 1570mm (61.8") Wingspan - ARF
- Electric retracts, wheels and struts
- Fuel tank, hardware and servo trays
Attached Files


Comment