Roban - World Class Scale Helicopters

You must Sign-in or Register to post messages in the Hobby Squawk community
Registration is FREE and only takes a few moments

Register now

Announcement

Collapse
No announcement yet.

Andy's Hobby Head Quarters 1/16 M8 Greyhound RC Conversion

Collapse
X
Collapse
First Prev Next Last
 
  • Filter
  • Time
  • Show
Clear All
new posts

  • Andy's Hobby Head Quarters 1/16 M8 Greyhound RC Conversion

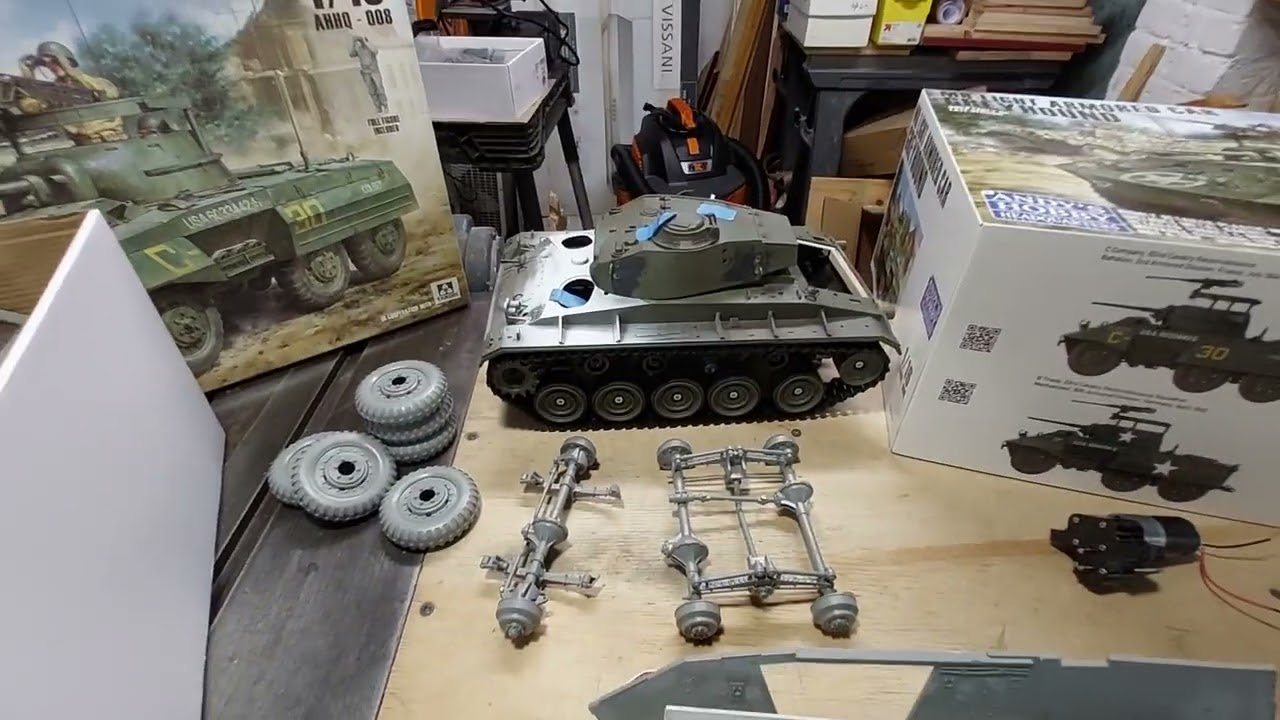
    Good afternoon everyone, I'd like to start off this build thread showing where the RC conversion is to date. I bought the kit last year while it was on sale at $100 plus whatever the shipping was. I planned to RC the kit before buying it. I had just purchased the Coolbanks M5 Stuart & M8 GMC from Aliexpress, and I noticed all the RC parts that were for sale. I purchased a 6 wheel drive axle set, and a set of tires to fit the axles. Later I bought other parts I needed, and I needed a 2nd set of tires because the 1st set was to big even though they supposedly were 1/16 scale. Here's some photos and a video of where the build is today.

    Click image for larger version

Name:	20260713_145613.jpg
Views:	40
Size:	191.8 KB
ID:	450910

    Click image for larger version

Name:	20260713_145619.jpg
Views:	28
Size:	152.7 KB
ID:	450911

    Click image for larger version

Name:	20260713_145645.jpg
Views:	25
Size:	184.6 KB
ID:	450912

    This image shows how mucch I had to remove from the floor of the kit to fit the frame rails and for room for the suspension to fit. Later I'll make some cross members to mount the body onto the frame, but first, I have to make spring mounts for the front Diff.

    Click image for larger version

Name:	20260713_145648.jpg
Views:	28
Size:	139.9 KB
ID:	450913

    While I waited for the RC parts to arrive from Aliexpress, I began to build the kit to know the center distance of the two rear differentials so the build would be accurate and represent a proper scale M8 Greyhound.

    Click image for larger version

Name:	20260713_145702.jpg
Views:	28
Size:	168.1 KB
ID:	450914

    Video:

  • #2
    OK, lets go back to when I started this build in August of 2025.

    As the parts began to arrive from Aliexpress, I compared them to the kit parts. So far things are looking good.

    Click image for larger version

Name:	20250824_152205.jpg
Views:	32
Size:	138.0 KB
ID:	450919

    Here's the first set of tires I got. I learned that just because a seller says the parts are 1/16 scale doesn't mean you're going to get the proper size. You must search for tires by their diameter and width, or your spending your money for parts that may never get used. But the good thing about the first set is I could modify the back half of the wheel to mate with the kit wheels. I just might do that, but I preferred to have rubber tires. At that time, Torro was selling spare tires for their M16 Half Track for $15.99 each. I felt it was to much money at the time.

    Click image for larger version

Name:	20250824_201540.jpg
Views:	22
Size:	168.2 KB
ID:	450920

    Click image for larger version

Name:	20250824_201616.jpg
Views:	23
Size:	195.3 KB
ID:	450921

    Here we see just how big the first set of tires was compared to the proper size I needed.

    Click image for larger version

Name:	20250824_202414.jpg
Views:	21
Size:	111.9 KB
ID:	450922

    Once again, notice the tire size is so big they rub against each other in the dual rear Diff's are mounted at the proper spacing.

    Click image for larger version

Name:	20250824_202631.jpg
Views:	23
Size:	141.2 KB
ID:	450923

    I paid $31.48 for the six wheel drive diff's. The incorrect set of tires were $19.73. At this point, I was waiting for the dual rear suspension I ordered from Aliexpress.

    Click image for larger version

Name:	20250824_204248.jpg
Views:	22
Size:	140.9 KB
ID:	450924

    Comment


    • #3
      OK, I have to go out tonight, I'll post more progress on this conversion tomorrow. There's still a lot to do to get this M8 Greyhound running!!!
      Comment


      • #4
        OK, so after looking at Tangs Andy's HHQ M8 RC conversion, and asking if the 3DP tires had enough traction, I'll modify the over sized hex drive wheels to mate with the Andy's HHQ kit wheels, as I think Tang has done for his M8 conversion. And so, this morning, I decided to re-think the frame I started for my M8 RC conversion. Though I still might continue with the full frame for my conversion.

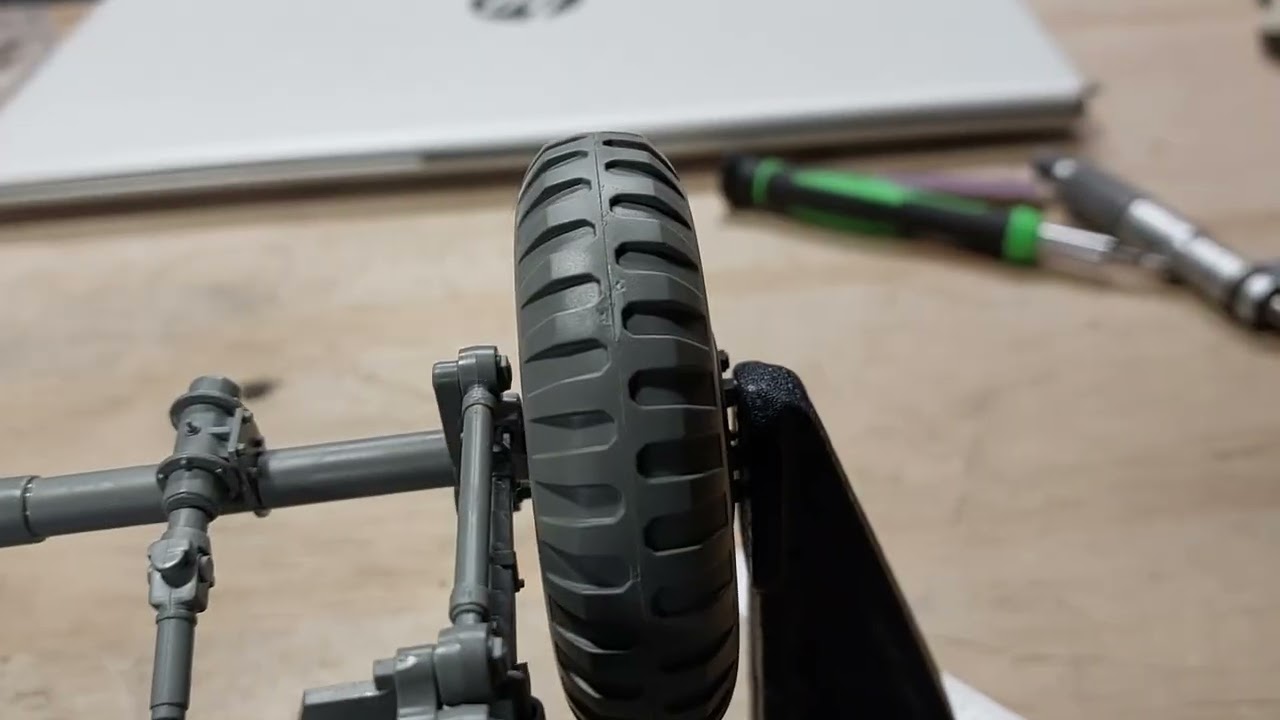
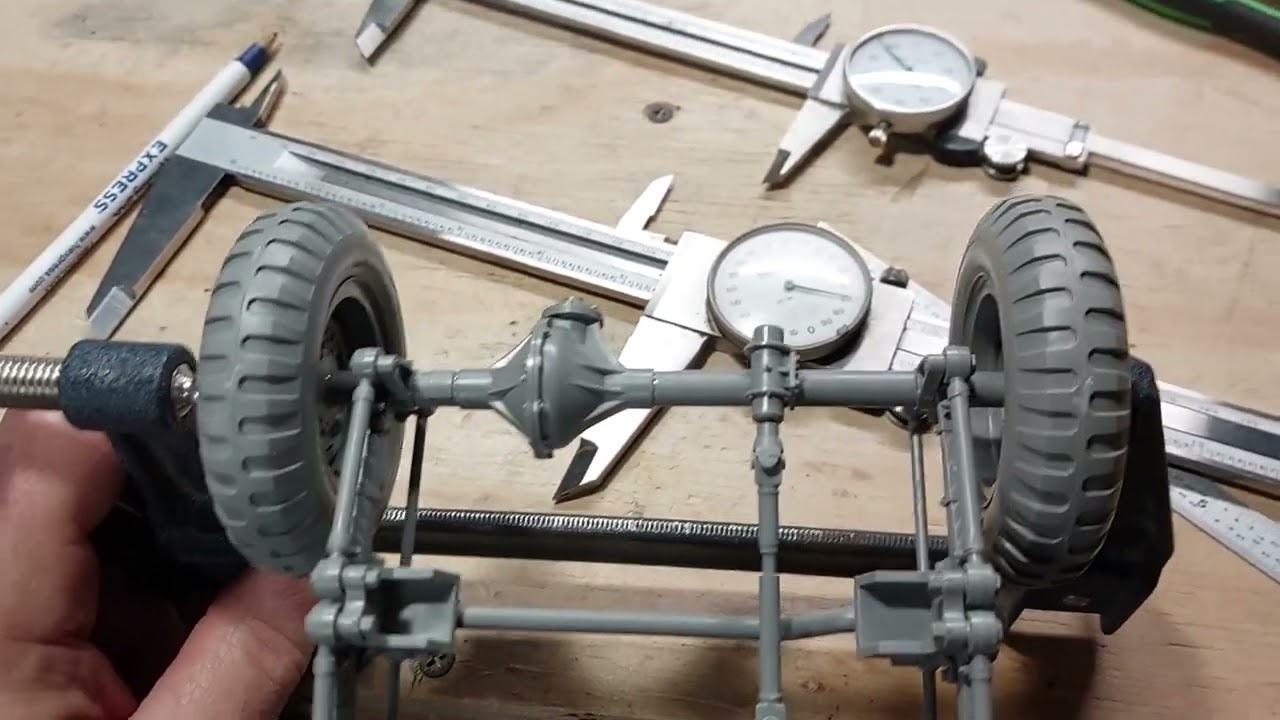
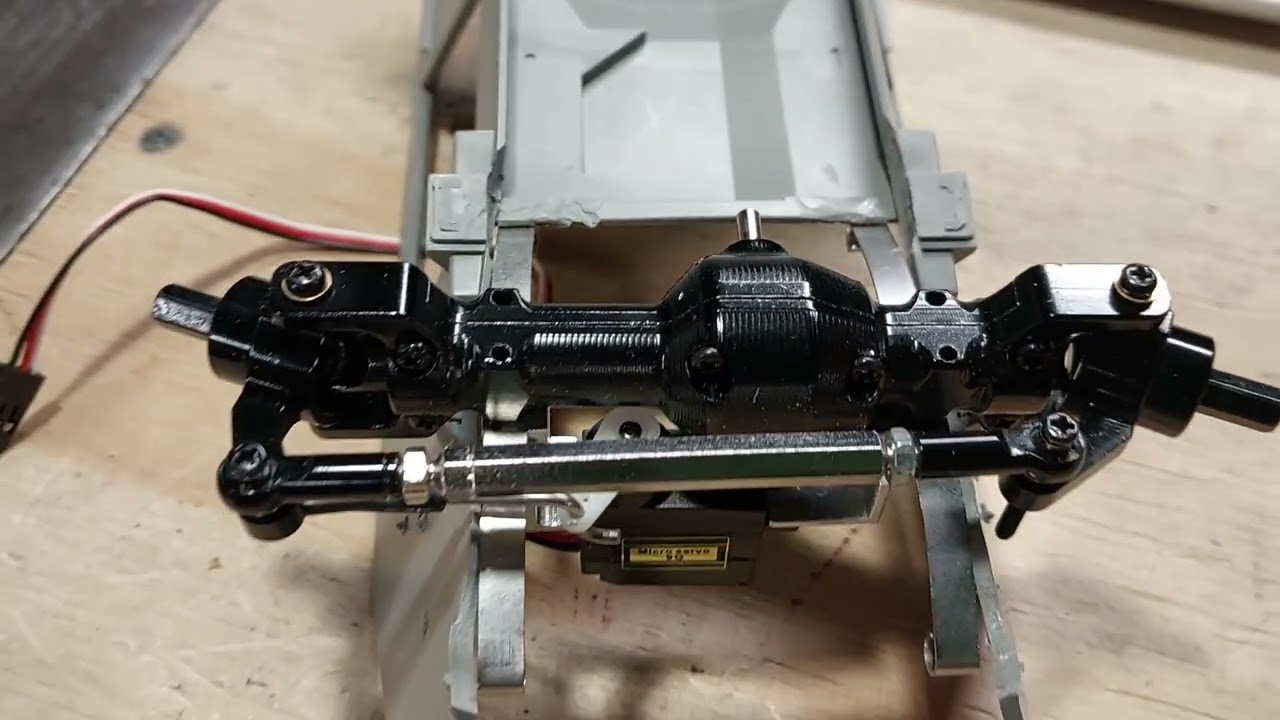
        The first thing I did was to determine where the centerline of the RC axles should be to have the proper ride height. I dry fitted the kit dual suspension and I measured from the center of the kit axle to the bump stop. Then I measured the RC diff's and do some simple math. The RC diff housings have to be 0.044 thousandths of an inch above the bump stops to obtain the proper ride height. See images, and video.

        Click image for larger version  Name:	20260714_104943.jpg Views:	0 Size:	120.1 KB ID:	450960

        Click image for larger version  Name:	20260714_105413.jpg Views:	0 Size:	96.4 KB ID:	450961

        Click image for larger version  Name:	20260714_105357.jpg Views:	0 Size:	114.4 KB ID:	450962


        Comment


        • #5
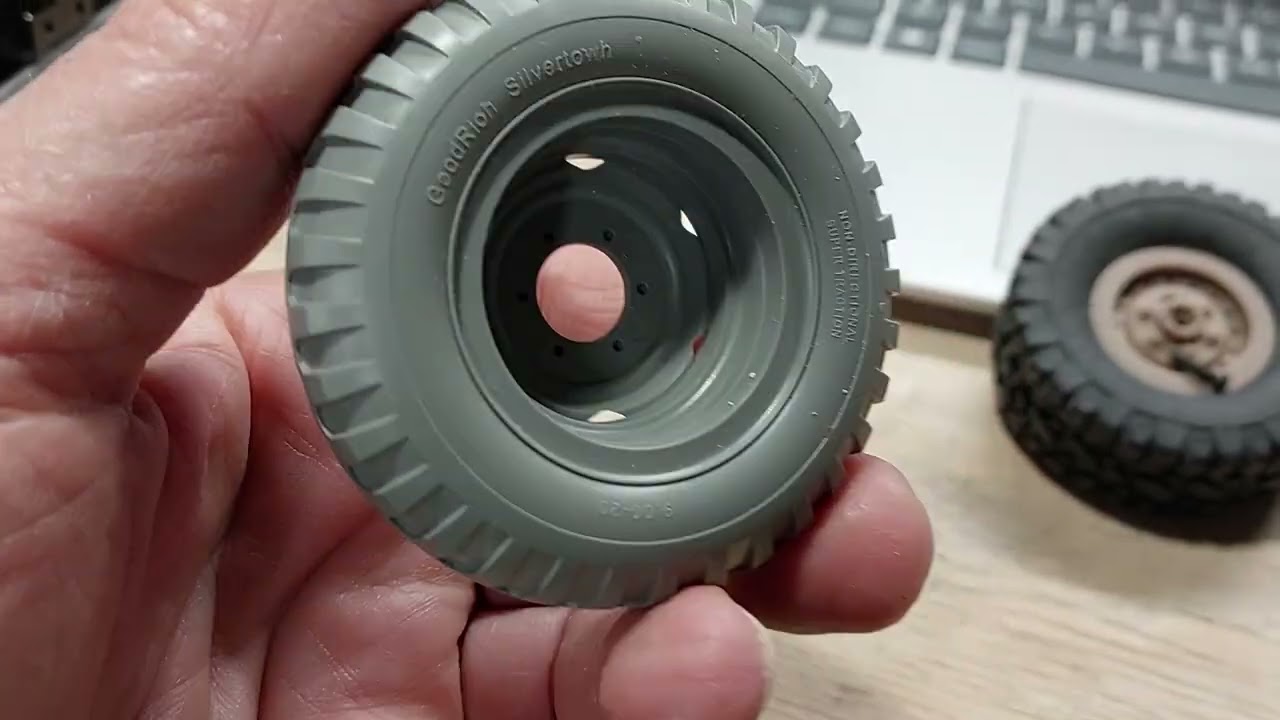
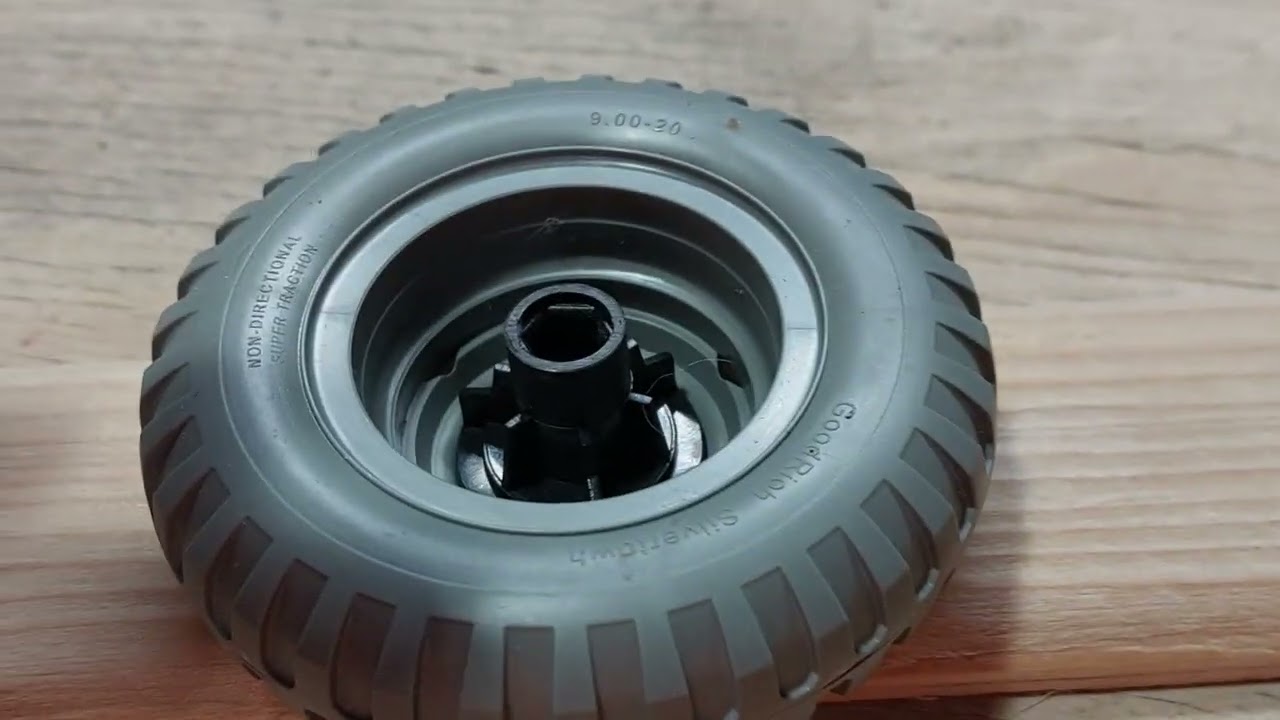
          Here are the RC Tires/Wheels I've bought for this conversion. The way oversized wheels will be modified to mate with the kit wheels as I mentioned. Images & video.

          Click image for larger version

Name:	20260714_111136.jpg
Views:	16
Size:	122.4 KB
ID:	450964

          Here's an image of the gearbox/motor I'll be using for the RC conversion. More of the floor will have to be removed to make it work.

          Click image for larger version

Name:	20260714_105625.jpg
Views:	12
Size:	137.1 KB
ID:	450965

          Comment


          • #6
            And so, the first two post today are new, and now, I'll share more of the build from 2025 to get what I've done up to date.

            Comment


            • #7
              Originally posted by rb67mustang View Post
              Here are the RC Tires/Wheels I've bought for this conversion. The way oversized wheels will be modified to mate with the kit wheels as I mentioned. Images & video.

              Click image for larger version

Name:	20260714_111136.jpg
Views:	16
Size:	122.4 KB
ID:	450964

              Here's an image of the gearbox/motor I'll be using for the RC conversion. More of the floor will have to be removed to make it work.

              Click image for larger version

Name:	20260714_105625.jpg
Views:	12
Size:	137.1 KB
ID:	450965


              I ran into the same tire and wheel problem with my Vietnam gun truck project. I think an accurate military wheel and tire producer could make a good profit.

              Comment


              • #8
                Originally posted by tdriver113 View Post


                I ran into the same tire and wheel problem with my Vietnam gun truck project. I think an accurate military wheel and tire producer could make a good profit.
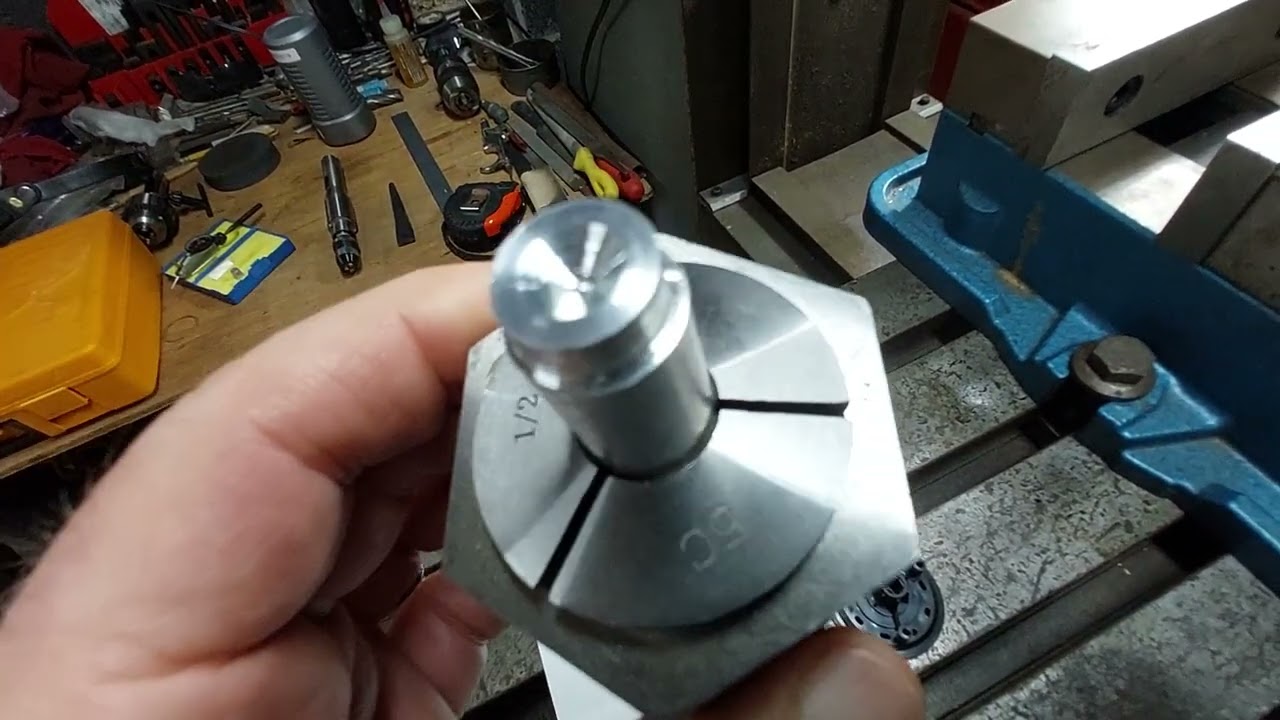
                First of all, thank you very much Tdriver113 for checking out this stalled build I began in August of 2025. I actually didn't think I'd do a build thread for the M8 Greyhound RC conversion. I spent quite a while today making an aluminum hex arbor so I could hold the hex drive hub of the RC wheels to turn them down to fit into Andy's HHQ kit wheels. I know the time was well spent. Because if I had purchased the Torro M16 wheels, on top of the cost, I'd still have to modify them if at all possible. One mistake, and I'd be out the cost of a wheel, and the time spent on it. Either way, it's not a cheap thing to do, but when it's finished and it came out well, we're happy and forget all about the time it took.

                Comment


                • #9
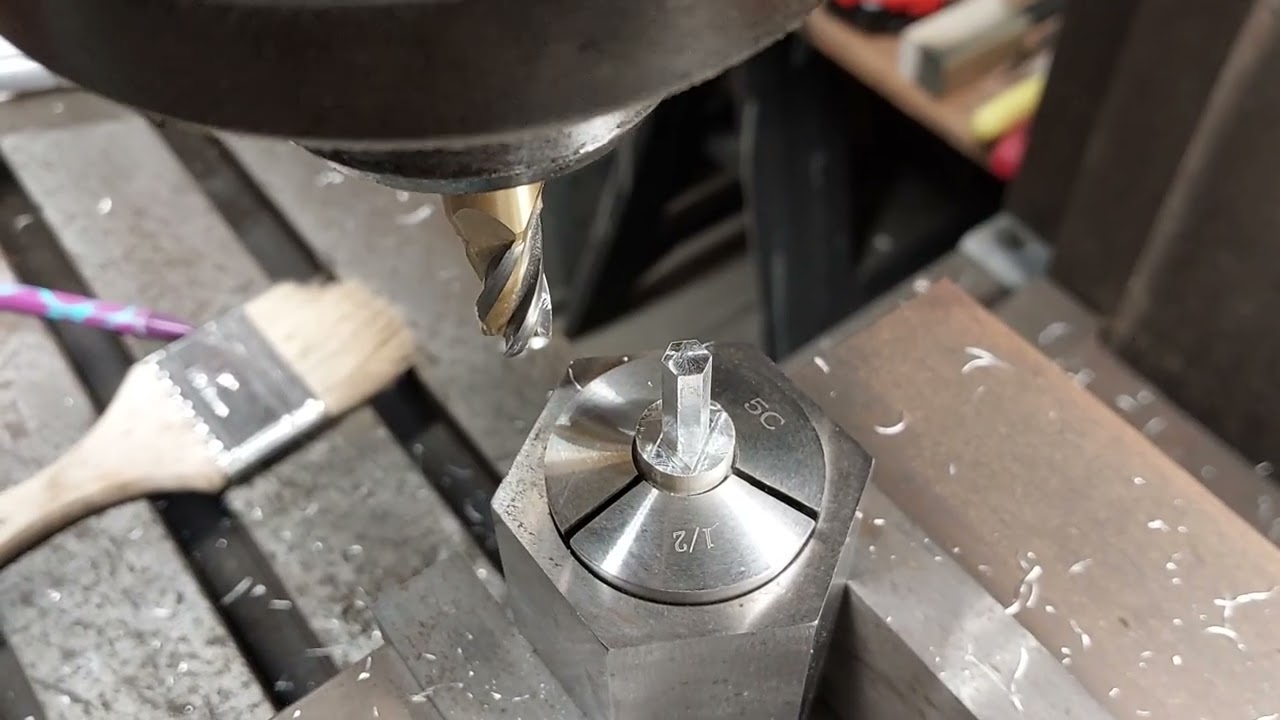
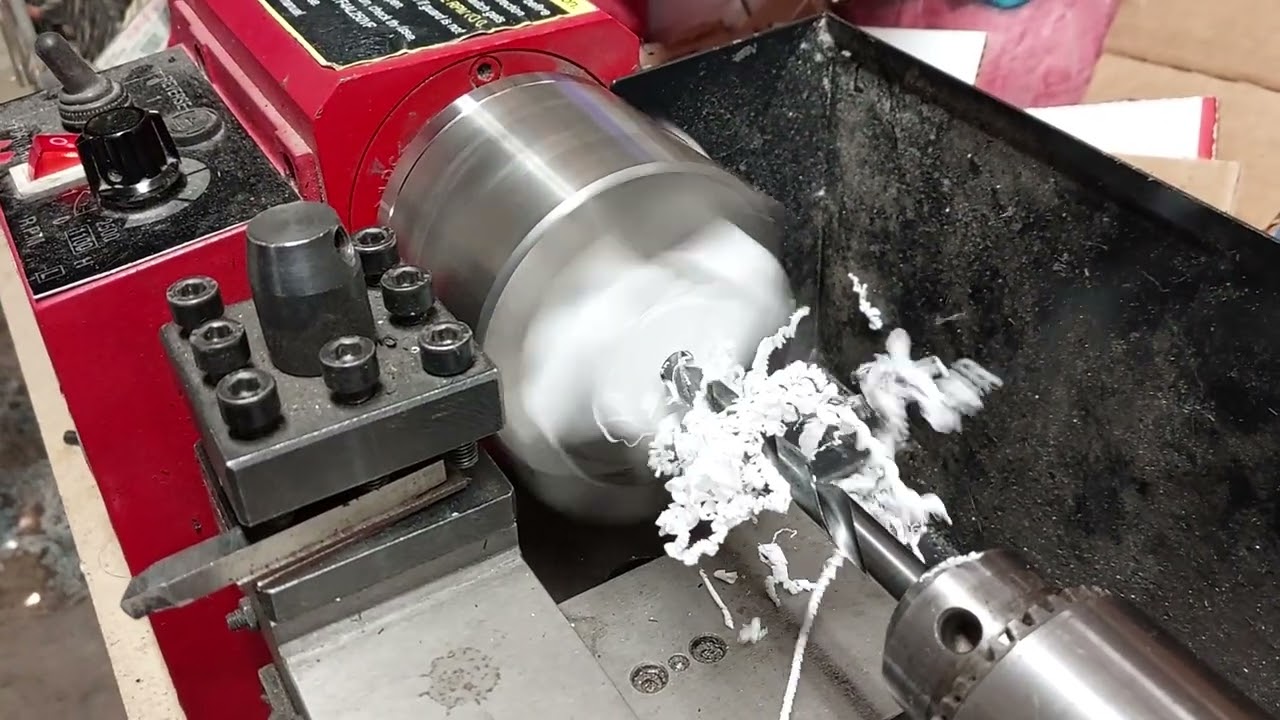
                  Actually, I'll share what I've been doing today as I began to modify an RC wheel to mate with Andy's HHQ kit wheels. Here's a video of a hexagon arbor I made to turn the RC wheel hubs down to fit AHHQ's kit wheels.

                  As I talk about my Bridgeport, I mentioned the Ram had a problem, but I didn't say what it was. Well, the machine wasn't kept in a dry place since the previous owner used it. The Ram was rusted in place, and it couldn't be moved in or out as it's made to do. Freeing up the ram took a couple of weeks using penetrating oil and tapping the casting with a hammer on a block of wood. Finally I got it to move, and I greased it up so it will not rust again. Also, I replaced the 3 phase motor with a single phase motor. The difference between the two motors is any 3 phase motor can be switched into reverse, and instantly the motor turns the opposite direction. A single phase motor if it's switched in reverse, it will continue to turn the same way without reversing. Single phase motors must come to a stop before they can turn the opposite direction. OK, way too much about the machine.


                  First three sides of the hex milled from the 1/2 inch rod.

                  Click image for larger version

Name:	20260714_142435.jpg
Views:	0
Size:	87.6 KB
ID:	450979

                  Comment


                  • #10
                    The hex is finished, and now I'll drill and thread the hole.


                    The arbor is finished, after deburring, it can be used in the lathe.

                    Click image for larger version

Name:	20260714_150627.jpg
Views:	0
Size:	77.1 KB
ID:	450981

                    Comment


                    • #11
                      Here's the arbor in the lathe.

                      Click image for larger version

Name:	20260714_162050.jpg
Views:	0
Size:	112.4 KB
ID:	450983

                      Comment


                      • #12
                        I turned two hubs to fit into AHHQ's wheel. The diameter the hub is turned to, fits against the inside face of the kit wheel. Each step molded into the wheels is tapered to allow the parts to be removed from the mold. The diameter is a very close fit at the bottom of the angle at the face of the wheel, so it will run true. I'm planning to make styrene washers from a 1/16" sheet to support the small diameter of the hub. Tomorrow I hope to have them to show what I'm talking about.

                        Click image for larger version  Name:	20260714_191706.jpg Views:	0 Size:	170.6 KB ID:	450986

                        Here's the hub inside the kit wheel; it fits great. I test glued some of the scrap pieces of the RC wheels with CA, and thankfully, the plastic they're made from is compatible with CA, some plastics are not. Consider the plastic bottle the CA come in, it doesn't stick to it. Some times we take it for granted, but it's always best to test it before to much work is done, and time is wasted.

                        Click image for larger version  Name:	20260714_192041.jpg Views:	0 Size:	93.8 KB ID:	450987

                        That's it for the night!!! Much more to follow.

                        Comment


                        • #13
                          Good morning everyone!!! The last image I posted yesterday night, the hub wasn't deburred, and it's not the best image. Last night, I measured across the outside edge of AHHQ's tires while the hubs were in place, and clamped onto the RC Diff, and the kit Diff. I needed to know the width, so I could remove material from the ends of the RC hubs to obtain the same, or a close measurement. By achieving the same width, I'll be able to attach the fenders on my M8 Greyhound. Two videos.

                          Clamping the wheels onto the Diff's was difficult to do by my self.


                          The measurement between the kit Diff, and the RC Diff was within 0.005 thousandths of an inch which is less than the thickness of two pieces of copy paper. By the mistake of turning the first hub undersize, I decided to turn is smaller so it could sit tight against the inside of the kit wheel. The mistake is how the width across the tires was virtually the same. I thank God for the mistake!!!


                          Comment


                          • #14
                            The first thing I did today was to take some better photos of the RC wheel hubs I'm modifying. Here's some images and a video to explain what's being done, and how the wheel mods will finish.
                            Images and a video.

                            The first images shows the smaller size that fits against the face of the kit wheel, and the bigger one would've been attached to the step above the face of the wheel.

                            Click image for larger version

Name:	20260715_100245.jpg
Views:	0
Size:	95.4 KB
ID:	450997

                            This image shows the smaller hub with the end turned down which removed the hubs gussets. The small diameter is where the inside of the styrene ring will attach onto.

                            Click image for larger version

Name:	20260715_100442.jpg
Views:	0
Size:	107.2 KB
ID:	450998

                            This video explains my plans to finish the modifications to the kit wheels for RC use.


                            After uploading these videos to Commietube, I think my daily 24 hour quota is exhausted today. Look for more progress to come!!!

                            Comment


                            • #15
                              OK, I was able to upload a few more videos, so here's all the RC wheel hubs turned, and the beginning of the you could call them Donuts, or washers, whatever you like!!!
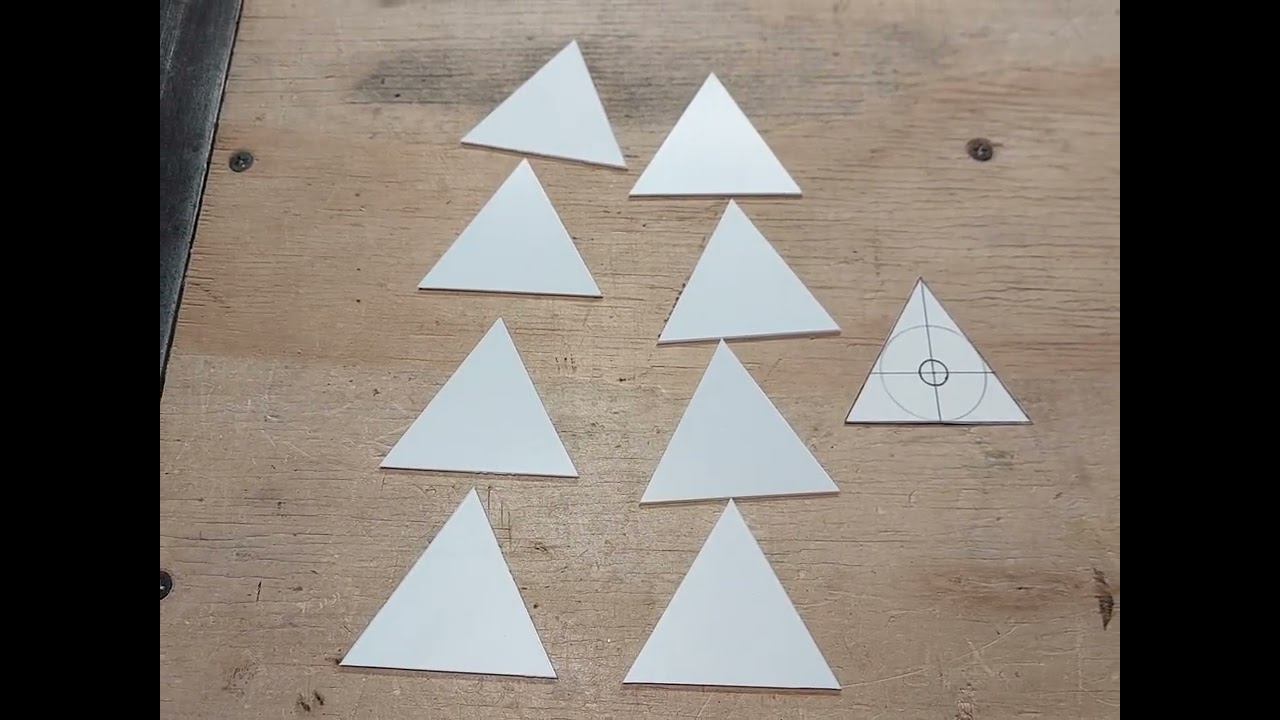
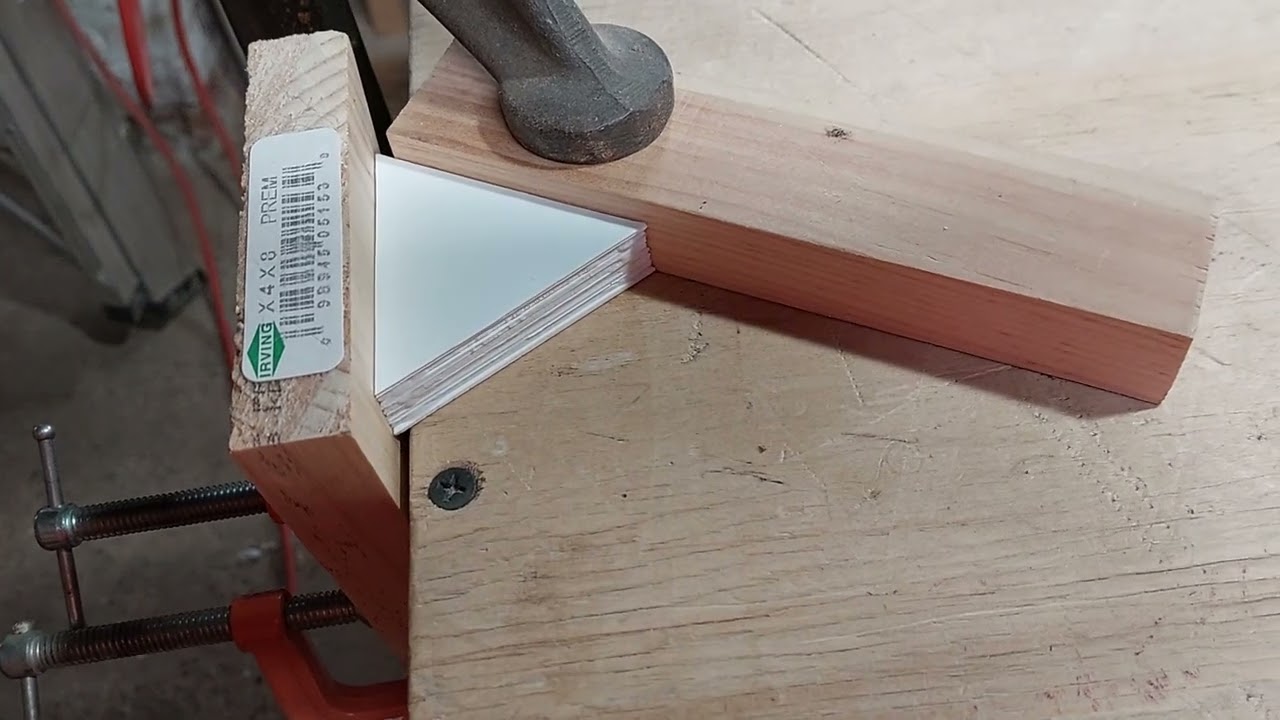
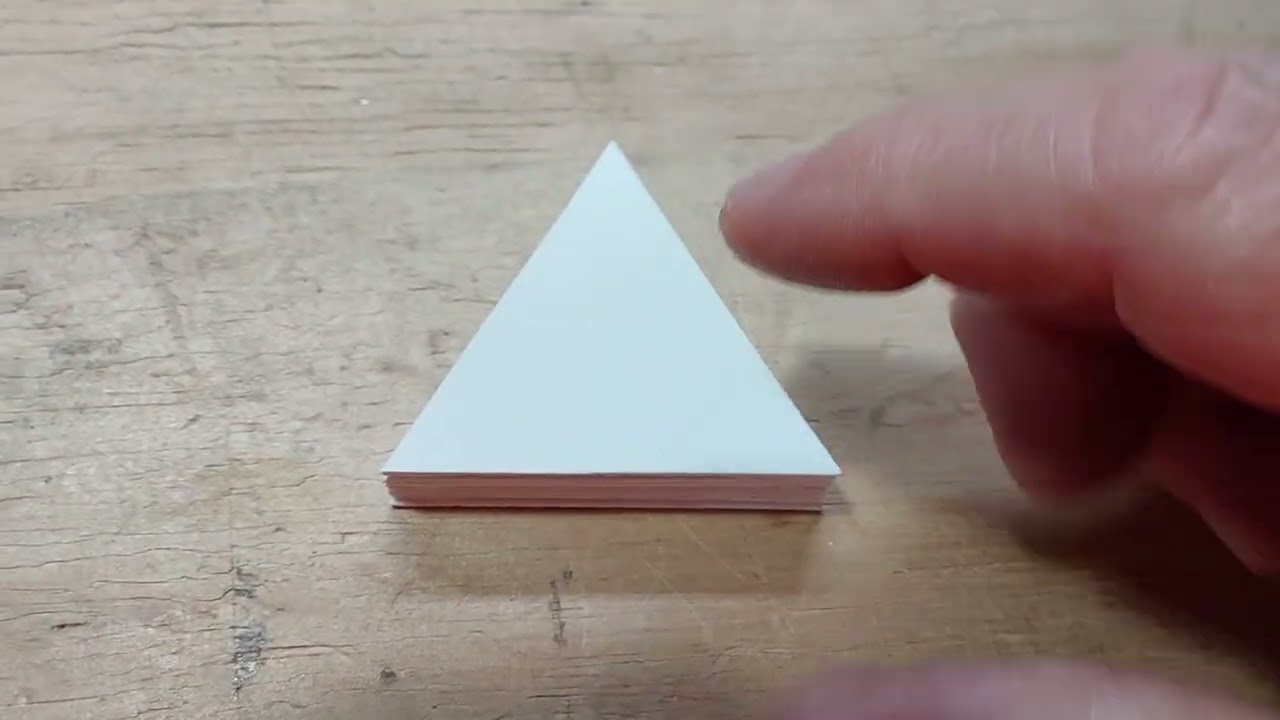
                              All the hubs came out as I wanted. I deburred them, and then I made a paper triangle template for the rear wheel hub Donuts. I cut a strip off of the styrene sheet as if I were cutting sheet rock. Then I set a protractor at a 60 degree angle and scored, and cut 8 triangles. I deburred the edges and I made a simple glue jig and glued them together. Tomorrow, I'll make the Donuts!!!!!!


                              The big circle is about 1.215" diameter. Then I used a 30, 60, 90 triangle. Simple mechanical drawing.

                              Click image for larger version  Name:	20260715_131542.jpg Views:	0 Size:	54.3 KB ID:	451012

                              Click image for larger version  Name:	20260715_133720.jpg Views:	0 Size:	116.4 KB ID:	451013

                              Short Video


                              Quick & simple glue jig!!!

                              Click image for larger version  Name:	20260715_135600.jpg Views:	0 Size:	106.1 KB ID:	451014


                              After lunch, I checked and the glue was still tacky.


                              OK, that's it for today!!!

                              Comment

                              Working...
                              X