


And here it is with the turret built up.


So from the last time I posted the new turret my want from the design has changed a bit.
When I started the m36 turret I was fine with it being a mostly permanent build. Sure you could take the gun, mantlet and, barrel off but the ammo bustle, turret body, gun mount and, turret base would all be super glued together.
Well with the incorporation of IR capabilities i've decided to change that ideology. As is visible from the ammo bustle, I have made it so that all the infrared components can easily be removed from The Wire to the receiver. When it comes to the infrared Emitter in the mantlet that is just press fit and can easily be pulled out. And lastly as is visible From the photo of the bottom of the turret I have incorporated 3 magnets that will allow you to remove the M36 turret and swap in an m10.
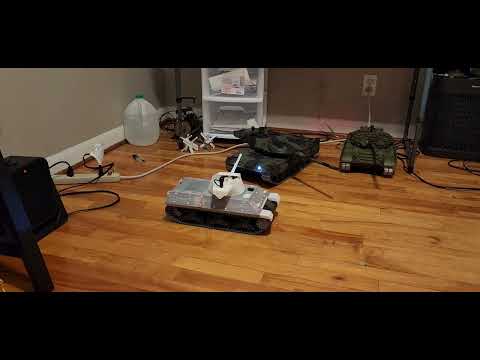


Comment