-
Do you mean the plugs, or the actual pins? the plugs you can just grab with hemostats and lift.Leave a comment:
-
What is the best way to remove the pins from the MFU without pulling the wires out? They are in pretty tight.Leave a comment:
-
As much trouble as the pins were to drive out, it's hard to imagine them just walking out, but I'll heed the voice of experience. No oil.Leave a comment:
-
Don't do that! Oil and track do not mix well. The "rust" will not effect the performance of the tracks and with a few minutes of driving any stiffens will be gone. Oil will attract dirt and hold it, which is worst for the plastic tracks vs a little rust. Also the rust goes a long way toward holding the track pins in place and not letting them "walk out" which then causes plastic tracks to break easily.Leave a comment:
-
I found an old drill bit that was the right size to use to drive out the old pin (and pieces of the broken pin). I was surprised by the amount of rust on the pins, particularly since I don't recall having run the tank through any puddles.
As such, once I had the track back together, I found a couple of places where the links were stiff on the hinge pins, and not pivoting freely, due to the rust. I applied a little rubbing alcohol to the pivot points, and worked the links back and forth to loosen them up. I plan to pick up a plastic-safe oil with a needle-tip applicator, to lubricate the pivot points, and hopefully, help protect the metal pins from moisture. Any recommendations?
I'll give the other track an inspection later this afternoon.Leave a comment:
-
Been around Heng Long tanks for a while and use them harder then 99% of the folks out there. I would guess that you were a bit rough on the tracks while taking the pins out because I have never had this happen or heard of it happening to their metal tracks. The plastic one yes, but metal no.
Now you can bend the pin if you hit it too hard, but then that happens even to the best aftermarket track pins. When dealing with track pins, firm but gentle is always best.Leave a comment:
-
I would like to see Heng Long model a M42A1 twin 40mm anti aircraft tankLeave a comment:
-
My experience with Heng Long metal tracks is that the metal is EXTREMELY brittle and "crumbly". It is far too easy to break them when trying to remove and install track pins. I had bad experiences trying to replace links on my T-34. Several brand new links were destroyed by the ends crumbling away when pushing the pins in or out. I wish they would use a stronger alloy for the tracks.Leave a comment:
-
I think you are referring to the road wheels not Idler. The road wheels have springs the idler does not. The size of hex screw whole is 3mm.
There is a special trick to removing the pin....be careful and tap it out with a 1mm punch until you can grab it with a pair of pliers and pull it the rest of the way out.Leave a comment:
-
Two questions:
1: It looks like the spring-loaded idlers wheels are held on by a torx screw. One of mine is loose, so the arm drops down too far. What size torx do I need to pick up to retighten it?
2: Possibly, due to the aforementioned loose idler, one of the connecting pins for the track on that side broke. Is there a special trick to removing the pins to change out the track link?Leave a comment:
-
there should have been a flat washer and a lock washer butted up against the screw face.Leave a comment:
-
The drive sprocket was backing out? Was there one, two, or zero washers between the shaft and the sprocket (inner face)? Same question for the sprocket to the screw (outer face)?Leave a comment:
-
How do I stop the drive wheel sprocket screw on my new HL Challenger from backing out? I used Loctite to no avail. The tank can't drive for more than 2 minutes before the drive wheel sprocket comes off. Now the driveshaft screw hole is stripped.Leave a comment:
-
New tankers be aware you CAN in fact change the control of the tank putting FWD/REV on the LEFT stick instead of the RIGHT. See the #2 step for how to do this. Keep in mind doing so in turn moves the cannon barrel raising/lowering to the RIGHT stick. You'll have to experiment and see which mode you like best. Additionally this sheet tells you how to turn the LED lights ON/OFF. Ignore the bottom #3 step for Dual-Current Driving System. Our model tanks are not setup for this.
Leave a comment:
-
Sureshot Hi Sureshot, the reception to our tanks has been amazingly overwhelming, and we've sold out the majority of our tanks far faster than we had planned. That's a good problem to have, I suppose, and we're grateful for everyone's support! We're doing everything we can to restock more as soon as possible, but with Chinese New Year plus Coronavirus constraints, I don't have a clear ETA at this time. Rest assured that we'll publish updates here on Hobby Squawk and on our official channels once we have a better sense of the ETA. I recommend checking the product pages for Restock Notifications. If there's enough interest, we could open a pre-order for the next batch if community members wanted to guarantee themselves a model, but even if we ever did something like that, we would need to confirm the product's ETA first.Leave a comment:
-
Anyone know if Motion RC's tank inventory will be restocked anytime soon.
I'm looking to order my second tank.
Thanks
SteveLeave a comment:
-
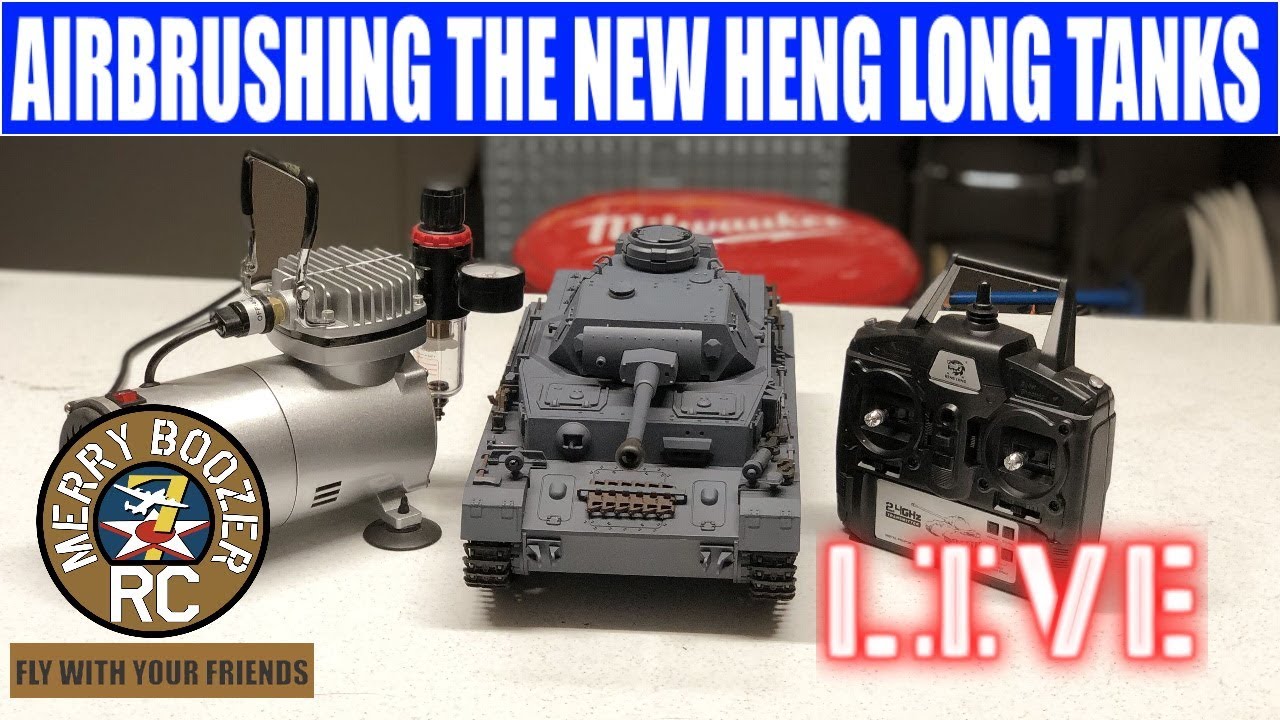
Guys that are new to Tanks might find this fun we did a live show this weekend showing some beginner friendly techniques for weathering your new tankLeave a comment:
-
There are multiple threads going so I'll put this link in both. RC tanks, trucks, cars, etc in this category include RTR (Ready to Run) batteries. I've had good experience with them, probably because I don't run them into the ground. That being said, we also recognize that part of the fun with RC Surface vehicles is upgrading and hop-ups above the stock factory equipment, so we also brought in a new 2s 7.4V Li-Ion battery using imported Sanyo NCR 18650 cells from Japan. These will fit in *ALL* Heng Long tanks (they're essentially the same dimension as the case-less 18650 battery in the T-90 and T-72).
Compared to the stock battery, the upgrade battery not only nearly doubles the capacity (3500mAh vs 1800mAh), but they're also made of higher quality NCR cells from Japan.
These are in stock now and ready to ship. We'll get a photo up soon!
https://www.motionrc.com/products/ad...756ae0d1&_ss=r
Leave a comment:



Leave a comment: