P-38 - The Ultimate EPO Lightning

1/20 Scale U-2R (3D Printed)

Collapse
X
Collapse
First Prev Next Last
 
  • Time
  • Show
Clear All
new posts
  • Dirty Dee
    Member

    • Dec 2016
    • 768
    • Northern Illinois
    • Send PM

    #41
    Originally posted by Phantom

    No cheater holes=33.94amps, voltage sag under load 11.38v 387.5w, 0.024ah use. So the stock setup still makes more power than your setup.

    With cheater holes =39.52amps, voltage sag under load 11.37v 455.6w 0.032ah used

    So cheater holes? Heck yeah! I don't have any thrust numbers but 68 more watts!

    I don't remember how far back your fan is mounted in your fuselage, mine is mounted just behind my wings. So I actually don't have as far from the intakes and I thought, and still gained 68watts with the cheater holes.
    Nice improvements! About 17% increase versus my 6%, though my cheater is much smaller so it makes sense.

    That fan is a 64mm right? Mine is using a 50mm,

    the fan location is right at the flap leading edge

    Comment

    • Dirty Dee
      Member

      • Dec 2016
      • 768
      • Northern Illinois
      • Send PM

      #42
      Originally posted by Builda
      Do you have this design for sale at all anywhere, it really is a fantastic looking plane that you have obviously put a lot of time into!
      Thanks! This will be available after I complete the successful maiden and have the assembly manual finished. Maybe 2-3 weeks. It will be posted to my cults3d page:
      https://cults3d.com/en/users/DirtyDee/creations

      I'll of course update this thread when it is available as well. I'm making some additional improvements to possibly gain another 1-2% thrust efficiencies as well as ~25g of weight reduction.

      Comment

      • Phantom
        Member

        • Mar 2019
        • 504
        • M.D.
        • Send PM

        #43
        Originally posted by Dirty Dee

        Nice improvements! About 17% increase versus my 6%, though my cheater is much smaller so it makes sense.

        That fan is a 64mm right? Mine is using a 50mm,

        the fan location is right at the flap leading edge
        It is a 64mm fan, and looks to be mounted 1 1/2 to 2 full inches aft of your fans location.

        Comment

        • Dirty Dee
          Member

          • Dec 2016
          • 768
          • Northern Illinois
          • Send PM

          #44
          Maiden a success! Here are some pics until I get the videos upload.

          Comment

          • Woodcock
            Old Returning Pilot

            • Apr 2018
            • 830
            • SoCal
            • Send PM

            #45
            Good Job Dee, it does look like a U2 mate, can't wait to see the vid. and hear your details of the flight. W

            Comment

            • Elbee
              Be humble...be approachable...and be credible.

              • Feb 2018
              • 4826
              • Wichita, Kansas
              • Send PM

              #46
              Originally posted by Dirty Dee
              Maiden a success! Here are some pics until I get the videos upload.
              DD, Why do I get the feeling I'm being watched....Wait I get it, is that Bono in there? Looks amazing, Congrats on the Check Flight, Sir. Ya got skills. Best, LB
              "I am having an extraordinary ordinary life."
              ~Lucky B*st*rd~

              "Find satisfaction in the process rather than an outcome."
              ~Anonymous~

              AMA#116446

              Comment

              • Alpha
                Former Motion RC Staff

                • Feb 2015
                • 4110
                • The North Pole
                • Send PM

                #47
                Bravo Zulu, Dirty Dee! You should be very proud. I'm interested to see how your final dolly setup ended up being configured to give you a successful controlled launch.
                Live Q&A every Tuesday and Friday at 9pm EST on my Twitch Livestream

                Live chat with me and other RC Nuts on my Discord

                Camp my Instagram @Alpha.Makes

                Comment

                • F106DeltaDart
                  Scale Warbird and Chopper Pilot

                  • Feb 2015
                  • 2817
                  • Arlington, TX
                  • Send PM

                  #48
                  Congrats DD! Looks awesome in the air!

                  Comment

                  • Dirty Dee
                    Member

                    • Dec 2016
                    • 768
                    • Northern Illinois
                    • Send PM

                    #49
                    Thanks all!

                    Originally posted by Alpha
                    Bravo Zulu, Dirty Dee! You should be very proud. I'm interested to see how your final dolly setup ended up being configured to give you a successful controlled launch.
                    Thanks! Always feels great when a scratchbuilt or printed model successfully flies and lands in one piece.

                    For the dolly, no physical changes were made, but I changed the placement of the airframe so that the CG was just slightly ahead of the rear axle on the dolly. There was still a tendency to weather-vane due to the 90 degree 10mph crosswinds but there was much more thrust to get it up to speed and airborne quicker. adding 50% differential to the ailerons also seems to help.


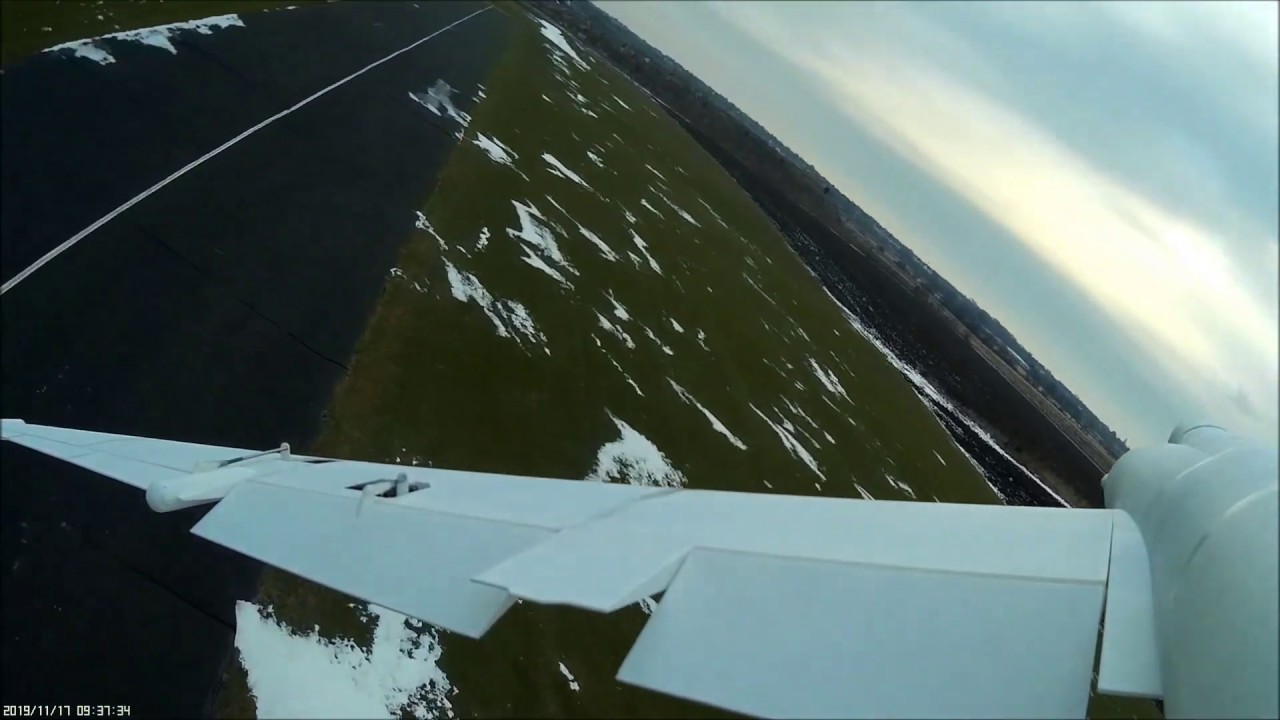
                    Maiden video below. 4S was able to give me 590g of thrust at ~596W. I am modifying the cheater intake to be slightly larger since I noticed the fan was sucking in through the nosecone and canopy cracks. flights ranged between 2:40-3:15 on the 1000mAH packs to 30% capacity, but removing the onboard camera and better throttle management should get me to the 3.5-4 minute range. I am limited to a size constraint of 35mm x 27mm for batteries, so it seems difficult to find any 1300-1600 4S packs. The only one I found was a 1400mAH turnigy pack so I might pick one up to try.

                    (edit) looks like BuddyRC carries 1300 glacier packs that are 33x26.

                    Comment

                    • Phantom
                      Member

                      • Mar 2019
                      • 504
                      • M.D.
                      • Send PM

                      #50
                      Originally posted by Dirty Dee
                      Thanks all!


                      Thanks! Always feels great when a scratchbuilt or printed model successfully flies and lands in one piece.

                      For the dolly, no physical changes were made, but I changed the placement of the airframe so that the CG was just slightly ahead of the rear axle on the dolly. There was still a tendency to weather-vane due to the 90 degree 10mph crosswinds but there was much more thrust to get it up to speed and airborne quicker. adding 50% differential to the ailerons also seems to help.


                      Maiden video below. 4S was able to give me 590g of thrust at ~596W. I am modifying the cheater intake to be slightly larger since I noticed the fan was sucking in through the nosecone and canopy cracks. flights ranged between 2:40-3:15 on the 1000mAH packs to 30% capacity, but removing the onboard camera and better throttle management should get me to the 3.5-4 minute range. I am limited to a size constraint of 35mm x 27mm for batteries, so it seems difficult to find any 1300-1600 4S packs. The only one I found was a 1400mAH turnigy pack so I might pick one up to try.

                      (edit) looks like BuddyRC carries 1300 glacier packs that are 33x26.


                      DD,

                      Check out these batteries from CHNL, fast shipping, reasonably priced, and they make up about 25% of my battery inventory and I've never had a cell drop, arrived dead, or failure. Most of the list is under your 27×35 requirement, however others are just over. All are 4s and 40c to 30c, due to you powering an edf, but if your setup can use a lower C rating, then you can get higher mah packs in 4s.

                      I think I have a little more room in my old phase 3 U-2 than you do in the battery bay...


                      Nice maiden, although it seemed a bit touchy on the pitch axis... sometimes on mine the elevator is so tiny I feel like I run out of authority if I get to slow.

                      Comment

                      • Dirty Dee
                        Member

                        • Dec 2016
                        • 768
                        • Northern Illinois
                        • Send PM

                        #51
                        Thanks Phantom . Ill give those a look. I had a sudden moment of realization this morning that the last flight of the day I came down with 60% for 2:30 duration, and that pack I kept warm inside my jacket. So my first flight times were on cold batteries which affects performance.

                        I also removed the mobius camera from the tail, and the 14g of lead nose ballast to see where my packs need to be to hit CG without any video recording. I realized that the battery needs to be mounted much further back in the canopy compartment.

                        I now have 2 options to take:
                        1. keep the current battery mounting configuration, but shift the EDF mounting further back to compensate without adding tail lead ballast
                          1. battery size restriction will remain the same with width and height
                        2. Keep the current EDF location, and shift the battery to inside the canopy compartment.
                          1. receiver will be shifted forward into the nose. or hidden slightly inaccessible under the servos.
                          2. Size restriction will be increased to 32 w x 35 h
                        I'm thinking Option 2 makes the most sense, and will be lest restrictive on battery selection.


                        The flight was definitely pitchy due to being slightly tail heavy. The last 3 flights were better after I shifted the battery forward and got the elevator properly trimmed.

                        Comment

                        • Phantom
                          Member

                          • Mar 2019
                          • 504
                          • M.D.
                          • Send PM

                          #52
                          I also vote for option 2. Or option 3, any option that removes all unnecessary weight/lead from the airframe and increases battery capacity is a win win. I say option 3 due to the fact that it sounds like you can move both the battery and edf if needed to obtain proper cg without added any lead weight. Those batteries options I sent you would all be options with your new battery positions, but they were all 40c or 30c rated packs. I see in your pic your running a 70c pack, is that amount of C rating necessary for your power system?

                          Comment

                          • Dirty Dee
                            Member

                            • Dec 2016
                            • 768
                            • Northern Illinois
                            • Send PM

                            #53
                            The 70C 1000mAH pack was the only one that fit the battery compartment that RCJetwerx carried. I wanted the 1300mAH 45C pack, but it's dimension was 29mm x 34mm so too tall. The EDF pulls almost 40A, so 40C is really all that is needed.

                            speaking of weight reduction, I stumbled on a filament that is carbon impregnated and has a mass density that is ~20% lighter than ABS. So i can possibly lose almost 138g from the airframe if the filament works. this would get be sub 1kg AUW even with a 1300-1400mAH pack.

                            Comment

                            • Dirty Dee
                              Member

                              • Dec 2016
                              • 768
                              • Northern Illinois
                              • Send PM

                              #54
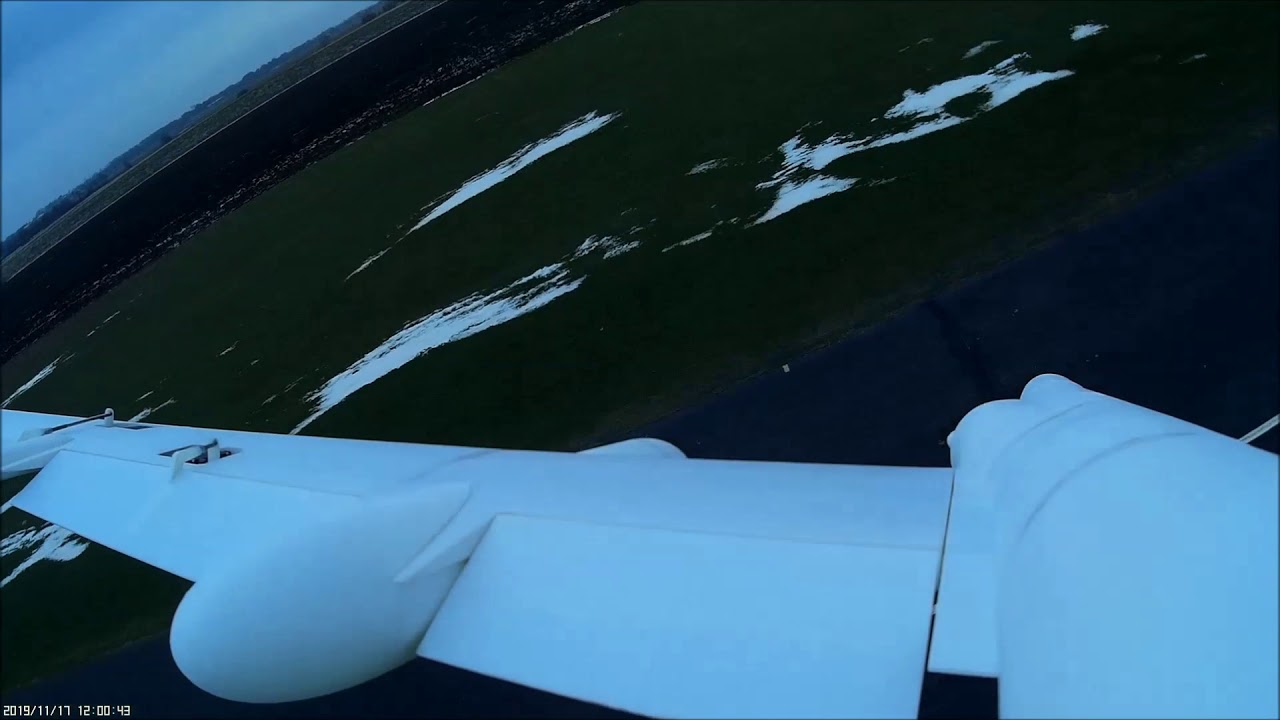
                              Another video from the same day. With Super Pods installed:
                              Comment

                              • CDRKrotchetyUSN
                                Member

                                • Jul 2019
                                • 5
                                • Send PM

                                #55
                                That is amazing. I'm looking forward to printing up a handful of designs I have done on Solidworks. Formlabs Form 3 SLA printer is on its way to replace the Form 1+ I've had for the last 4 years...

                                Comment

                                • Dirty Dee
                                  Member

                                  • Dec 2016
                                  • 768
                                  • Northern Illinois
                                  • Send PM

                                  #56
                                  Originally posted by CDRKrotchetyUSN
                                  That is amazing. I'm looking forward to printing up a handful of designs I have done on Solidworks. Formlabs Form 3 SLA printer is on its way to replace the Form 1+ I've had for the last 4 years...
                                  cool! got some screenshots to share of your projects? Ive heard someone mention using an SLA printer to make canopy glass that can be polished. I might eventually pick up an SLA down the road for myself.

                                  Comment

                                  • CDRKrotchetyUSN
                                    Member

                                    • Jul 2019
                                    • 5
                                    • Send PM

                                    #57

                                    Comment

                                    • CDRKrotchetyUSN
                                      Member

                                      • Jul 2019
                                      • 5
                                      • Send PM

                                      #58

                                      Comment

                                      • Dirty Dee
                                        Member

                                        • Dec 2016
                                        • 768
                                        • Northern Illinois
                                        • Send PM

                                        #59
                                        Files are now available on Cults3D.

                                        There is a link in the description to a free test file/assembly manual.

                                        https://cults3d.com/en/3d-model/game...627mm-wingspan

                                        Comment

                                        • Elbee
                                          Be humble...be approachable...and be credible.

                                          • Feb 2018
                                          • 4826
                                          • Wichita, Kansas
                                          • Send PM

                                          #60
                                          Dirty Dee, Congratulations on the PHOTO in the AMA Mag. Bravo Zulu, Sir. And like the author of the article, I, too, am looking forward to seeing her painted and in full markings. Happy Thanksgiving! Best, LB
                                          "I am having an extraordinary ordinary life."
                                          ~Lucky B*st*rd~

                                          "Find satisfaction in the process rather than an outcome."
                                          ~Anonymous~

                                          AMA#116446

                                          Comment

                                          Working...

