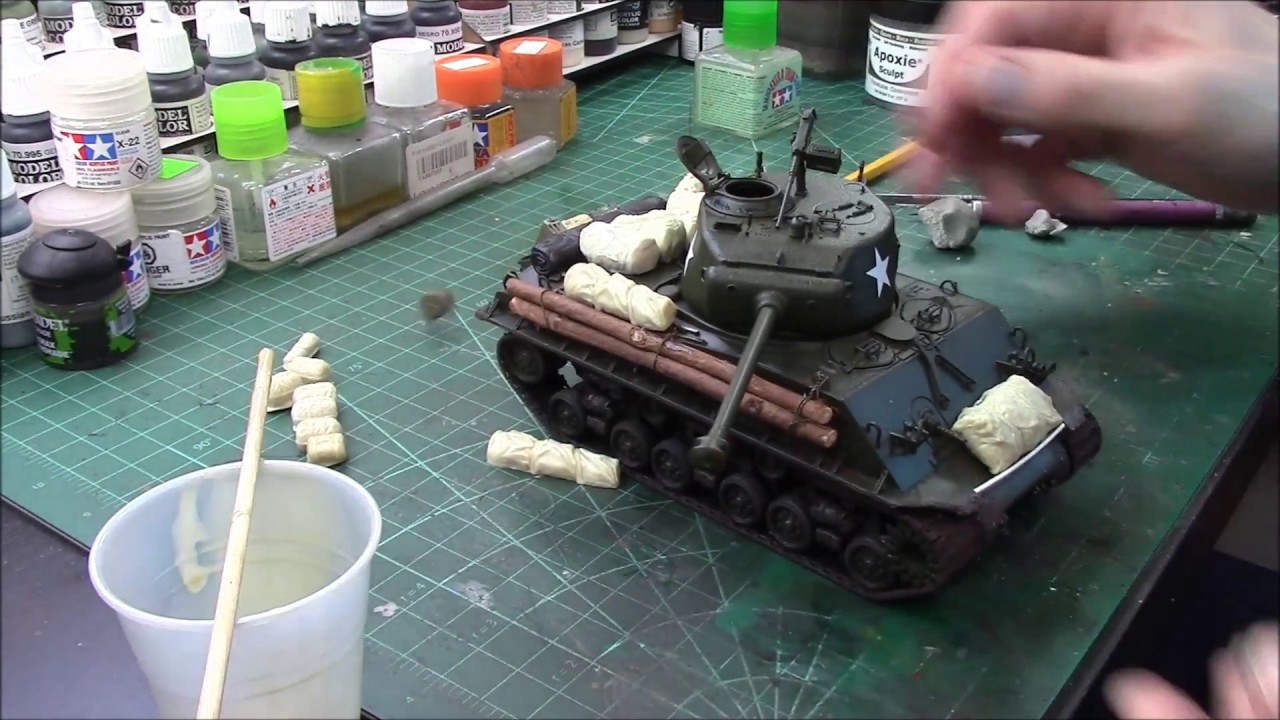
Heng Long T34 build and test review.

Collapse
X
Collapse
First Prev Next Last
 
  • Time
  • Show
Clear All
new posts

  • Rubicon99
    replied
    Originally posted by SoCalBobS
    A little something..

    A movie called "Tanks for Stalin" dramatizes the designer of theT-34, Mikhail Koshkin, driving his prototypes from Kharkov to Moscow to demonstrate their durability. His tanks had an extra spotlight for night driving. I want to include that in my T-34/76. Not trying to scalemaster it, just acknowledge it! The second picture establishes its bona fides.

    Click image for larger version

Name:	T34-76 19.jpg
Views:	312
Size:	92.8 KB
ID:	407465 Click image for larger version

Name:	T34-76 20.jpg
Views:	411
Size:	67.9 KB
ID:	407462

    This is a print of a Cults3D file of a 1940-41 T-34/76 turret. I filched the light housing from another project & installed an LED from Evan Designs. I added a socket from Tang M. for the LegoDEI IR receiver. There is an upgraded LED emitter in the barrel. Barrel elevation is servo operated. However, I want to use a Heng Long 7.0, not 7.1 so I removed the electronics from the servo. making it a nice miniature 5V DC geared motor. It revolves 360 degrees, moving the gun up and down as it does so.

    Click image for larger version

Name:	T34-76 18.jpg
Views:	332
Size:	115.8 KB
ID:	407464 Click image for larger version

Name:	T34-76 17.jpg
Views:	334
Size:	107.3 KB
ID:	407463

    I also added grab rails on the sides. A "field" modification, if you will.
    Good start. Can't wait to see the finished product.

    Leave a comment:


  • SoCalBobS
    replied
    A little something..

    A movie called "Tanks for Stalin" dramatizes the designer of theT-34, Mikhail Koshkin, driving his prototypes from Kharkov to Moscow to demonstrate their durability. His tanks had an extra spotlight for night driving. I want to include that in my T-34/76. Not trying to scalemaster it, just acknowledge it! The second picture establishes its bona fides.

    Click image for larger version

Name:	T34-76 19.jpg
Views:	312
Size:	92.8 KB
ID:	407465 Click image for larger version

Name:	T34-76 20.jpg
Views:	411
Size:	67.9 KB
ID:	407462

    This is a print of a Cults3D file of a 1940-41 T-34/76 turret. I filched the light housing from another project & installed an LED from Evan Designs. I added a socket from Tang M. for the LegoDEI IR receiver. There is an upgraded LED emitter in the barrel. Barrel elevation is servo operated. However, I want to use a Heng Long 7.0, not 7.1 so I removed the electronics from the servo. making it a nice miniature 5V DC geared motor. It revolves 360 degrees, moving the gun up and down as it does so.

    Click image for larger version

Name:	T34-76 18.jpg
Views:	332
Size:	115.8 KB
ID:	407464 Click image for larger version

Name:	T34-76 17.jpg
Views:	334
Size:	107.3 KB
ID:	407463

    I also added grab rails on the sides. A "field" modification, if you will.

    Leave a comment:


  • SoCalBobS
    replied
    Cool, I'd thought about the fuel tanks. Printing them will be a solution! Thanks.

    Leave a comment:


  • tank_me
    replied
    Should be a cool project. If you are interested and I know you don't have a 3D printer, but if you wanted to back date the fuel tanks they do have various ones on Cults. Both are in 1/35th scale, but I they should scale nicely to 1/16. They have either the square rear tanks or the rectangular tanks that were mounted on the angled sides.

    https://cults3d.com/en/3d-model/vari...for-kv-and-t34
    https://cults3d.com/en/3d-model/vari...ary-fuel-tanks

    Alternatively, I also have a set of the square tanks I won't be using for my T34S conversion that are the Trumpeter 1/16 kit version.

    Leave a comment:


  • SoCalBobS
    replied
    Starting a new project....a T-34/76. The replacement turret is 3DP design by "Winterhammer" on Cults3D. JVM3DConcepts printed it up for me. The first stage was to sand down some of the texture lines from the print. JVM uses a wonderful resin that is very easy to sand but is inherently quite strong. The second stage, the most important in my mind, was to test the fit and function of turret traverse and barrel elevation. Some minimal sanding was required, the relocating of screw holes for the turret ring. Now both functions are smooth and easy. In this picture, you see the turret on an Egyptian era T-34, my test vehicle. Of course the final product will be on a time appropriate body with attendant colors and decals!

    Click image for larger version

Name:	IMG_1235.jpg
Views:	339
Size:	221.8 KB
ID:	406333

    Leave a comment:


  • FullySemiAutomatic
    replied
    Cool, I'm going to try it. Thanks!

    Leave a comment:


  • Rubicon99
    replied
    [QUOTE=FullySemiAutomatic;n395763]
    Originally posted by Rubicon99
    PART 2:


    Click image for larger version Name:	IMG_E6797.JPG Views:	0 Size:	236.9 KB ID:	222911
    Tracks prior to blackening with "Perma Blue" shown above.

    Click image for larger version Name:	IMG_E6800.JPG Views:	0 Size:	167.4 KB ID:	222912
    From silver to a super flat black/gray finish in under three minutes start to finish./QUOTE]​

    Hey,
    Not to revive an old thread, but please let me know how these tracks held up with the gun perma blue. I have the same stuff, but don't want to use it if it will rub off on my carpet.
    Been using "blue" on my metal tracks for more then ten years. It will wear off on the high points of the tracks just like real all metal track high points are worn to shiny bare metal.

    "Blue" (black oxide / rust) stays very well in the nooks and crannies and as the tracks become dirty from use it gives the track a "depth" of weathering. "Blue" will almost never wear off the majority of the tracks unless you drive in a lot of fine sand or silt which tends to act like sandpaper and wears the finish off.

    Here is what that track looks like today after four years of running outdoors. Also some other "blue" blackened tracks that are even older with more run time on them you can clearly see the average wear you should expect.

    If you want to see how my tanks are driven feel free to visit my Instagram @ fsttanks or my YouTube at Fsttanks1.
    Click image for larger version  Name:	7CF32AFE-184F-4A12-9E70-5C2E3E3F8295.jpg Views:	0 Size:	94.6 KB ID:	395766 Click image for larger version  Name:	CCD44E76-C6C7-4907-B8EC-EF564BFEF778.jpg Views:	0 Size:	133.2 KB ID:	395768 Side by side with another set of T34 tracks I did around the same time. The one of the left has about half the run time as the set on the right.

    Click image for larger version  Name:	09F40541-6E4B-4E13-9362-DB8A15CF9D28.jpg Views:	0 Size:	100.6 KB ID:	395767 These are T72/90 tracks that have been in service since 2018 and are used quite often. You can see how the blue "blackening" still has not worn off except where one would mostly see wear on the real tracks.

    Leave a comment:


  • FullySemiAutomatic
    replied
    [QUOTE=Rubicon99;n222908]PART 2:


    Click image for larger version Name:	IMG_E6797.JPG Views:	0 Size:	236.9 KB ID:	222911
    Tracks prior to blackening with "Perma Blue" shown above.

    Click image for larger version Name:	IMG_E6800.JPG Views:	0 Size:	167.4 KB ID:	222912
    From silver to a super flat black/gray finish in under three minutes start to finish./QUOTE]​

    Hey,
    Not to revive an old thread, but please let me know how these tracks held up with the gun perma blue. I have the same stuff, but don't want to use it if it will rub off on my carpet.

    Leave a comment:


  • SoCalBobS
    replied
    If you're asking about the Sherman, the gun comes with the tank, the instructions show where to put it. What tank are you asking about? Have you gotten one yet?

    Leave a comment:


  • Ace190
    replied
    Where do you get the machine gun on top? And how do you put it on?

    Leave a comment:


  • SoCalBobS
    replied
    I use double sided carpet tape. Very thin, very strong, and you can remove the items at any time.

    Leave a comment:


  • MrChef
    replied
    Originally posted by Ace190

    Thank you! But how do you get and put on bedrolls?

    Leave a comment:


  • Ace190
    replied
    Originally posted by MrChef
    Thank you! But how do you get and put on bedrolls?

    Leave a comment:


  • MrChef
    replied
    Originally posted by Ace190
    Where do you get those kinds of accessories?

    Leave a comment:


  • MrChef
    replied
    Originally posted by Ace190
    Where do you get the accessories? Bedrolls, tools, that kind of stuff etc.


    Leave a comment:


  • Ace190
    replied
    Where do you get the accessories? Bedrolls, tools, that kind of stuff etc.

    Leave a comment:


  • Ace190
    replied
    Where do you get those kinds of accessories?

    Leave a comment:


  • SoCalBobS
    replied
    Look this thread over for further information:

    I've noticed a couple of things, wondering if there is a connection. First, on eBay there are sellers advertising HL tanks with wifi FPV as part of the package. Second, on the HL MFCB there is a socket marked as 6V for wifi. Is it possible HL makes an FPV wifi unit, or perhaps a second party does? Alpha, or Motion RC, is this

    Leave a comment:


  • SoCalBobS
    replied
    try this.

    is it worth it? not in my opinion unless its more reliable

    Click image for larger version

Name:	T-72 20.jpg
Views:	1006
Size:	98.6 KB
ID:	297124

    Leave a comment:


  • dai phan
    replied
    Originally posted by SoCalBobS
    There'll be an extra sheet with your instructions that explains how.. You'll download an app on your phone. The sheet has a qr code icon to scan. The app uses your device's wi-fi hot spot feature.
    No extra sheet of any kind. Let me contact TH. Is this feature worth it? Dai

    Leave a comment:

Working...