


There'll be an extra sheet with your instructions that explains how.. You'll download an app on your phone. The sheet has a qr code icon to scan. The app uses your device's wi-fi hot spot feature.
-
The more screws it takes to reassemble a tank, the more likely it is you left something out! -
I've got the fpv from Toucan in my last 4 tanks and have found that it works okay in some, t34, kv1, and isn't that good in the chally 2 or the t90 . I'm wondering if it has something to do with the position of the wifi areal on the tank. You can see the stub areal on the t34 and kv1, but the others are concealed in the other 2. I'm also running a android phone whereas I've read a lot of you guys are running iPhone. I wonder if that makes a differenceComment
-
Howdy tank gang...
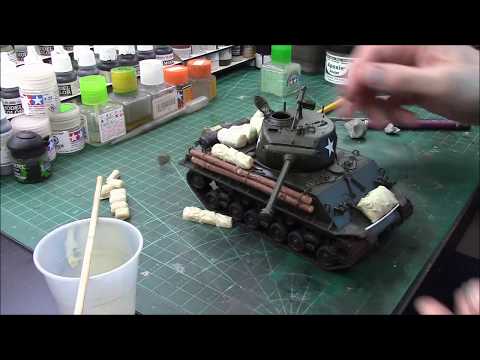
Dry fitting some additional details to the T34. As I mentioned in other thread, the commander hatch is inaccurate as the front panel should stand vertical with the curvature on top rather than laying flat on the bottom. I thought of the latter so now my crew sits too low. DaiAttached FilesComment
-
-
No extra sheet of any kind. Let me contact TH. Is this feature worth it? DaiOriginally posted by SoCalBobS View PostComment
-
try this.
is it worth it? not in my opinion unless its more reliable
The more screws it takes to reassemble a tank, the more likely it is you left something out!Comment
-
The more screws it takes to reassemble a tank, the more likely it is you left something out!Comment
-
Where do you get those kinds of accessories?Comment
-
Where do you get the accessories? Bedrolls, tools, that kind of stuff etc.Comment
-
-
-
-
-
I use double sided carpet tape. Very thin, very strong, and you can remove the items at any time.The more screws it takes to reassemble a tank, the more likely it is you left something out!Comment
-
Where do you get the machine gun on top? And how do you put it on?Comment
-
If you're asking about the Sherman, the gun comes with the tank, the instructions show where to put it. What tank are you asking about? Have you gotten one yet?The more screws it takes to reassemble a tank, the more likely it is you left something out!Comment
-
[QUOTE=Rubicon99;n222908]PART 2:
Tracks prior to blackening with "Perma Blue" shown above.
From silver to a super flat black/gray finish in under three minutes start to finish./QUOTE]
Hey,
Not to revive an old thread, but please let me know how these tracks held up with the gun perma blue. I have the same stuff, but don't want to use it if it will rub off on my carpet.Comment
-
[QUOTE=FullySemiAutomatic;n395763]Been using "blue" on my metal tracks for more then ten years. It will wear off on the high points of the tracks just like real all metal track high points are worn to shiny bare metal.Originally posted by Rubicon99 View Post
"Blue" (black oxide / rust) stays very well in the nooks and crannies and as the tracks become dirty from use it gives the track a "depth" of weathering. "Blue" will almost never wear off the majority of the tracks unless you drive in a lot of fine sand or silt which tends to act like sandpaper and wears the finish off.
Here is what that track looks like today after four years of running outdoors. Also some other "blue" blackened tracks that are even older with more run time on them you can clearly see the average wear you should expect.
If you want to see how my tanks are driven feel free to visit my Instagram @ fsttanks or my YouTube at Fsttanks1.
Side by side with another set of T34 tracks I did around the same time. The one of the left has about half the run time as the set on the right.
These are T72/90 tracks that have been in service since 2018 and are used quite often. You can see how the blue "blackening" still has not worn off except where one would mostly see wear on the real tracks.
Comment
-
Cool, I'm going to try it. Thanks!Comment
-
Starting a new project....a T-34/76. The replacement turret is 3DP design by "Winterhammer" on Cults3D. JVM3DConcepts printed it up for me. The first stage was to sand down some of the texture lines from the print. JVM uses a wonderful resin that is very easy to sand but is inherently quite strong. The second stage, the most important in my mind, was to test the fit and function of turret traverse and barrel elevation. Some minimal sanding was required, the relocating of screw holes for the turret ring. Now both functions are smooth and easy. In this picture, you see the turret on an Egyptian era T-34, my test vehicle. Of course the final product will be on a time appropriate body with attendant colors and decals!
The more screws it takes to reassemble a tank, the more likely it is you left something out!Comment
-
Should be a cool project. If you are interested and I know you don't have a 3D printer, but if you wanted to back date the fuel tanks they do have various ones on Cults. Both are in 1/35th scale, but I they should scale nicely to 1/16. They have either the square rear tanks or the rectangular tanks that were mounted on the angled sides.
Alternatively, I also have a set of the square tanks I won't be using for my T34S conversion that are the Trumpeter 1/16 kit version.Comment


Comment