SHOW OFF YOUR PAINTING WORK HERE

Collapse
X
Collapse
First Prev Next Last
 
  • Time
  • Show
Clear All
new posts

  • Grossman56
    replied
    Had a little 'incident' at the field a couple of weeks ago. I had damaged the tube in one of my Pandora's wings and tried to do a repair on it. Suffice it to say that the repair didn't work and the result was the wing removing itself from said Pandora. This poor bird has been through the wringer with me and at 7 years old, she's still a joy to fly. So, a new set of wings and center section were ordered ($20 for shipping!?!?!?!) and a rebuild around the landing gear slot was done. I've had the 'Art Scholl' wing scheme for several years now and it was time for a change anyway, so I when with a quasi Miss America design.
    From this:

    Click image for larger version

Name:	IMG_3616.JPG
Views:	604
Size:	124.4 KB
ID:	342093

    To this:

    Click image for larger version

Name:	20220408_092339.jpg
Views:	511
Size:	145.8 KB
ID:	342094

    As you can see, this is not a completed project, some touchups to do and some overspray to remove as well as the tail and nose to be completed. Instead of taping, I used cutouts as you can see under the wing. I pinned them in place and sprayed. It worked well and no paint being pulled up from the tape. Once the touchup is done, she'll get the usual five or six coats of Minwax so she'll shine like a little jewel and once more grace the skies.

    Grossman56

    Leave a comment:


  • Glam
    replied
    Following through on March Mayhem! Congrats to the winners! ..n numerous other fabulous jobs!
    Here are more pics on my A-4 entry.. seldom seen SEA scheme; only in Asia/New Zealand!
    Had fun n much sweat doing it!
    Attached Files

    Leave a comment:


  • Elbee
    commented on 's reply
    Great repaint. Best, LB

  • lusek_pl
    replied
    My AN 2

    Leave a comment:


  • Elbee
    commented on 's reply
    SN, I pull the LG first, tape off the strut where it compresses into the larger strut. Then scuff the parts with 0000 steel wool, wipe everything down with alcohol, and spray 2 coats of Rustoleum Clean Metal Primer. The finish is a very light grey but weathers nicely. It seems like the finish still chips easily, but looks decent. Touch up is simple, I spray the primer onto cardboard and bush paint the scratches. Hope this helps. Best, LB

  • subhan.nasir
    replied
    Hi guys, will someone be nice enough to share how they prep and paint landing gear on their freewing jets please....

    Leave a comment:


  • t33jetman
    replied

    Leave a comment:


  • Grossman56
    replied
    T33, you knock it out of the ballpark yet again!

    Grossman56

    Leave a comment:


  • Aros
    replied
    Definitely on my Wish List.

    Leave a comment:


  • Elbee
    commented on 's reply
    Thanks. She is a beauty, Sir. Best, LB

  • t33jetman
    replied
    Originally posted by Elbee
    t33jetman, Whose kit is that and what is the wingspan? I really like the detail. I am pondering the possibilities. Best, LB
    HSDJETS USA
    2000mm wing span


    Leave a comment:


  • Elbee
    replied
    t33jetman, Whose kit is that and what is the wingspan? I really like the detail. I am pondering the possibilities. Best, LB

    Leave a comment:


  • Aros
    replied
    Beautiful!

    Leave a comment:


  • Elbee
    replied
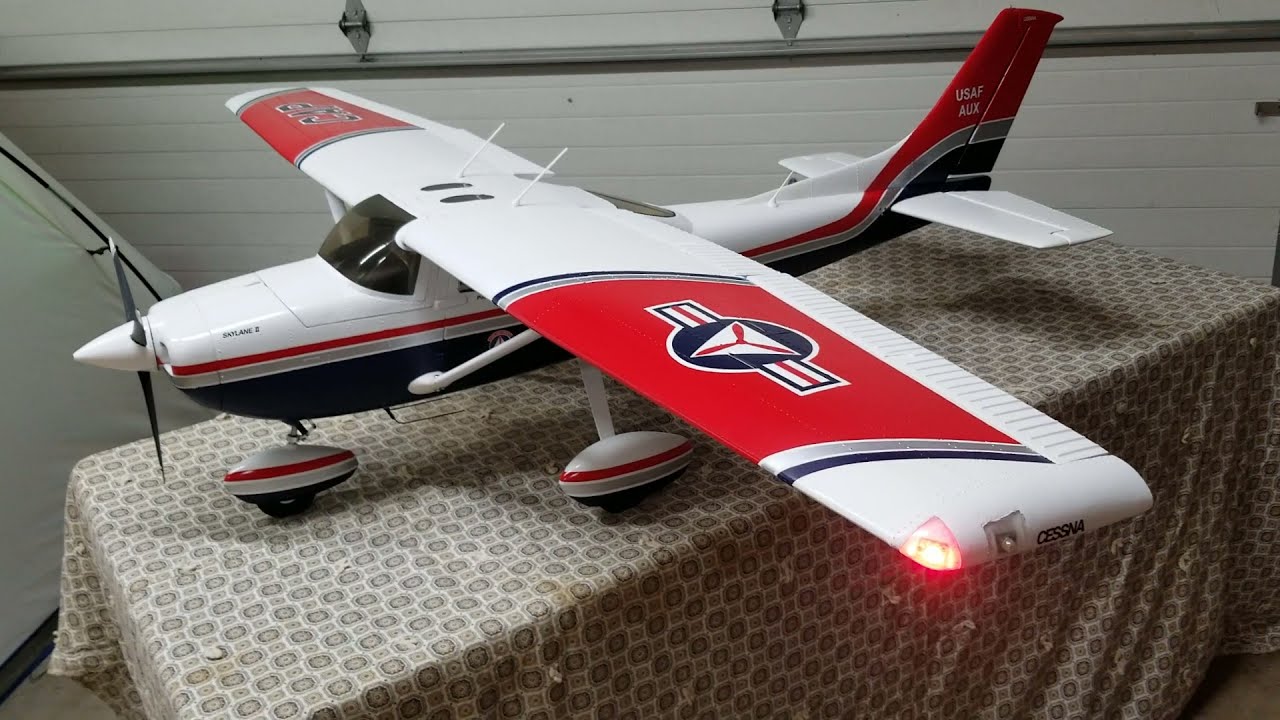
    T3, Very nicely done and really diggin' the CAP livery a lot on that airframe. Great work as per usual. Best, LB

    Leave a comment:


  • t33jetman
    replied
    Click image for larger version

Name:	218449943_4019018794800097_7226635536930157425_n.jpg
Views:	743
Size:	80.2 KB
ID:	321189Click image for larger version

Name:	216374208_4019018448133465_129957034433356802_n.jpg
Views:	778
Size:	105.0 KB
ID:	321190Click image for larger version

Name:	217977404_4019018644800112_4891774013716601100_n.jpg
Views:	752
Size:	128.0 KB
ID:	321191Click image for larger version  Name:	224091466_4066962256672417_4794155670530862713_n.jpg Views:	0 Size:	64.3 KB ID:	321185Click image for larger version  Name:	214572488_4019018321466811_243236490040093578_n.jpg Views:	0 Size:	196.3 KB ID:	321186
    Attached Files

    Leave a comment:


  • James
    replied
    Those are really well done.

    Leave a comment:


  • Grossman56
    replied
    Looks great Greyfly, welcome to the Squawk!! I love pictures that challenge the eye to figure out whether its the real airplane or a scale model. Yours do exactly that, good job!

    Grossman56

    Leave a comment:


  • Greyfly
    replied

    Leave a comment:


  • Grossman56
    replied
    Wind was okay Saturday morning but got up around 11, this morning it was up and down and from every direction, got 4 flights in and called it a day, may try again after dinner as it seemed calm yesterday.

    Leave a comment:


  • davegee
    replied
    Originally posted by Grossman56
    Hey Dave, I was going to but its the same day as I have to go for my second Covid shot, our appointment is at 10:30 which is right in the middle of the swap meet. I really wanted to go but what can you do. This weekend is supposed to be great, and I have Sat and Sun off, so I'll be heading for the field if the wind holds off.

    Grossman56
    Sounds like a good plan! I'm hoping we are just starting into the great flying rc aircraft season!

    Dave

    Leave a comment:

Working...