-
Thanks Steve, Never been shy about a little self promotion!Originally posted by Elbee View Post There might be a certain F4 Jolly Rodgers pop up in the near future as well.
Leave a comment:
-
I would like to congratulate Hugh Wiedman!
Why, you might ponder?
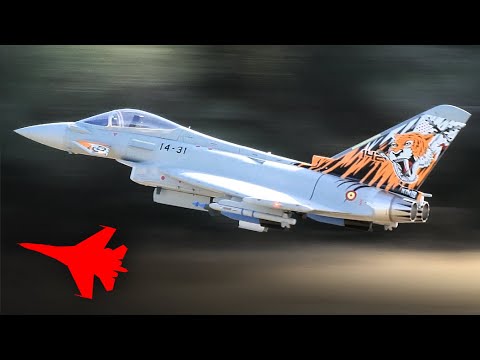
His Freewing Eurofighter is in the latest AMA Magazine, Focal Point Section and she's a Beauty.
Nicely done, Hugh, as per your usual.
Best, SteveLeave a comment:
-
Thanks Elbee! :)
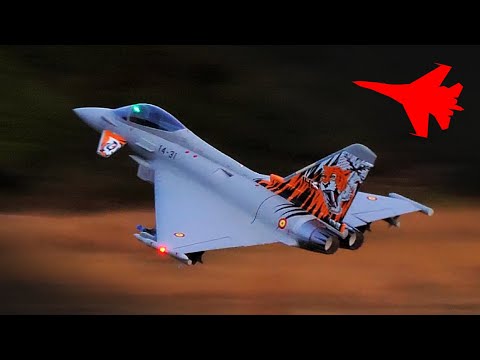
Granted I've been flying for a long time but I get the feeling that the Eurofighter makes it particularly easy to shine and look good in the air. This bird is truly special!

Leave a comment:
-
Airguardian, Tremendous flight video. That's what I would call "Passing your Quals", Sir. Best, LBLeave a comment:
-
https://kmrcmodel.com is what we use these days. They're priced really well and have an instant-on burner system that's fully customizable.Originally posted by Elbee View PostLeave a comment:
-
Jon @ Two Bros RC Great video review and debrief. Which Afterburner did you install. Love the Flicker. Best, SteveLeave a comment:
-
Leave a comment:
-
It's 55-60mm behind the marks with a small amount of weight as far back in the tail (under the rudder) as I can get it.Originally posted by Hugh Wiedman View PostLeave a comment:
-
Jon, do you mean 55-60mm behind the factory recommended balance point? My 8S is about 25mm behind that point and from the looks of your battery placement, I assume you're 55-60 mm behind the factory balance point. I have to remove some stuff and maybe even add some tail lead to get there, but judging on your flight videos, it seems to fly great there.Originally posted by Jon @ Two Bros RC View PostLeave a comment:
-
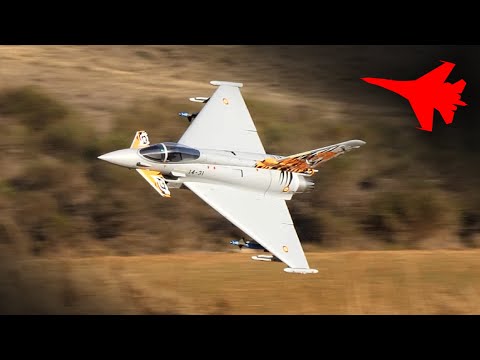
Bringing some aggressive scale flying... flying at this place often gives me Mach Loop vibes!


Leave a comment:
-
Got mine back up after the battery tray mod I did late last year. This is a still shot from next Saturday's "1 Year of Perfection" - easily the best jet of 2023 by far. I love the stock 6 cell setup - it's stupidly overpowered. I'm balancing about 55 to 60mm behind the wing marks. I decreased AS3X priority so the gyro overrides my stick inputs so that I can't overcontrol the jet - just like the full scale flight computer works. It's so nice like this.
Leave a comment:
-
Hi Kallend, your RAF Typhoon is fantastic! I've finished the top of the wings, but working on the Callie vertical stabilizer and the bottom of the wings feels a bit challenging. Aligning the vertical stabilizer is tricky, and dealing with all those angles, servos, bumps, and holes can be intimidating. I've accidentally cut into the foam, leading to some touch-up work on one side of the vertical stabilizer. Any tips, tricks, or advice for covering these parts? Thanks a bunch!Originally posted by kallend View PostLeave a comment:
-
Wheel cover for the stock main wheels:
Leave a comment:


You must Sign-in or Register to post messages in the Hobby Squawk community
Registration is FREE and only takes a few moments


Leave a comment: