-
I'm watching the live stream recording now and I'm super impressed with these two models. I'm especially impressed with the covering and detail it contains on the Zero.Leave a comment:
-
Here is a pic of a Zero on floats, might be a nice conversion to a seaplane...
Leave a comment:
-
Leave a comment:
-
James, Too bad there isn't a Hellcat to keep that Zero in check :astonished:Leave a comment:
-
As I started to clean off the table and get the parts back in the box, I couldn't help but do a quick dry fit of the wings and...
I'm speechless!
This Friday at 12pm ET we will be live on YouTube showing off this kit and the P-40C Warhawk from Black Horse as well. Alpha will be joining us and we will show and answer any questions you might have about either kit or any other Black Horse models.
Join us here:
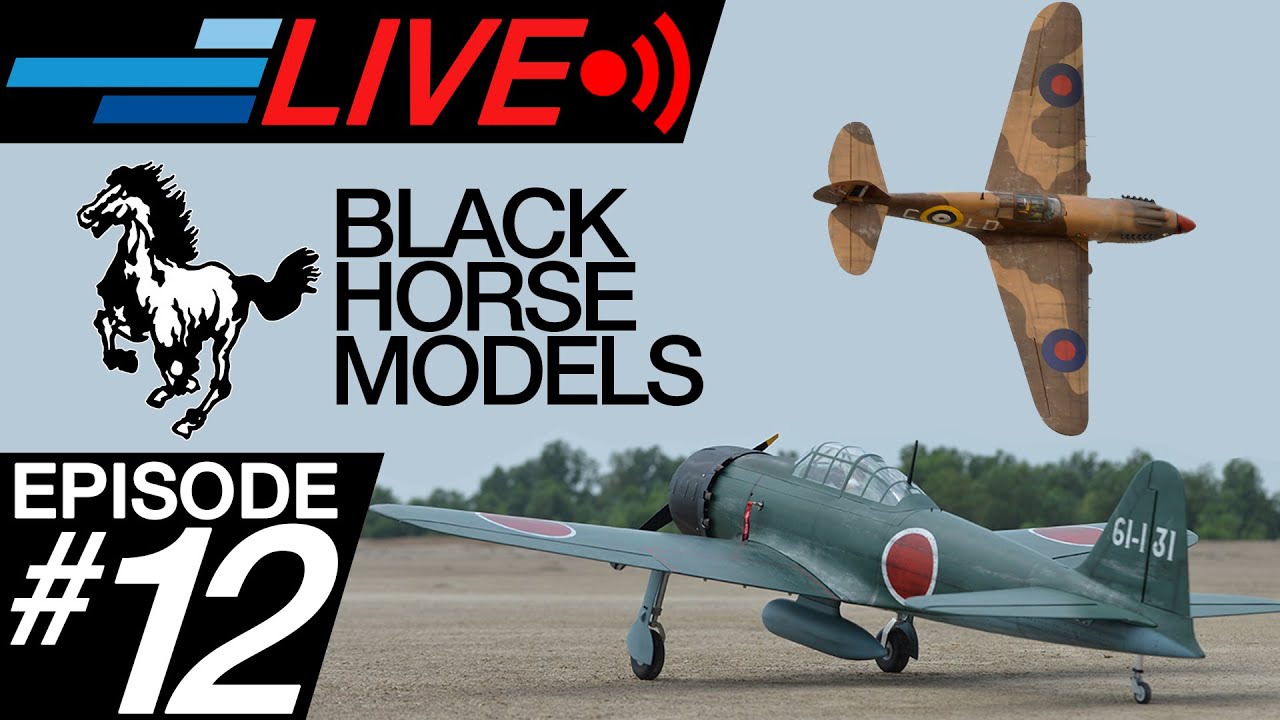
Leave a comment:
-
So here it is. The entire Kit laid out on my 8' table and while it appears daunting, looks like a pretty straight-forward assembly that will just take a good few nights to complete. I am super excited to get started once my electronics arrive.Leave a comment:
-
The sixth and final box in the kit is also the largest. This holds your 2 wing sections, horizontal stabilizer, rudder and some covering patches for mistakes that may come. At this point it further excited me seeing the covering again like the fuselage has. From all angles and sides the finish is stunning. You can see the control surfaces are taped down nicely for transport. All the servo hatches are machines perfectly and the covering matches up well. Looking on the sides of the wings you see your guide stringes, awesome ribbing and pvc embedded for the spar.
This Zero needs to maiden like yesterday at this point
Leave a comment:
-
The fifth box held mostly accessories. Here you get the pilot who is like most black horse pilots but I am going to try and detail him more with some washes. They include a control stick (love that little detail) as well. The awesome drop tank is here and the accessories to mount it. You get your wheel wells an antennae and your faux nav lights. The nav lights and the window are separate so one could easily add their own lights if wanted.Leave a comment:
-
The fourth box held lots of mounting hardware, your control horns, clevises and hinges, the spinner and back plate, the fuel tank and plugs, some firewall mounts, a CG machine (love these) and some accessories like the exhausts for around the cowl. Overall everything looks great here.Leave a comment:
-
The third box held all the landing gear and hardware to get them installed. The beauty of this kit shines in these awesome electric retracts. They are solid CNC machined oleo struts that should more than carry the 22lb-26lb all-up weight of this bird once completed. You get 2 5 inch tires. The tail wheel (fixed) with the pull-pull wires and bits. Then you also get the Electric Landing Gear Controller too.
I love how each box and baggy basically resemble each step in the manual. There will really be no guessing as to what pieces to use for any section.Leave a comment:
-
The second box held the 2 different sized motor mounts (gas or electric). The structure of these is solid and well-crafted. I also really love how nicely they are laser cut and slot perfectly into place on the fuselage. 4 nice notches and 6 screw holes will mount either one easily.Leave a comment:
-
The first box I dug into held the cowl and the faux radial. The cowl is beautifully crafted with the flaps and detail. The radial is just plastic but looks like some easy airbrushing and dry brushing and you can really make it look detailed. It looks mean on the front of the fuselage too. I couldn't help of dream of maiden day on this! :star_struck::star_struck::star_struck:Leave a comment:
-
Once the fuselage is out you will remove 6 total boxes inside which are various shapes and sizes. They are all taped down in the box nice and secure too, no need to worry about damage with these. Also the wing spar and a few control rods are taped to the side of the box as well. Be sure to remove those (3 long threaded rods, 1 thin rod and 1 piece of tubing, 1 wing spar)
Now lets go into each box in the next postsLeave a comment:
-
The first thing out of the box is the Fuselage and right away you can just fall in love with the covering on this aircraft. The riveting detail and weathering are truly stunning up close and I hope these pictures can show just how beautiful it is.
Removing the canopy you can see the nice detail in the cockpit from the gauges to the walls and seat, it is decked out beautifully. The hatch itself is over half the length of the fuselage and upon looking inside 2 things really jump out:- the size of the space in the hatch. Whether you want to go Gas or Electric, you have plenty of access here to maneuver and fit everything you could ever want.
- The craftsmanship. I mean WOW! I couldn't imagine building a model myself that could look this good and if I even could, I wouldn't want to think about the time it would take. It's truly a beauty.
Leave a comment:
-
Hey guys, filmed an unboxing today of this gorgeous A6M Zero and took a bunch of pictures of the pieces as they come out of the box. I will start posting each group in successive posts. Overall, what an awesome ARF! I am so excited to get this one together. Unlike the P-40, I will be setting this one up for electric as soon as we get our new larger Admiral motor that can fly this baby. But I have servos on the way and can at least get started installing everything up to the point of the motor install.
The box is a large one too. Thats an 8' table the box is sitting on.
Leave a comment:




Leave a comment: