


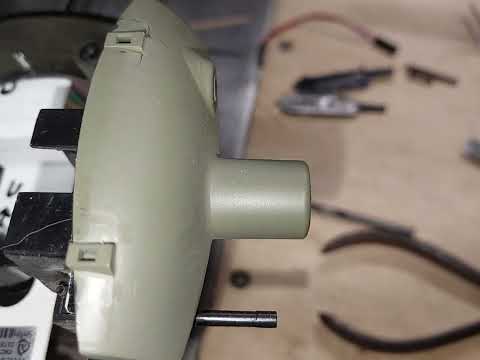
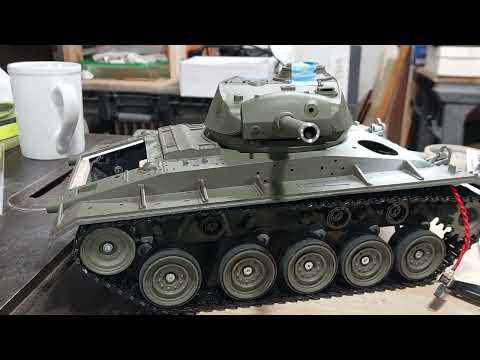
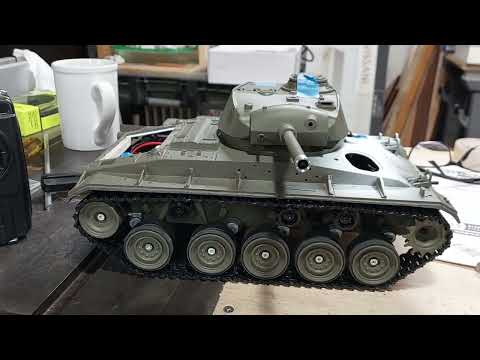
I shortened the tube & gun barrel, and here's a short video.
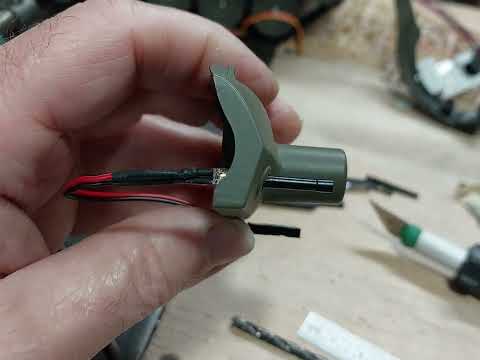
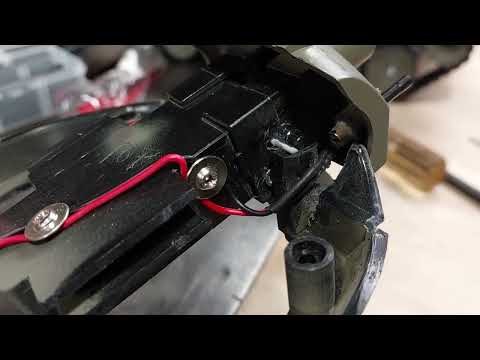
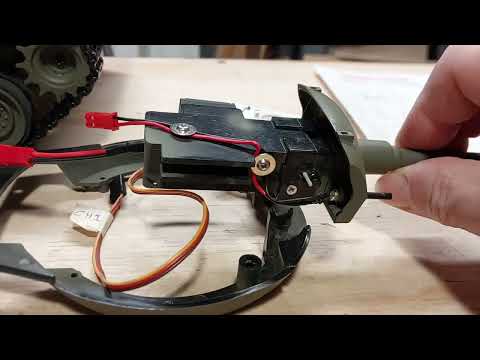
I still didn't have much room for the LED wires. So, I removed the corner from the gun pivot post, and I widened the slit where the wires will be routed, and I even used a round needle file to make a groove on the side of the gun pivot post. I'm happy that there's room for the machine gun modification to work.


I still didn't have much room for the LED wires. So, I removed the corner from the gun pivot post, and I widened the slit where the wires will be routed, and I even used a round needle file to make a groove on the side of the gun pivot post. I'm happy that there's room for the machine gun modification to work.


Comment