


Attached Files
-
I'd add that anyone who wants to design and sell their own 3DP sets, by all means, jump in. We hope our aircraft are worthy canvases for everyone's creativity, be it paint, 3DP, scratchbuilding, or other customizations.
-
I love seeing the enthusiasm and ingenuity, guys, thank you for your support! A few responses and tips:
*RCJetDude, I know you already know this, but long overhangs will kill your efflux, so be sure to extend your stock foam nozzle's inner diameter outward to the lip of your custom extended 3DP nozzles.
*Acetone vapor smoothing has been shown to work for ABS and some types of PLA, but as always, test your specific filament first. Not all PLAs are the same.
*As some of you have commented, matching the print quality, resolution, and finishing of our industrial printers here at the factory isn't easy. We provide the files for free because we want people to try it, understanding that they're putting in their own time to work it all out. Some of us like to tinker. For those wanting to avoid all the technical aspects of taking a file to an actual high resolution print, I'd agree with the observation that our pre-printed sets are very reasonably priced.
*The nozzles are intended to slide over the stock foam nozzles in seconds, as shown in our installation video. Slicing the foam and the 3DP both to shorten to a more accurate total length is possible for those wanting even more accuracy, although be mindful that the foam nozzle's ID is not concentric a couple centimeters inward from the outlet, so don't cut too deep.
*Regarding reselling or otherwise monetizing our files, yes, for now we are not permitting such a thing. We want the files to remain free to help jumpstart interest in this initiative.Leave a comment:
-
Here’s a better look at the finished product in place with little exhaust and weatheringLeave a comment:
-
Using .2mm layer height. They both printed very well. I'm actually pleased with both of them. There a little surface roughness to them, so I'm going to try printing at .1mm just for S & G's to see what happens.Leave a comment:
-
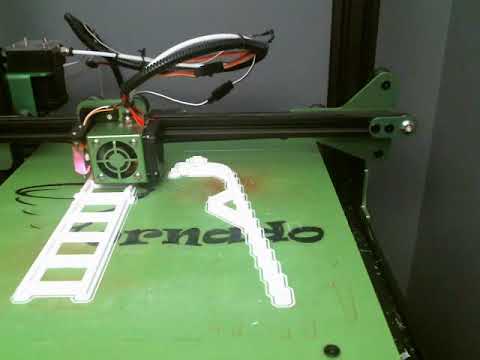
1st attempt at printing the ladders. Trying different placement positions to see if it affects final print quality and removal of supports.
 Attached Files
Leave a comment:
-
-
The glass transition temperature of PLA is about 60C, much lower than the nozzle temp for printing. It seems to a me a cockpit in the sun could easily get this high. But if it gets around this temperature for about 40 minutes and slowly cools, it could actually benefit your parts by annealing them:
I have not annealed PLA (at least not on purpose), so I can't compare pre and post-annealed parts.
Leave a comment:
-
-
The "pull over visor" is superior to it's predecessors in that it's lighter, offers better fit and protection to aircrew, improved peripheral vision and allows the crewmember to easily switch between clear and tinted visors while flying.
As good as it is, it is being replaced by helmets that project imagery onto the visor greatly increasing the aviator's situational awareness. Of course, I think those look ridiculous.
Leave a comment:
-
I have some ABS but just no experience with the PLA parts in the cockpit. Everything I am printing will be painted. The nozzle temp for PLA is between 180-210C to melt it and there is no way the cockpit will ever get close to that temperature but I am so new to this I may be overlooking something. When PLA breaks down from UV what does it do? Crack?Leave a comment:
-
I'm using PLA currently to try and get a good set of prints. I do plan to print using ABS and PETG. Problem with PLA for plane parts is that apparently it is UV light sensitive and heat sensitive, so it will break down over a relatively short amount of time (compared to ABS/PETG). I'm wondering if the parts are painted if that will help with longevity.Leave a comment:
-
-
You can acetone smooth PLA? That's the first I've ever heard of that. what brand do you use?
With the typical gatoring inside a cockpit with foam, I'm a bit worried about trusting PLA for printing the parts, as it is one of the lower heat resistant plastics for 3D printing. Might not be an issue for the instrument panels, but for the ejection seat hoops, those might start to warp/sag in heat.Leave a comment:
-
I do use PLA on anything non structural. I find it easier to finish, particularly since it can be smoothed with acetone. Please excuse the focus andrough paint job on Col. Olds head here but notice how smooth I was able to get the helmetLeave a comment:
-
So are you guys using PLA for the cockpit parts as well? Just curious.Leave a comment:
-
Well, interestingly enough, my printer is a "plug and play" one. The software is called AutoMaker, and it is proprietary to the printer.
I've got 3 basic levels of detail to select from with standard printing, or I can select a spiral mode. I've never dug into the custom settings much. Looking into it, the fine settings are
.10mm layer height 40% fill, 3 perimeters, speeds are .8mm/s on first layer, 25mm/s pretty typical elsewhere, i'm using a .3mm nozzle and printing with PLA
It also calculates all its own supports, you can see those in my earlier picture as the lattice work underneath parts
Temperatures are read from an EEProm on the spool, including bed and head temps
Leave a comment:
-
Based upon my current printing attempts, I agree 100%
bbaumer, what speed and other basic settings are you using, if you don't mind sharing?
I'm using Simplify 3D printing at .2mm layer height, 2 perimeters, 100% infill (not that it needs that much, 30-50% would probably work well), 210/60C temps, at 50mm/s.
Leave a comment:
-
Here's my best shot at some cockpit panels. I'm coming to the conclusion it's going to be very difficult to recreate the quality you see in Motions pre-printed parts on any level of hobbyist 3D printer. I think I'll be able to get "good enough" level, but at the price of $20 or so the factory prints will be a bargain and will likely be the highest quality prints available. For those of you thinking of buying a printer, keep this in mind.
Leave a comment:
-
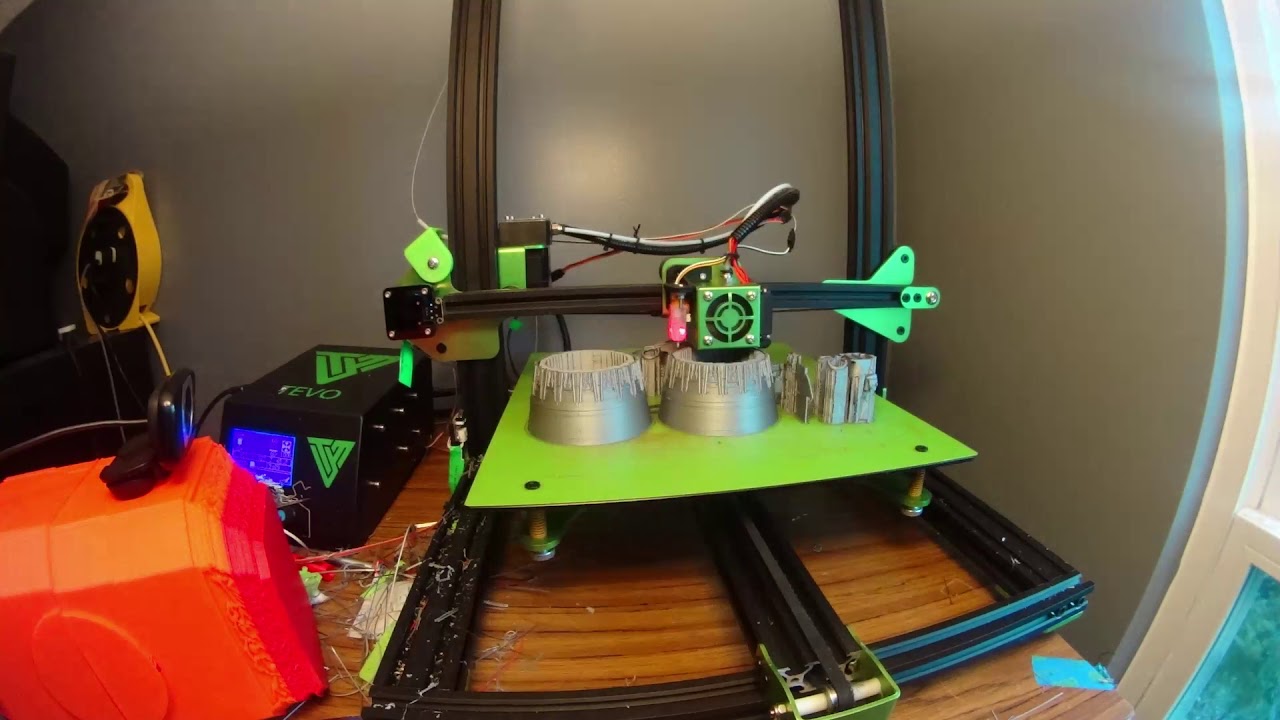
2nd print attempt with white filament, changing the object positions (flipped the nozzles, adjusted the panels). Greatly reduced the amount of supports just to see what happens. Hoping for "cleaner" parts. Reduced the print time by several hours.
Leave a comment:


Leave a comment: