


Gosh, both of those L-39s are really special! Hats off to both of you!
Callie's business must be booming :Cool:
-
I did have several small areas that did lift and removed the base layer of paint down to the foam. I used a good model paint tape from the LHS for plastic models and had great edges but the paint did bleed in the recessed panel lines but was easily cleaned up.Originally posted by flyinhigh042 View Post
I decanned the paint and just touched up where needed adn all was well.Leave a comment:
-
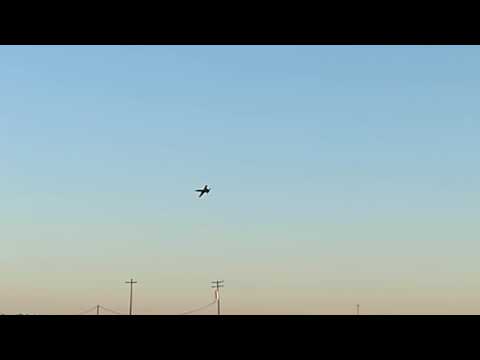
After flying the L-39 for a few months I decided it was time for a fresh look. I have seen the Patriots Jet Team perform multiple times at the Reno Air Races. So I figured, why not? Introducing the Freewing 80mm Motion RC, Callie Graphics, Patriots #6 L-39. The only problem is, with the shiny black finish, it’s now allergic to prolonged direct sun exposure. I’ll have to be careful! I also added a Gooniac afterburner. So cool. Can’t go without thanking Callie Graphics for the custom Patriots vinyl. Awesome. And goes without saying, thanks to Motion RC for the awesome jets and great service.
Attached FilesLeave a comment:
-
-
Looks amazing! I just finished my first (very basic) attempt at re-painting the L-39. How did you manage to mask the lines without pulling up the underlying paint? Well done!Originally posted by sam51401 View PostLeave a comment:
-
For anyone looking for that "special", not doing cookie cutter scheme, here is mine I finished and flew at the Jet Jam this weekend.
Contact Callie if your fine working with large graphics on compound curves. Stock from box on electrics and using Roaring Top 5000 6s 45c. Flight tip, front of battery was placed 1/4" aft of front edge of battery tray. Very neutral cg location as invert takes little to NO elevator to maintain level. Sweet spot found!
Attached FilesLeave a comment:
-
-
I fly all my jets on one rate only, here are the rates for my L-39 for nice smooth scale flying.Originally posted by thisguy65 View Post
Ailerons- 16mm up/dwn, linkage in the 3rd hole in on the servo horn
Elevator- 16mm up/dwn, linkage in the 2nd hole in on the servo horn
Rudder is whatever you need
CG is at 110mm, little farther back than the recommended 103mm.
Hope his helps you.;)
Love the new Camo version, number one flyer now...........LOLAttached FilesLeave a comment:
-
-
1st one turned out okay! Might have gone a little heavy on the weathering but won’t see it once it’s in the air
Attached FilesLeave a comment:
-
-
Finally got around to removing the supports and giving it a sand. It’s come out pretty good. Having some trouble getting on the pylon at the moment so might need some more sanding.Originally posted by James View Post
Will give it a shot of primer and then silver hopefully over the weekend and then print out a second oneAttached FilesLeave a comment:
-
-
what do you mean by back to front?
nvm I see it tip of star pointing aft instead of forward.
cant see that crowd booing that when you go sizzling by lolLeave a comment:
-
Sam51401, the Geeetech A10 looks a lot like the Ender3. Are you using a particular slicing software? We may want to take this over to the 3D Printing thread as you will likely get a lot more assistance from those with a lot more knowledge than even myself.Leave a comment:
-
I am having resolution problems on the instrument panels. Geeetech A10, .4mm, 30mm speed and .1mm resolution. What position is best to print these as im doing it flat to the plate. Should i be doing them vertically? The seats came out ok but the instrument face plate and side panels being thin and then have th esupport pegs on back makes the supports hard near impossible to remove. Rank beginner I am! Help me Obi OneLeave a comment:
-
Very nice!
Unfortunately I can’t print vertically as my
machine is just to short for this model (ask me how I know) this is how mine came out overnight. My supports are thick along the base so will have to be careful removing them off the tubes.
Thinking I might split the file along the line towards the rear which will allow me to print two pieces vertically
Attached FilesLeave a comment:
-
-
Did you alter the overhang angle? If you leave it at 0 degrees, supports become almost one with the build, going over 45 degrees, supports have enough space between the print while giving the rigidity for it to build clean. 90 degrees is basically no support.Originally posted by Jez_AU View PostLeave a comment:
-
Don’t do supports everywhere, I did that on my first attempt and it put supports inside the tubes, my second attempt was with base supports only and that worked however they broke the tubes when removingOriginally posted by James View Post
Look forward to your reply in 13 hours!Leave a comment:
Leave a comment: