You must Sign-in or Register to post messages in the Hobby Squawk community
Registration is FREE and only takes a few moments

Register now

Announcement

Collapse
No announcement yet.

Official Freewing 70mm F-35 V3 (2019 Version) Thread

Collapse
X
Collapse
First Prev Next Last
 
  • Filter
  • Time
  • Show
Clear All
new posts

  • RichJ53
    replied
    Originally posted by Alpha View Post
    Pick up a copy of this month's Model Aviation to see a special "How It's Made" article we provided to show a bit more behind the scenes to bring models from our desk to your hangar.

    One of the steps we discuss in the article is painting. I could spend an entire magazine discussing this process, but in the meantime here are a few more centering on our newest Freewing 70mm F-35. The paint masks are made from sheets of copper. They are molded and hand shaped to conform to the surface of the foam down to every panel line. Due to the size of the model, many masks were required to depict the intricate RAM paneling typical of the F-35. It is far and away our most complex 70mm class EDF to date.


    The bottom fuselage alone requires six of these overlapping masks, plus the topside fuselage, wings, intakes, nozzle, and other parts, comprising a single masking set. Below we can see the large paint mask needed simply to mask off the intake color. The copper isn't visible under the paint, but the mask is cleaned frequently to maintain performance.


    Multiple sets of paint masks are created to meet the production rate across multiple painting booths. Each painting booth uses water catchment systems (the blue/gray "floor" seen in these pictures is actually circulating) and air filtration/ventilation systems that meet increasingly strict environmental standards. After painting the F-35's six colors, the models are cured then set for decaling, yet another process along the way...


    Hopefully this peek behind the scenes gives you yet another reason to value your F-35. Thanks again for your support!
    Alpha
    Thank you for sharing, I have been on vacation and my magazine is unopened in the mail bag :) Great work, raising the bar with every new jet!!

    Rich

    Leave a comment:


  • Dirty Dee
    replied
    Originally posted by Russ View Post
    Hopefully going to maiden the F35 tomorrow. I added some visibility (I hope) with bright white paint around the wing edges, on the nose cone, and on the ends of the flying elevators.
    Looks good!

    Leave a comment:


  • Russ
    replied

    Hopefully going to maiden the F35 tomorrow. I added some visibility (I hope) with bright white paint around the wing edges, on the nose cone, and on the ends of the flying elevators. It balances right on the spot identified herein. I'm using 6S-5000 "wide body" Admiral lipo. Got it from a buddy who got it from Motion a year or two ago...it looks like two three cells put together and then one EC5 lead...fits perfectly.

    I have FrSky setup with X6R rx with voltage telemetry. Full throws on control surfaces with 50% Expo on ailerons and about 40% Expo on elevators on a straight forward setup.

    Will let her land fast so I don't get too slow and drop a wing, etc...have plenty of concrete runway so I will use it.

    Fingers crossed!

    Click image for larger version

Name:	F-35 White Trim.jpg
Views:	885
Size:	68.8 KB
ID:	203105

    Leave a comment:


  • uscanuck1xa
    replied
    I have installed a Lemon RX DSMP/X Compatible 7-Channel Receiver With Stabilizer PLUS & Diversity Antenna (End-Pin) in mine. I am using a DX9 for a transmitter. If anyone has a similar setup and doesn't mind sharing their settings it would be much appreciated.

    Leave a comment:


  • Captain Moron
    replied
    OK Thanks ,that would be great if you could do that for me

    Leave a comment:


  • RCjetdude
    replied
    No it doesn't need to be on the CG. I will get mine out of my trailer and get a pic of it for you showing where mine is.

    Leave a comment:


  • Captain Moron
    replied
    I have been told the Gyro needs to be installed on the point of the G of G .I have my C of G on the little plastic square on the wing making all most impossible to put the Gyro there in the fuselarge .So where has everyone put their Gyro in the fuselarge ?Does it have to be right on the C of G or will it OK up in the front of the Battery bay next to the recediver

    Leave a comment:


  • Aros
    replied
    I dig that green on that navy blue! Might have something to do with being a diehard Seahawks fan! LOL

    Leave a comment:


  • RCjetdude
    replied
    Originally posted by MOFO1 View Post
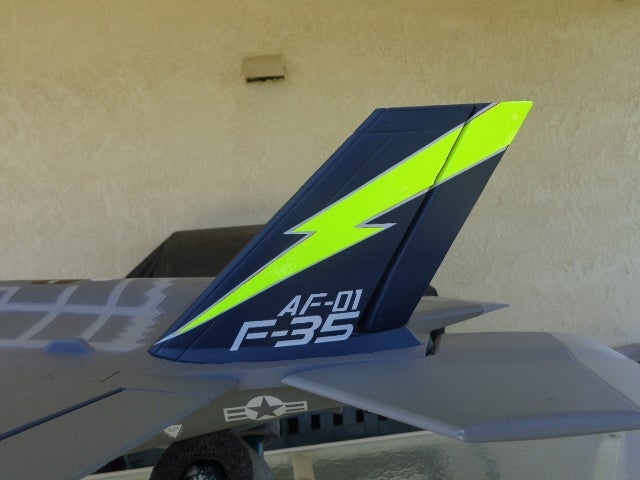
    Took some artistic liberties. After all it is a Lightning. Actually was trying to get better visibility for me old eyes. Now that I have a better feel for the F-35, I keep it close.

    Hard to miss that tail flash! :Cool:

    Leave a comment:


  • RCjetdude
    replied
    I fly mine with a Hobby Eagle A3-L and am constantly told how locked in and smooth it flies. The gain is not set that high (about 10 o'clock). I am a gyro guy. I like them. Do I need them to fly? Not at all but the F-35 does benefit I think from one IMHO. What is it doing on landing? Mine slows down great and that is another area where I think a gyro can help with this bird.

    Leave a comment:


  • Captain Moron
    replied
    Thinking of installing a gyro ( Eagle A3-LVZ Giro from Motion RC ) in my F35 to help on my landings .Does it make that much difference ,I have never flown a model with a Giro before .Just a bit sceptical on some gimmicks . So is a Giro a plus or just another gimmick that is not really needed ?

    Leave a comment:


  • icepirate3
    replied
    Love those factory pictures Alpha! It really is a nice reminder of the human touch that's still used on these (and other) models.

    Leave a comment:


  • Quax
    replied
    Just did the maiden flight of my bird. Bungee launch with hook placed just behind the nose gear. Worked beautifully, flew nicely without much trim needed. However, CG was off a bit as I have an SLS 5000 mAh which is a bit heavier than the Admirals. Thank you Alpha and all guys at Freewing for this really nice model!

    Leave a comment:


  • Alpha
    replied
    I find applying decals to be very relaxing and therapeutic. Our decal application team at Freewing averages six years of decal experience. They've worked so long together that they don't even need to talk much to teamwork their way through a pile of airplanes in short order. It's quite melodic to watch. 'Very proud of them!

    Click image for larger version

Name:	DSC04075 - Copy.JPG
Views:	1155
Size:	134.0 KB
ID:	202679

    Leave a comment:


  • Alpha
    replied
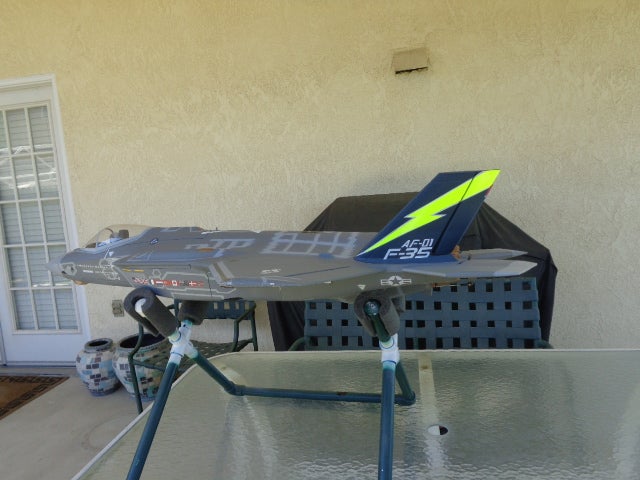
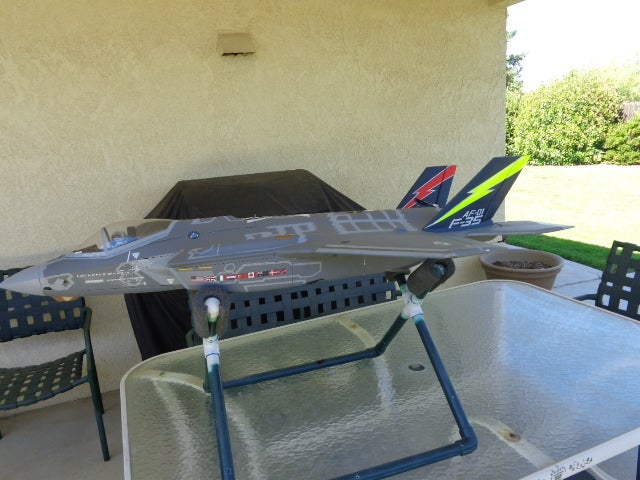
    Nice, it reminds me of the Seattle Seahawks color scheme... Aros will love this!

    Leave a comment:


  • MOFO1
    replied
    Took some artistic liberties. After all it is a Lightning. Actually was trying to get better visibility for me old eyes. Now that I have a better feel for the F-35, I keep it close.

    Leave a comment:


  • Quickstop
    replied
    Originally posted by Russ View Post
    Wow Nomisbob...super nice...did you take off gray paint first and get down to foam?
    I'll bet he just painted over it

    Leave a comment:


  • Quickstop
    replied
    Originally posted by Nomisbob View Post
    Hello.
    I Painted mine so that is more easy to see while flying .grey steathy planes are hard to fly..especially in grey skies.
    came out pretty good. Got the scheme from real f 35 thunderbird..
    I don't think there is a thunderbird painted F35, I believe lockheed Martin came up with that as a virtual paint job. ( that they'd like to see happen)
    Looks great, I was just looking at those pics thinking I'd like to do the same thing. Did you get the decals from Callie?

    Leave a comment:


  • Russ
    replied
    Wow Nomisbob...super nice...did you take off gray paint first and get down to foam?

    Leave a comment:


  • Quickstop
    replied
    Originally posted by RCjetdude View Post
    I set my elevator throw at just under the manual high rate value. Seems fine for my style of flying. 5/8" measured from the front of the stab. I know the manual is a little screwy calling elevator flaps and not labelling the elevator travels.
    When are Freewing manuals going to catch up with the improvements in their planes? I mean really, how hard could it be? Just look at an eflite manual and then a freewing one, it's embarrassing how bad the freewing manuals are.

    Leave a comment:

Working...
X