


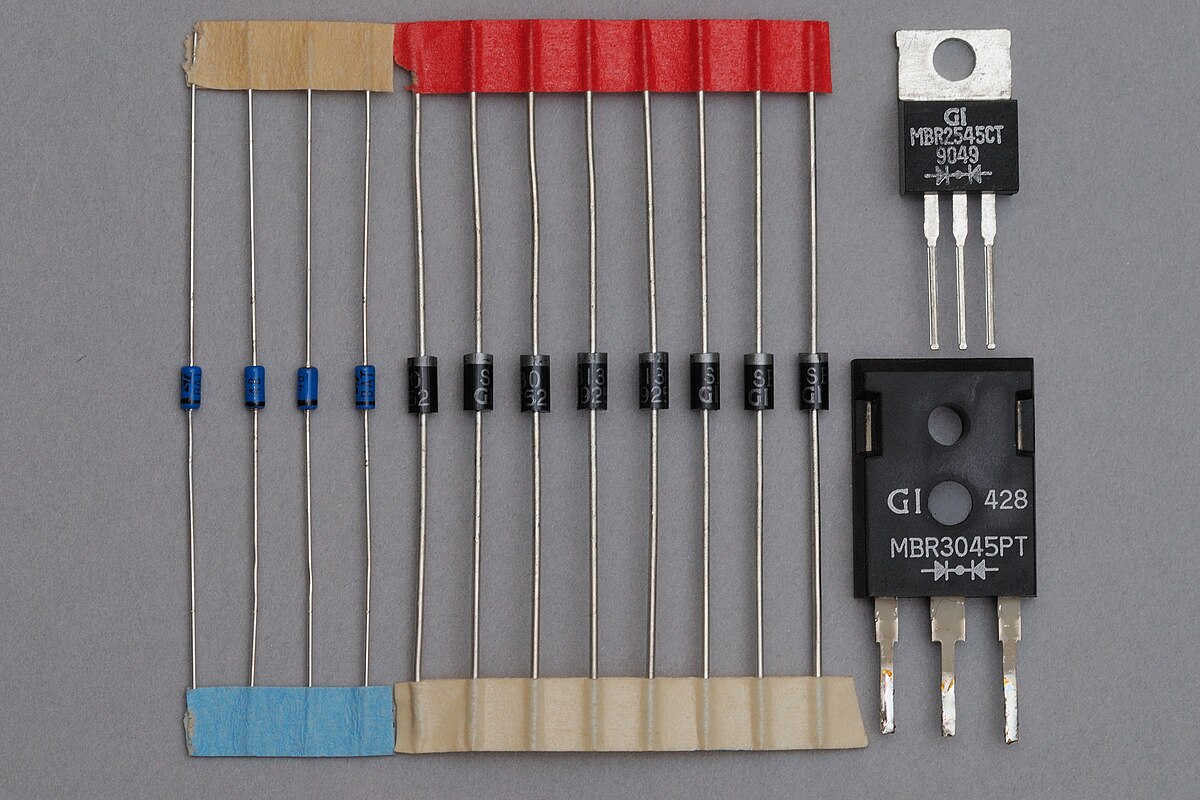
We used to use "Shotkey Diodes" on brushed motors to deal with the spikes.
But even high speed of a Shotkey is not fast enough for the high switching rate of a brushless ESC.
But even high speed of a Shotkey is not fast enough for the high switching rate of a brushless ESC.


Comment