


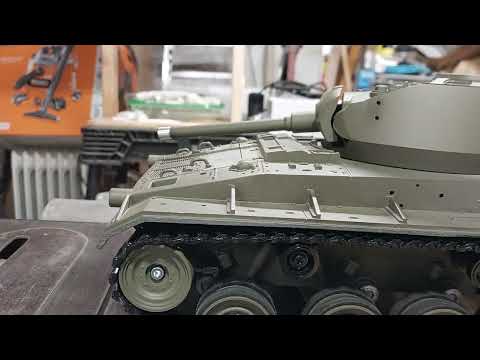
A couple of days ago, I started to figure out how I wanted to modify the M24's gun elevation. Here's an image with a sketch showing my idea.

-
-
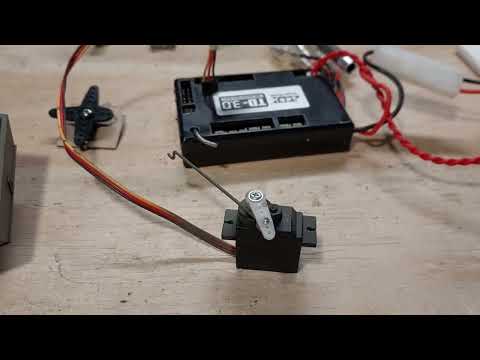
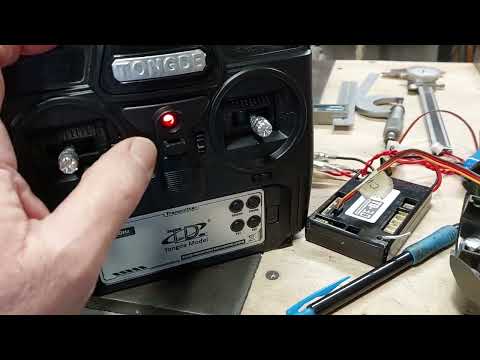
This morning, I tested the elevation servo, and I began to make the bell crank mount. Tongde makes nice RC Tanks, but the way the elevation servo is set up, I'm not very impressed by it. Yes, the turret doesn't have much room, but the mods I was able to do is better than it was new. The video explains what I'm talking about, watch it and let me know your thoughts.
Comment
-
OK, so I first did a bit of plastic surgery to the servo mounting box.
Here's a short video that explains what I did to relocate the servo.
Comment
-
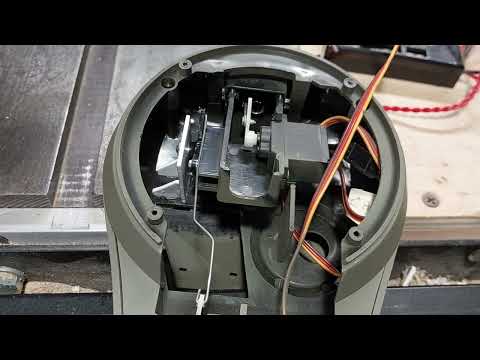
Next, I made the bracket for the bell crank and glued it in place. I made an aluminum stud that attached onto the cross servo arm to fit in the channel molded into the side of the gun body. And I made a new actuation rod for the servo. I was busy, and I didn't stop to take a bunch of photos as I always do. Sorry!!!
Here's a short video showing the interior of the turret while the modified gun elevation was tested.
Comment
-
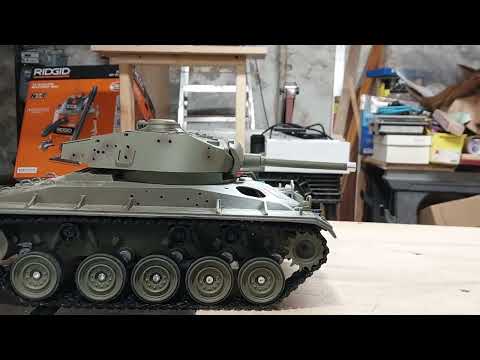
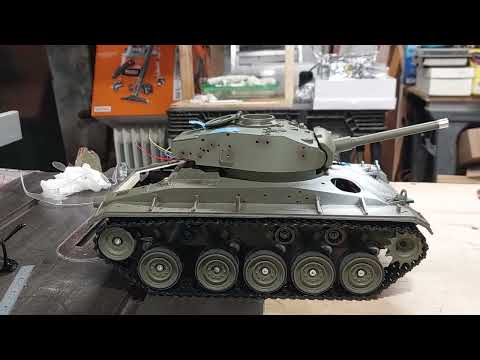
Here's two more short videos with the turret assembled and sitting in place on the M24's upper hull. I think the modification works quite well, how about you???
Comment
-
Next, I'll be mounting & wiring the slip ring, as well as relocating the Ma Deuce LED wires.Comment
-
Yep had to modify mine too. But TD at least try's with servos as standard on some tanks vs HL.Originally posted by rb67mustang View PostComment
-
Thanks for your thoughts, Rubicon99, I really appreciate it!!! Yes, you must've done some turret mods in your M24 seeing you used Richards recoiling gun body. You're correct about Tongde using servos instead of the elevation motor used by HL. I used servos, and ESC's to control the the functions of the 1st Gen Tamiya M4 I modernized/upgraded. I purchased two damaged 1/24 scale Tiger 1's, and I used the airsoft guns, and turret traverse gear boxes. The traverse gear box didn't work very good, and eventually, I did a continuous revolving servo hack to traverse the turret. I'll have to share some images and a couple short videos of it here.
Comment
-
Oh well, I have to do some yard work today before I get to continue on the M24's progress!!! We had a wet Memorial Day Weekend, and the grass looks like an overgrown jungle!!!!!

Comment
-
Good morning everyone!!!
I took a good look at the turret and the traverse gear. The ID of the gear is the same size as the lower portion of the turret. I measured the ID, and I began to make the slipring mount using 1/16" thick styrene sheet. I wanted the slipring to be in the center so that the wires wouldn't have to move as the turret rotated. Ultimately, that was a small mistake, and I had to move the mounting hole a small amount as the images and videos will show. In the end, it came out OK!!!
Instead of elongating the mounting hole I cut the mounting tabs offset hoping to move the mounting hole to be in the middle of the gun body. When the gun elevates, the slipring must fit into the gun body, otherwise the ehtire slipring mount would have to extend further into the lower hull.
The slipring mounting bracket already looks as if it will interfere with the RC gear in the lower hull. By offset cutting the mounting tabs, it didn't orient the original hole as I hoped. I elongated the hole 1/8th of an inch to correct the problem.
Comment
-
Here we see the slipring could limit the gun elevation, as well as the wires being in the way. After elongating the hole it corrected the issue!!!
Comment
-
Comment
-
Here's a couple images showing the slipring moved over a bit, and the mount is finished!!!
Here's a video that explains everything I've done so far.
Comment
-
Yesterday, I finally decided to remove the LED from the original turret mounted 50cal. I didn't have an extra 30cal gun barrel to mount into the mantlet, so I cut the tip off of the 50cal barrel. Yes it doesn't look as it should, but it doesn't protrude much from the mantlet, and no one I know that sees the M24 in person will say it doesn't look right!!! LOLLLLL!!!!!!!!!
This is the 1/16th Tamiya 50 BMG sprew; it's what will be mounted on the tripod behind the gunners hatch.
Comment
-
Here's a video I made yesterday. In the video I mention the slipring mount being finished. This video and the following images bring my build up to date. I should be able to complete the mantlet machine gun today. Yesterday, I noticed that there's not much clearance for the mantlet gun and LED. But I see a way to get the job done without the need for anymore plastic surgery.
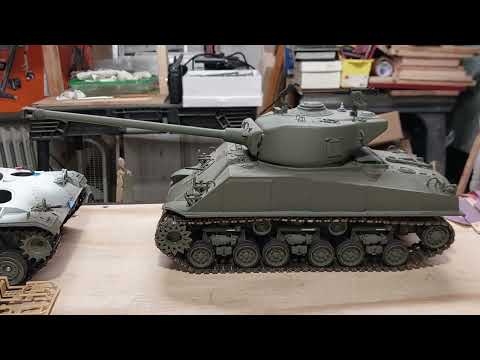
Allow me to introduce my Gen 1 Tamiya M4 Sherman to everyone.
Comment
-
Now, here's what I'm doing to mount the mantlet machine gun. A couple pcs of telescoping brass tube to hole the gun barrel & LED. I'll have to drill out the mantlet hole to 1/8 inch so the brass tubing fits into it. It should be a simple modification.
Comment
-
Next, I cut a short piece of the brass tube to hold the gun barrel. I hold the tubing in a small vise that has a v groove, and the tubing is cut with a Dremel and a thin cutoff wheel. Then the tubing is deburred and ready for use.
OK, the gun barrel is all set to be glued into a piece of 5/32 brass tube after I figure out how long of a piece I need. As I mentioned, I'll first have to drill the mantlet hole to an 1/8th of an inch. Then check the clearance and finish the modification later today.
Attached FilesComment
-
-
Last image showing the gun barrel fitted into the 5/32 tube.

As always, more progress to come!!!
Comment
-
Hi everyone,
I drilled out the mantlet to 1/8", and then I counter drilled the inside about an 1/8' to 5/32 diameter. When the gun barrel with the brass sleeve is inserted into the mantlet, it's flush with the inside surface. The piece of 5/32 tubing I cut to 1/4" long fits into the counter drilled hole to support the gun barrel as well as to hold the machine gun LED. I decided to shorten the 5/32 tube by 1/16", and I also removed 1/16" from the back of the gun barrel, because there's not much clearance for the machine gun LED.
Here's a few images and two short videos.
Next is the 5/32 counter drilled hole from the inside.
Comment
-
I cut the piece of 5/32 brass tube. Then I test fitted the machine gun assembly. and I set the mantlet on the lower half of the turret and moved it up and down. That's when I shortened the 5/32 tube, and the gin barrel to give me more clearance.
Comment

Comment