You must Sign-in or Register to post messages in the Hobby Squawk community
Registration is FREE and only takes a few moments

Register now

Announcement

Collapse
No announcement yet.

1/16 Tongde M24 Chaffee Modifications

Collapse
X
Collapse
First Prev Next Last
 
  • Filter
  • Time
  • Show
Clear All
new posts

  • Before I began to attach the lifting rings onto the mantlet, I watched a couple more M24 videos on Youtube, and I did more screen shots of the details of interest. I watched the 4 year old Tank Museum video, and The Chieftain has a series of 4 video that are 12 years old. Both of the m24's in these videos have a small mesh basket mounted on the back of the upper hull instead of the folding shelf Tongde supplied. The folding shelf makes me think of the M4 Sherman, and not the M24. I wish I'd watched these videos before I attached the paperclip lifting eyes on the back of my upper hull. In fact, I might remove them and do a bit of plastic surgery to remove the folding shelf mounting points, and reinstall the lifting eyes in the correct position. Then I'll see what I can find to scratch build the mesh basket. Here's a couple of screen shots from the videos.

    Tank Museum
    Click image for larger version

Name:	Screenshot 2026-07-09 124755.png
Views:	54
Size:	1,011.6 KB
ID:	450726

    The Chieftian at the Museum of the American GI in Texas.

    Click image for larger version

Name:	Screenshot 2026-07-09 130339.png
Views:	45
Size:	504.5 KB
ID:	450727
    Click image for larger version

Name:	Screenshot 2026-07-09 130436.png
Views:	46
Size:	449.5 KB
ID:	450728

    To me, this basket looks more like what the M24 had during WW-II.
    Comment


    • Some of the war time images that were shared in the Tank Museum video really interested me as well. I know some M24's had multiple antennas during WW-II. I'd like to keep my M24 simple with one antenna. This is the type mount I'll make to mount the antenna. I wish I could find a nice representation of the spotlight in 1/16 scale to mount on my M24.

      Click image for larger version

Name:	Screenshot 2026-07-09 124131.png
Views:	52
Size:	1.28 MB
ID:	450734

      Comment


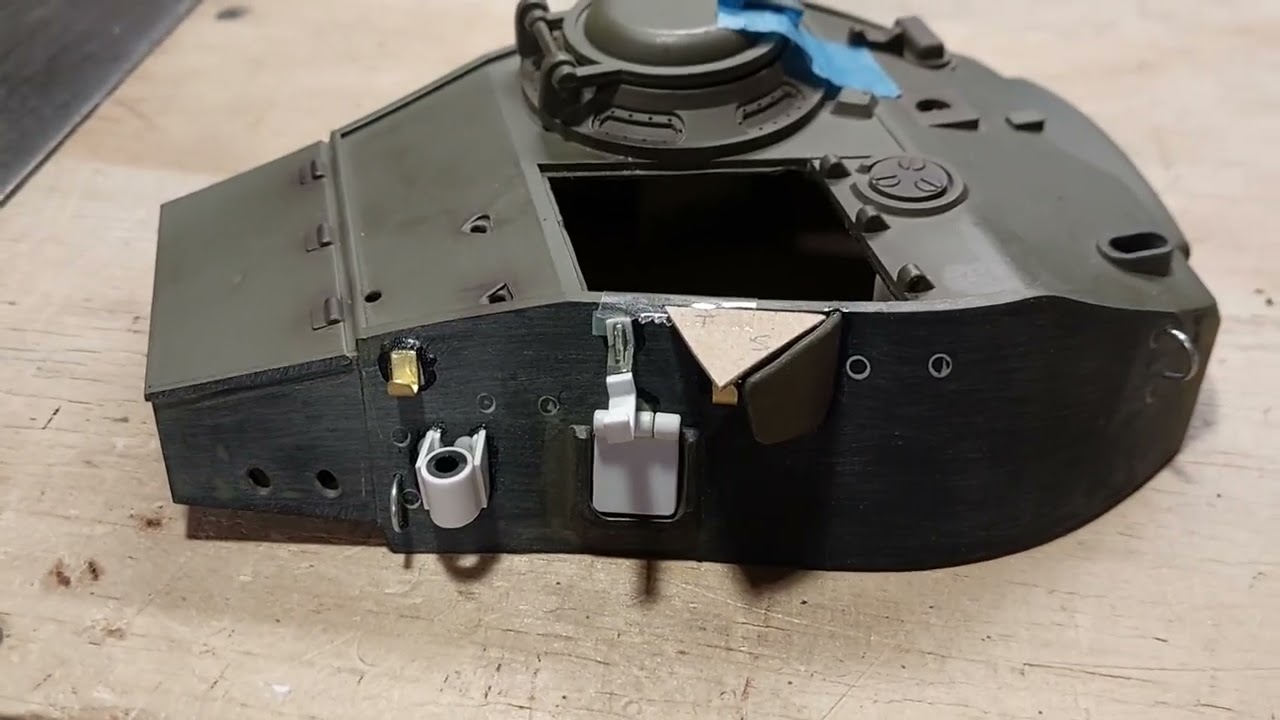
      • Here's another screen shot from the Tank Museum of a simple line drawing of the top of the M24. After seeing this image, I removed the 50cal gun shield, and I made a template I taped onto the turret to reattach the shield at the proper angle. Note: This image shows the small basket at the rear of the tank, it also shows the simple antenna mount, and the smoke launcher that I'm in the process of making. The image even shows the lifting eyes on the mantlet which are symmetrically mounted as I'm in the process of doing.

        Click image for larger version  Name:	Screenshot 2026-07-09 124448.png Views:	0 Size:	917.6 KB ID:	450736

        Comment


        • Here's the gun shield correction I made yesterday, I think it looks much better. Images and a video.

          Click image for larger version

Name:	20260709_154809.jpg
Views:	52
Size:	114.2 KB
ID:	450739

          Click image for larger version

Name:	20260709_155027.jpg
Views:	45
Size:	75.3 KB
ID:	450740

          Click image for larger version

Name:	20260709_155013.jpg
Views:	45
Size:	65.4 KB
ID:	450741

          Comment


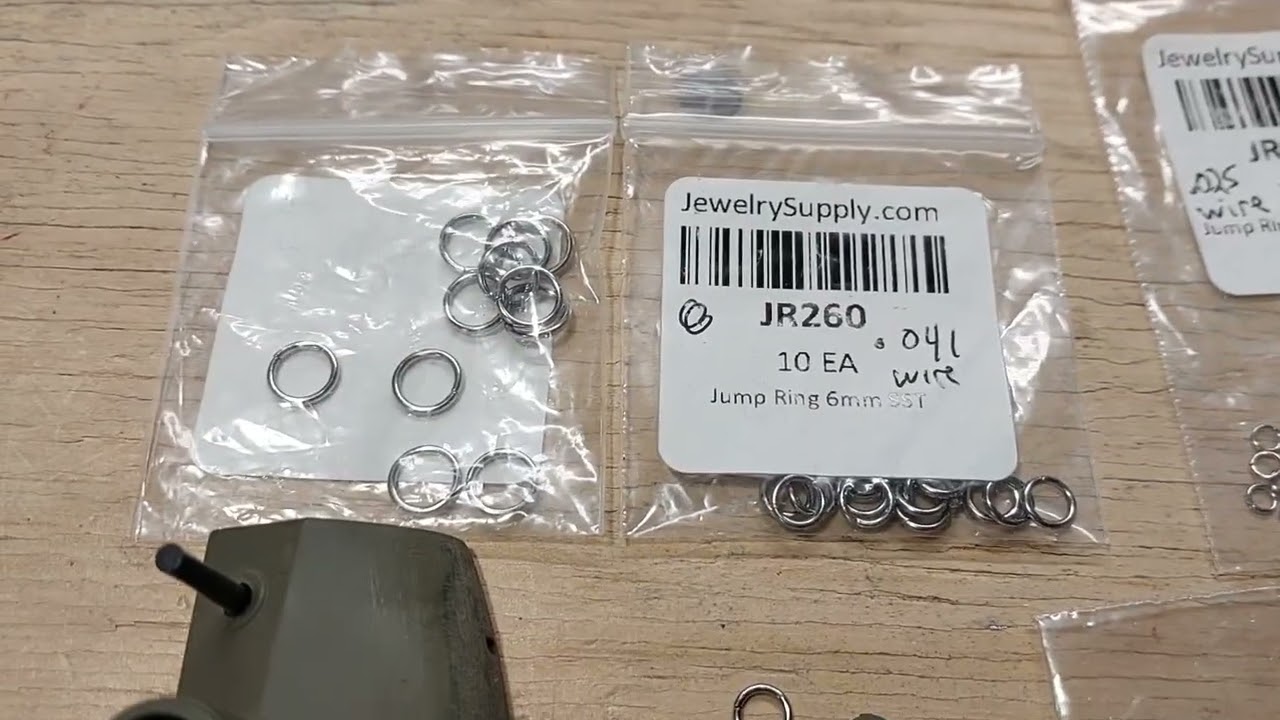
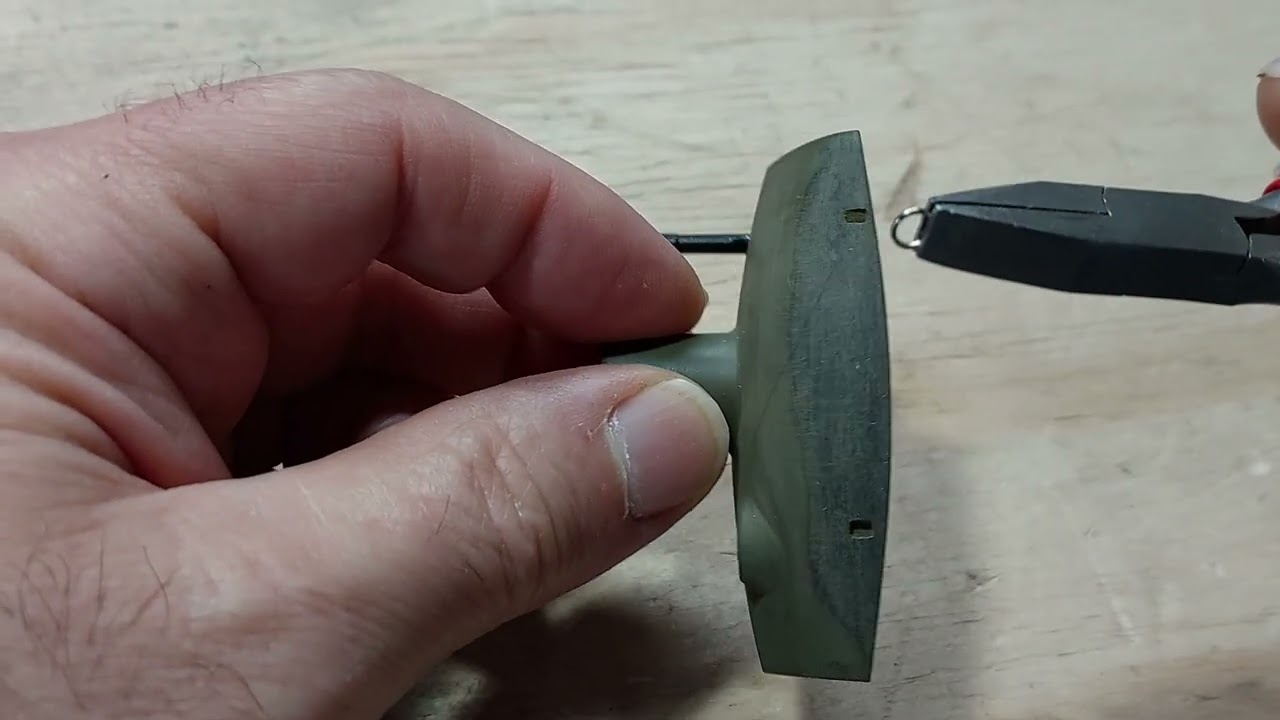
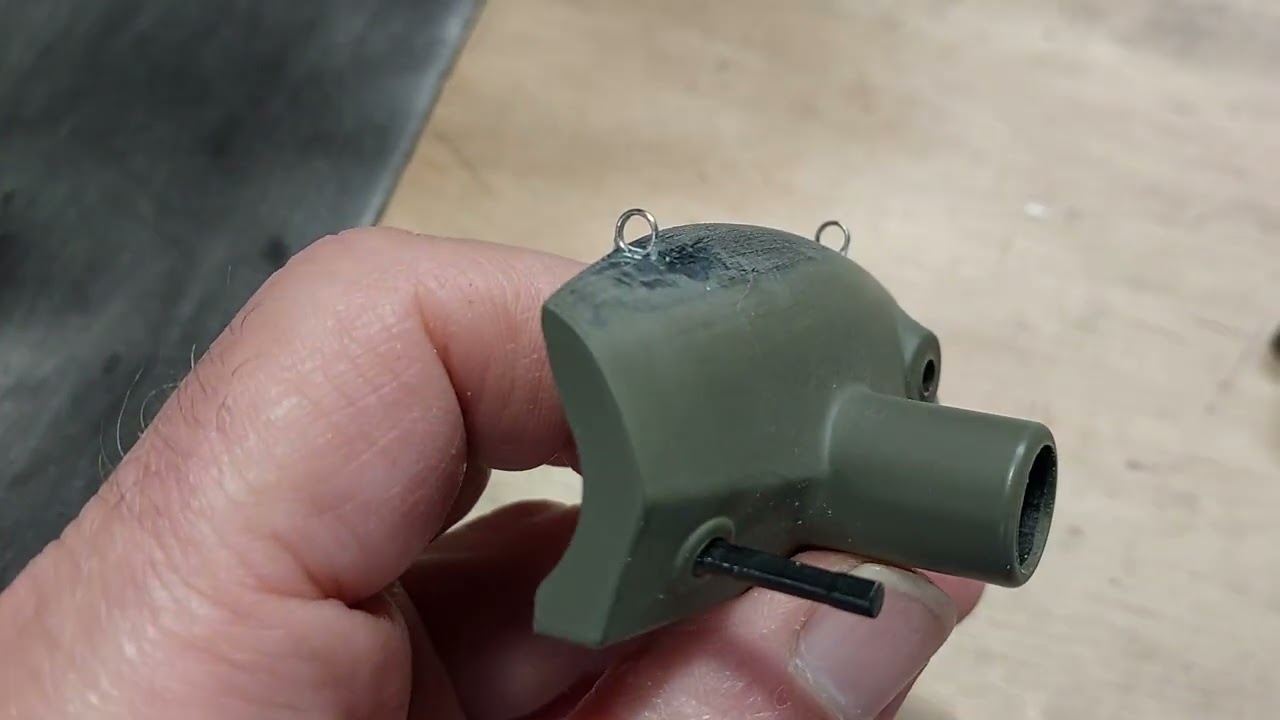
          • Here's what I decided to use for the mantlet lifting eyes. They are split jump rings that are used to make jewelry items such as, necklaces, ear rings. Images and a video.

            Click image for larger version  Name:	20260709_121842.jpg Views:	0 Size:	148.0 KB ID:	450743


            Click image for larger version  Name:	20260709_165930.jpg Views:	0 Size:	71.3 KB ID:	450744

            Click image for larger version  Name:	20260709_171829.jpg Views:	0 Size:	63.3 KB ID:	450745

            That's it for now. I have a small bit of Bondo to apply on the mantlet, and the required sanding as well.

            Comment


            • Good morning everyone!!! I'll get caught up, and then I'll get back to the M24's Mods.

              Comment


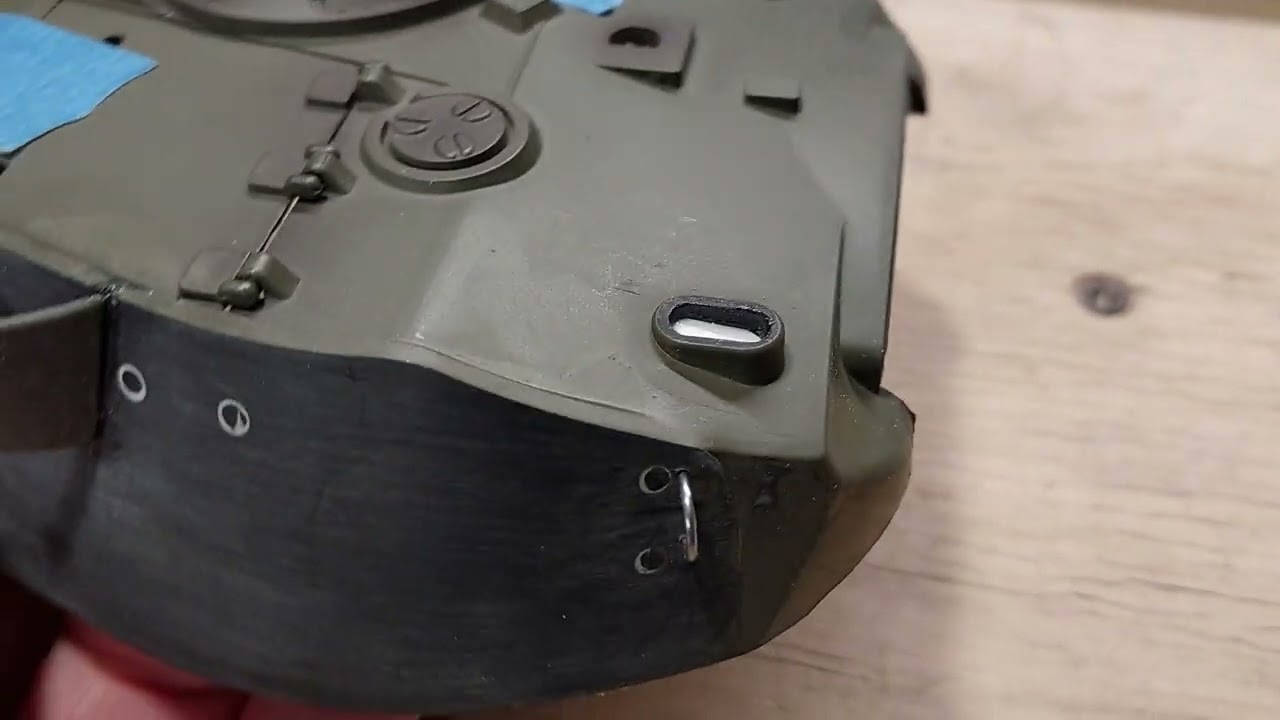
              • The jump rings were glued onto the mantlet, and they received a small amount of Bondo!!! Then I cut a piece of 1/16" sheet styrene to fit the elongated hole in the turret where the new smoke mortar tube was about to be installed. Lastly, I decided to modify the rear surface of the upper hull. As usual, images and a few short videos!!!

                Click image for larger version

Name:	20260710_175457.jpg
Views:	0
Size:	70.4 KB
ID:	450814

                Click image for larger version

Name:	20260710_175512.jpg
Views:	0
Size:	64.3 KB
ID:	450815

                Comment


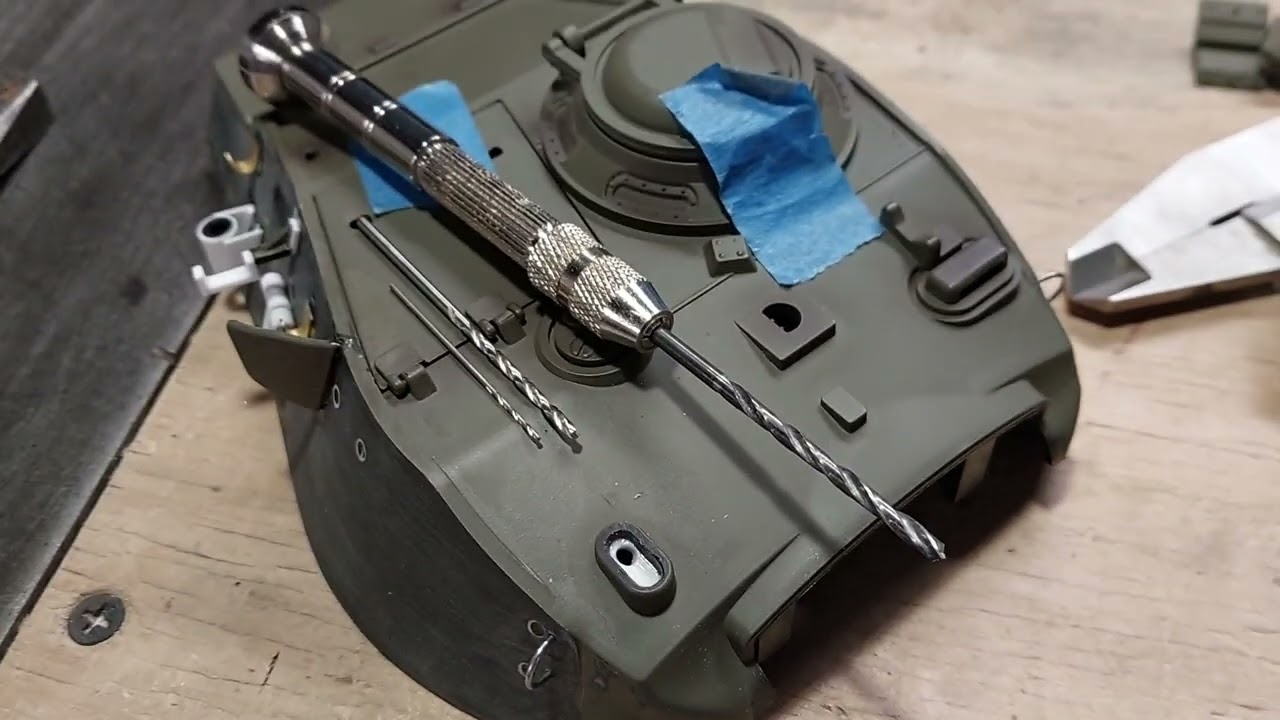
                • Next up is the smoke mortar with the piece of styrene glued in. To make this insert, I cut a thin strip a bit wider than I needed, and I clamped it in the side of my vise and I sanded it to the desired width. Then using a radius gauge, I scribed the radius on each end, and I sued one of the home made sanding sticks to sand the radius on each end until it fit on roughly the angle of the turret. Then I held it in place with a finger tip as I applied CA with a tooth pick. It was easier and quicker to make that part than I thought it would be.

                  And so, after I finish these updates, I'll hand drill the hole for the brass tube, and the smoke mortar mod will be finished!!!

                  Click image for larger version

Name:	20260710_175308.jpg
Views:	0
Size:	61.3 KB
ID:	450817

                  Short vidoe.


                  Comment


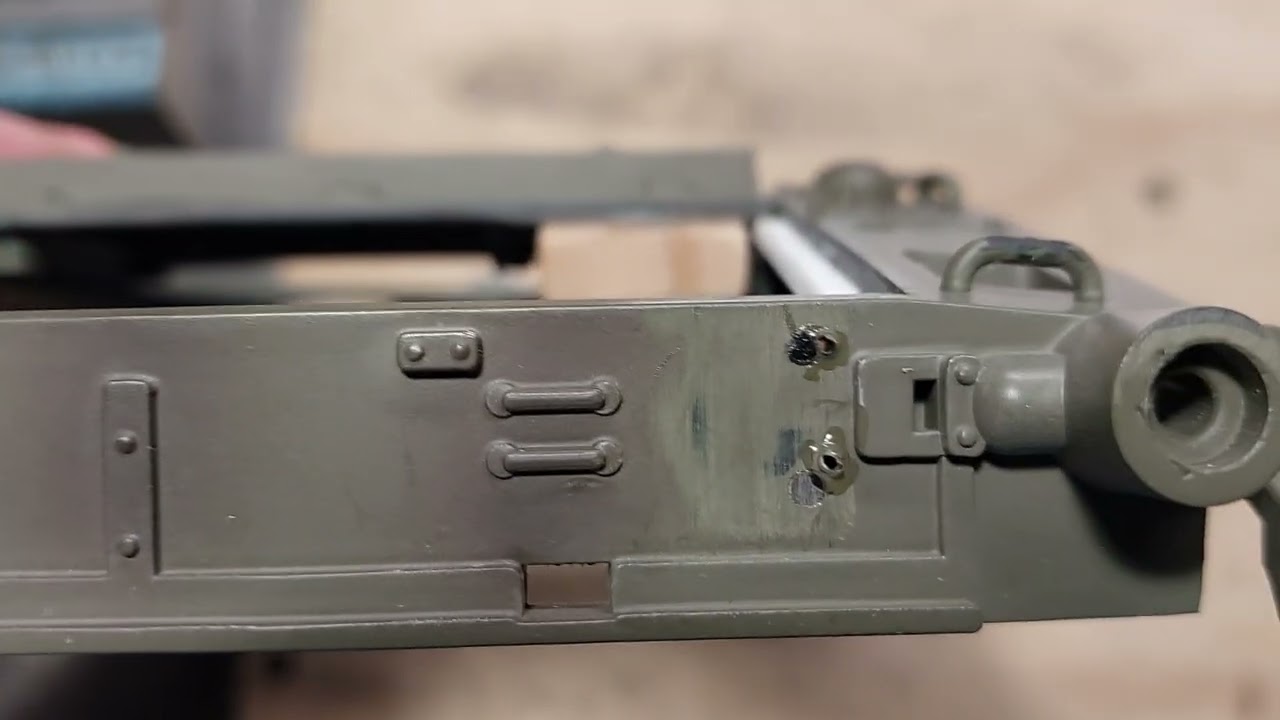
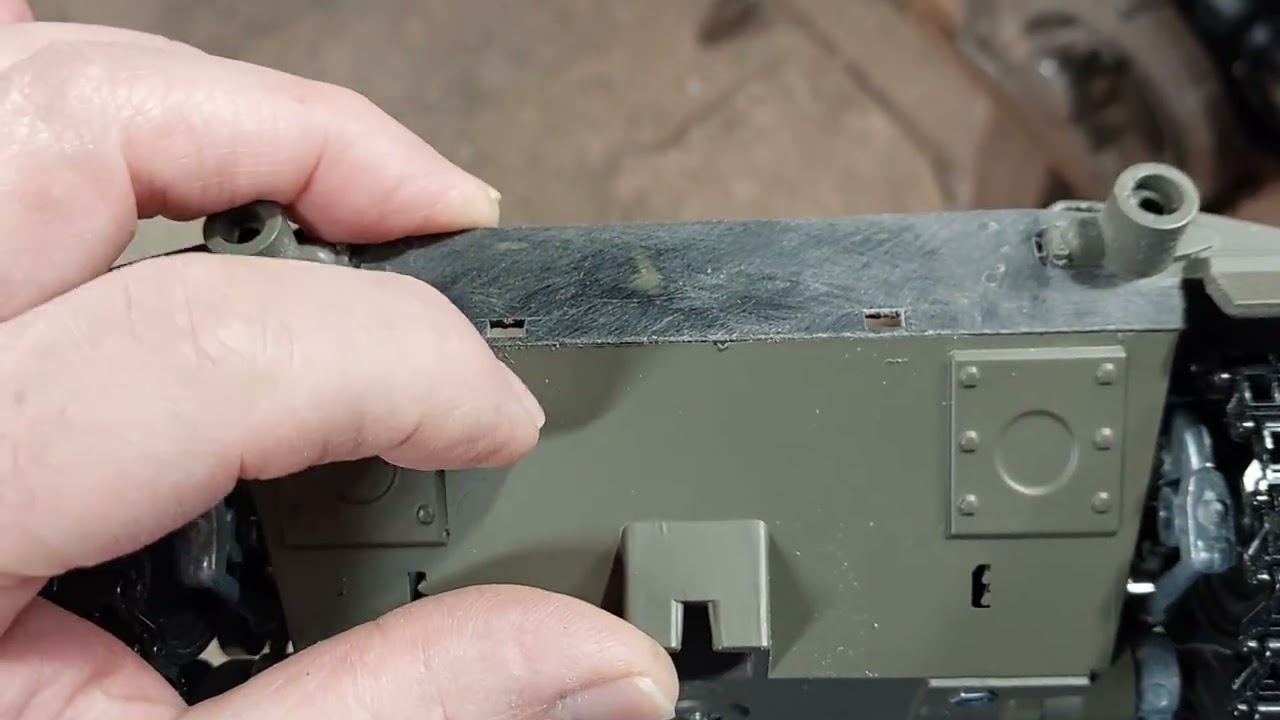
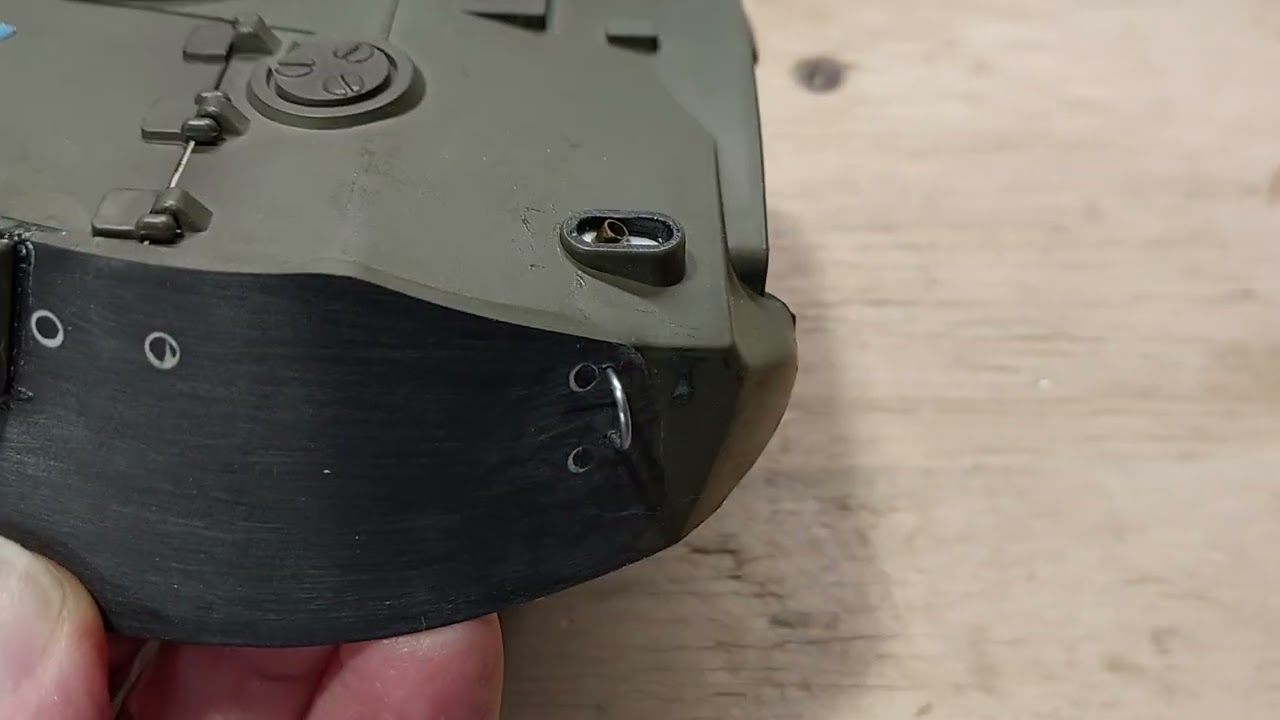
                  • OK, here's the removal of the rear paperclip lifting eye's, and all the molded in details Tongde has on the rear of the M24. The rear of the lower hull is correctly detailed. Tongde has done a great job in places we don't expect it.

                    Click image for larger version

Name:	20260710_181418.jpg
Views:	0
Size:	69.7 KB
ID:	450820

                    Short video.


                    Click image for larger version

Name:	20260710_182335.jpg
Views:	0
Size:	151.4 KB
ID:	450821

                    Comment


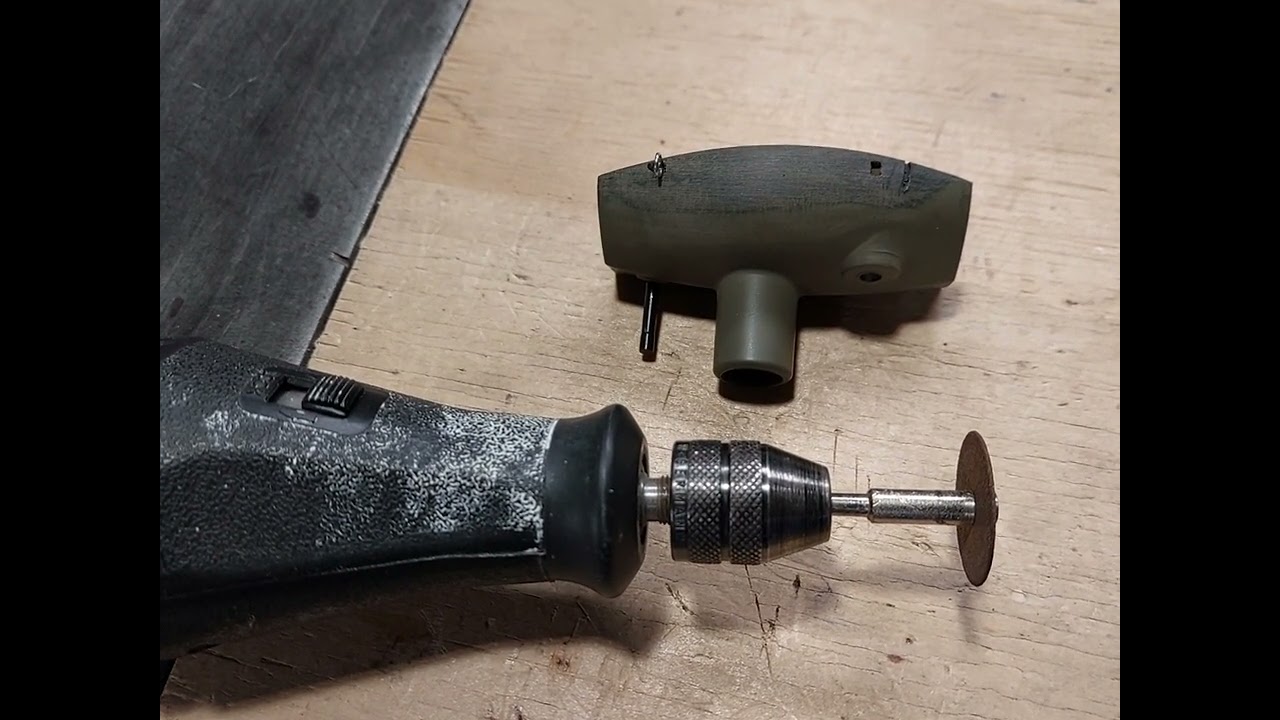
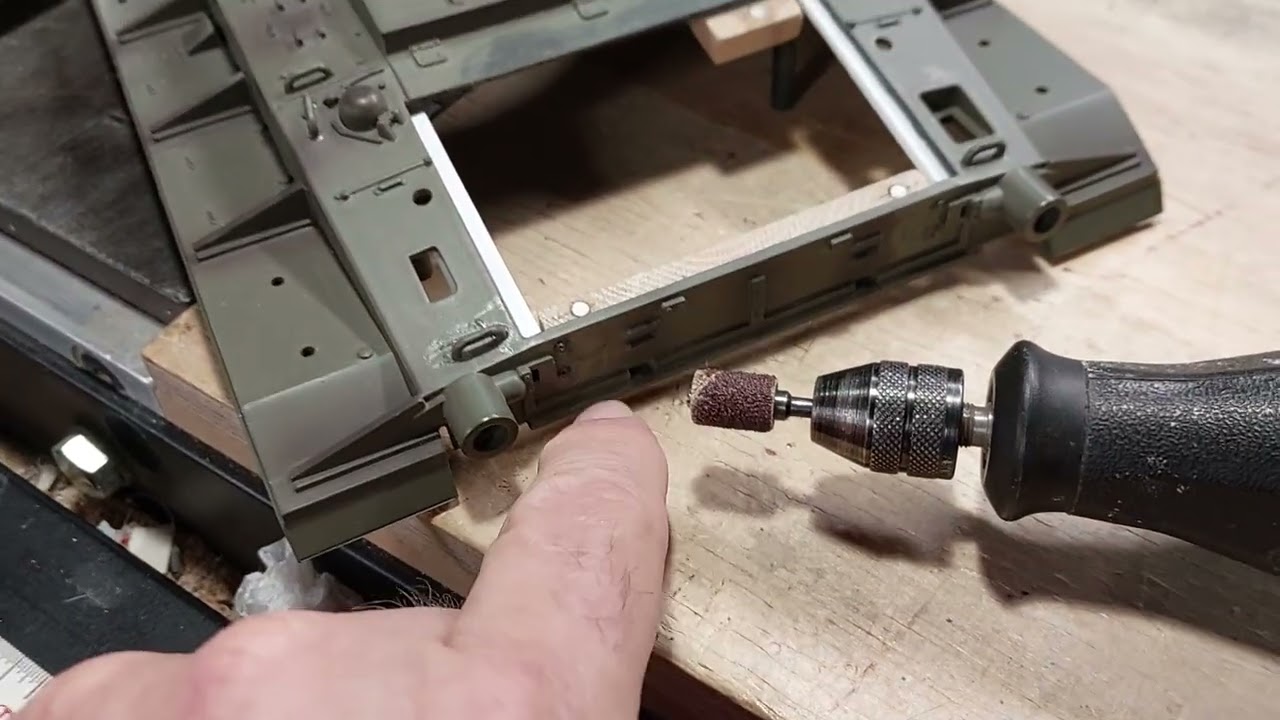
                    • Here comes the plastic surgery again!!!


                      The rough sanding of the Dremel is done, and now the file goes in the finish the job at hand!!!

                      Click image for larger version  Name:	20260710_183606.jpg Views:	0 Size:	87.1 KB ID:	450823

                      The filing is finished, and here's how it looks.

                      Click image for larger version  Name:	20260710_191850.jpg Views:	0 Size:	113.1 KB ID:	450824

                      Here's a screen shot that I shared a couple days ago. This mod is looking almost like the images of the restored M24 videos I've watched. Note the rounded corner I mentioned. Also, notice the U shaped pieces of steel flat bar under the basket. I wonder if the Tanker Bar/Pry Bar was strapped in that location?

                      Click image for larger version  Name:	Screenshot 2026-07-09 130339.png Views:	0 Size:	504.5 KB ID:	450825

                      Short video, and that's it for today's progress updates!!! Maybe later today I'll post a few more updates time premitting.

                      Comment


                      • Here's a screen shot that I shared a couple days ago. This mod is looking almost like the images of the restored M24 videos I've watched. Note the rounded corner I mentioned. Also, notice the U shaped pieces of steel flat bar under the basket. I wonder if the Tanker Bar/Pry Bar was strapped in that location?

                        Click image for larger version Name:	Screenshot 2026-07-09 130339.png Views:	0 Size:	504.5 KB ID:	450825


                        The tanker bar is already there. It's the long skinny bar just below the brackets. I think the main gun bore cleaning rods mounted on those upper tabs.

                        Comment

                        Working...
                        X