


Originally posted by Cheetos89
View Post
-
Center of Gravity (CG) is critical for this airframe. It's a short couple fuselage from prop to tail. I found just 1/4inch adjustment of my battery packs significantly reduced nose over tendency on take off and landing run outs. Additionally the elevator travel at 10mm may be fine while in flight but ground handling for taxi, take off and landings need at least 30mm to keep the tail wheel planted on our grass field. The faux motor plate is very flexible after cutting out the divider sections between cylinder heads..... I had to fortify the plastic plate with wood strips glued into the motor pushrod slots from the back side in order to prevent wind pressure from forcing the decorative plate into the 180Kv motor. My CG started out balanced a little nose heavy biased - but I have moved my flight packs now a full inch to balance completely neutral using the "redrilled" CG jig provided in this kit. The SMC HCL-HV 8000mAh LiPo packs look to provide 8min agressive flight and possibly up to 10min cruising figure eights in the pattern with touch-n-go's mixed in the duration. I found applying the cowling blisters a tedious task and would advise using great care should you choose to deploy them with thin CA. In the end a very unique model is present and should be an easy R/C to maintain for years to come. The decal for the wheel pants and electronics bay cover that come with the kit are a little "fuzzy" ....I am awaiting Callie Graphics for the final step.
TwistedGrinAttached FilesLeave a comment:
-
-
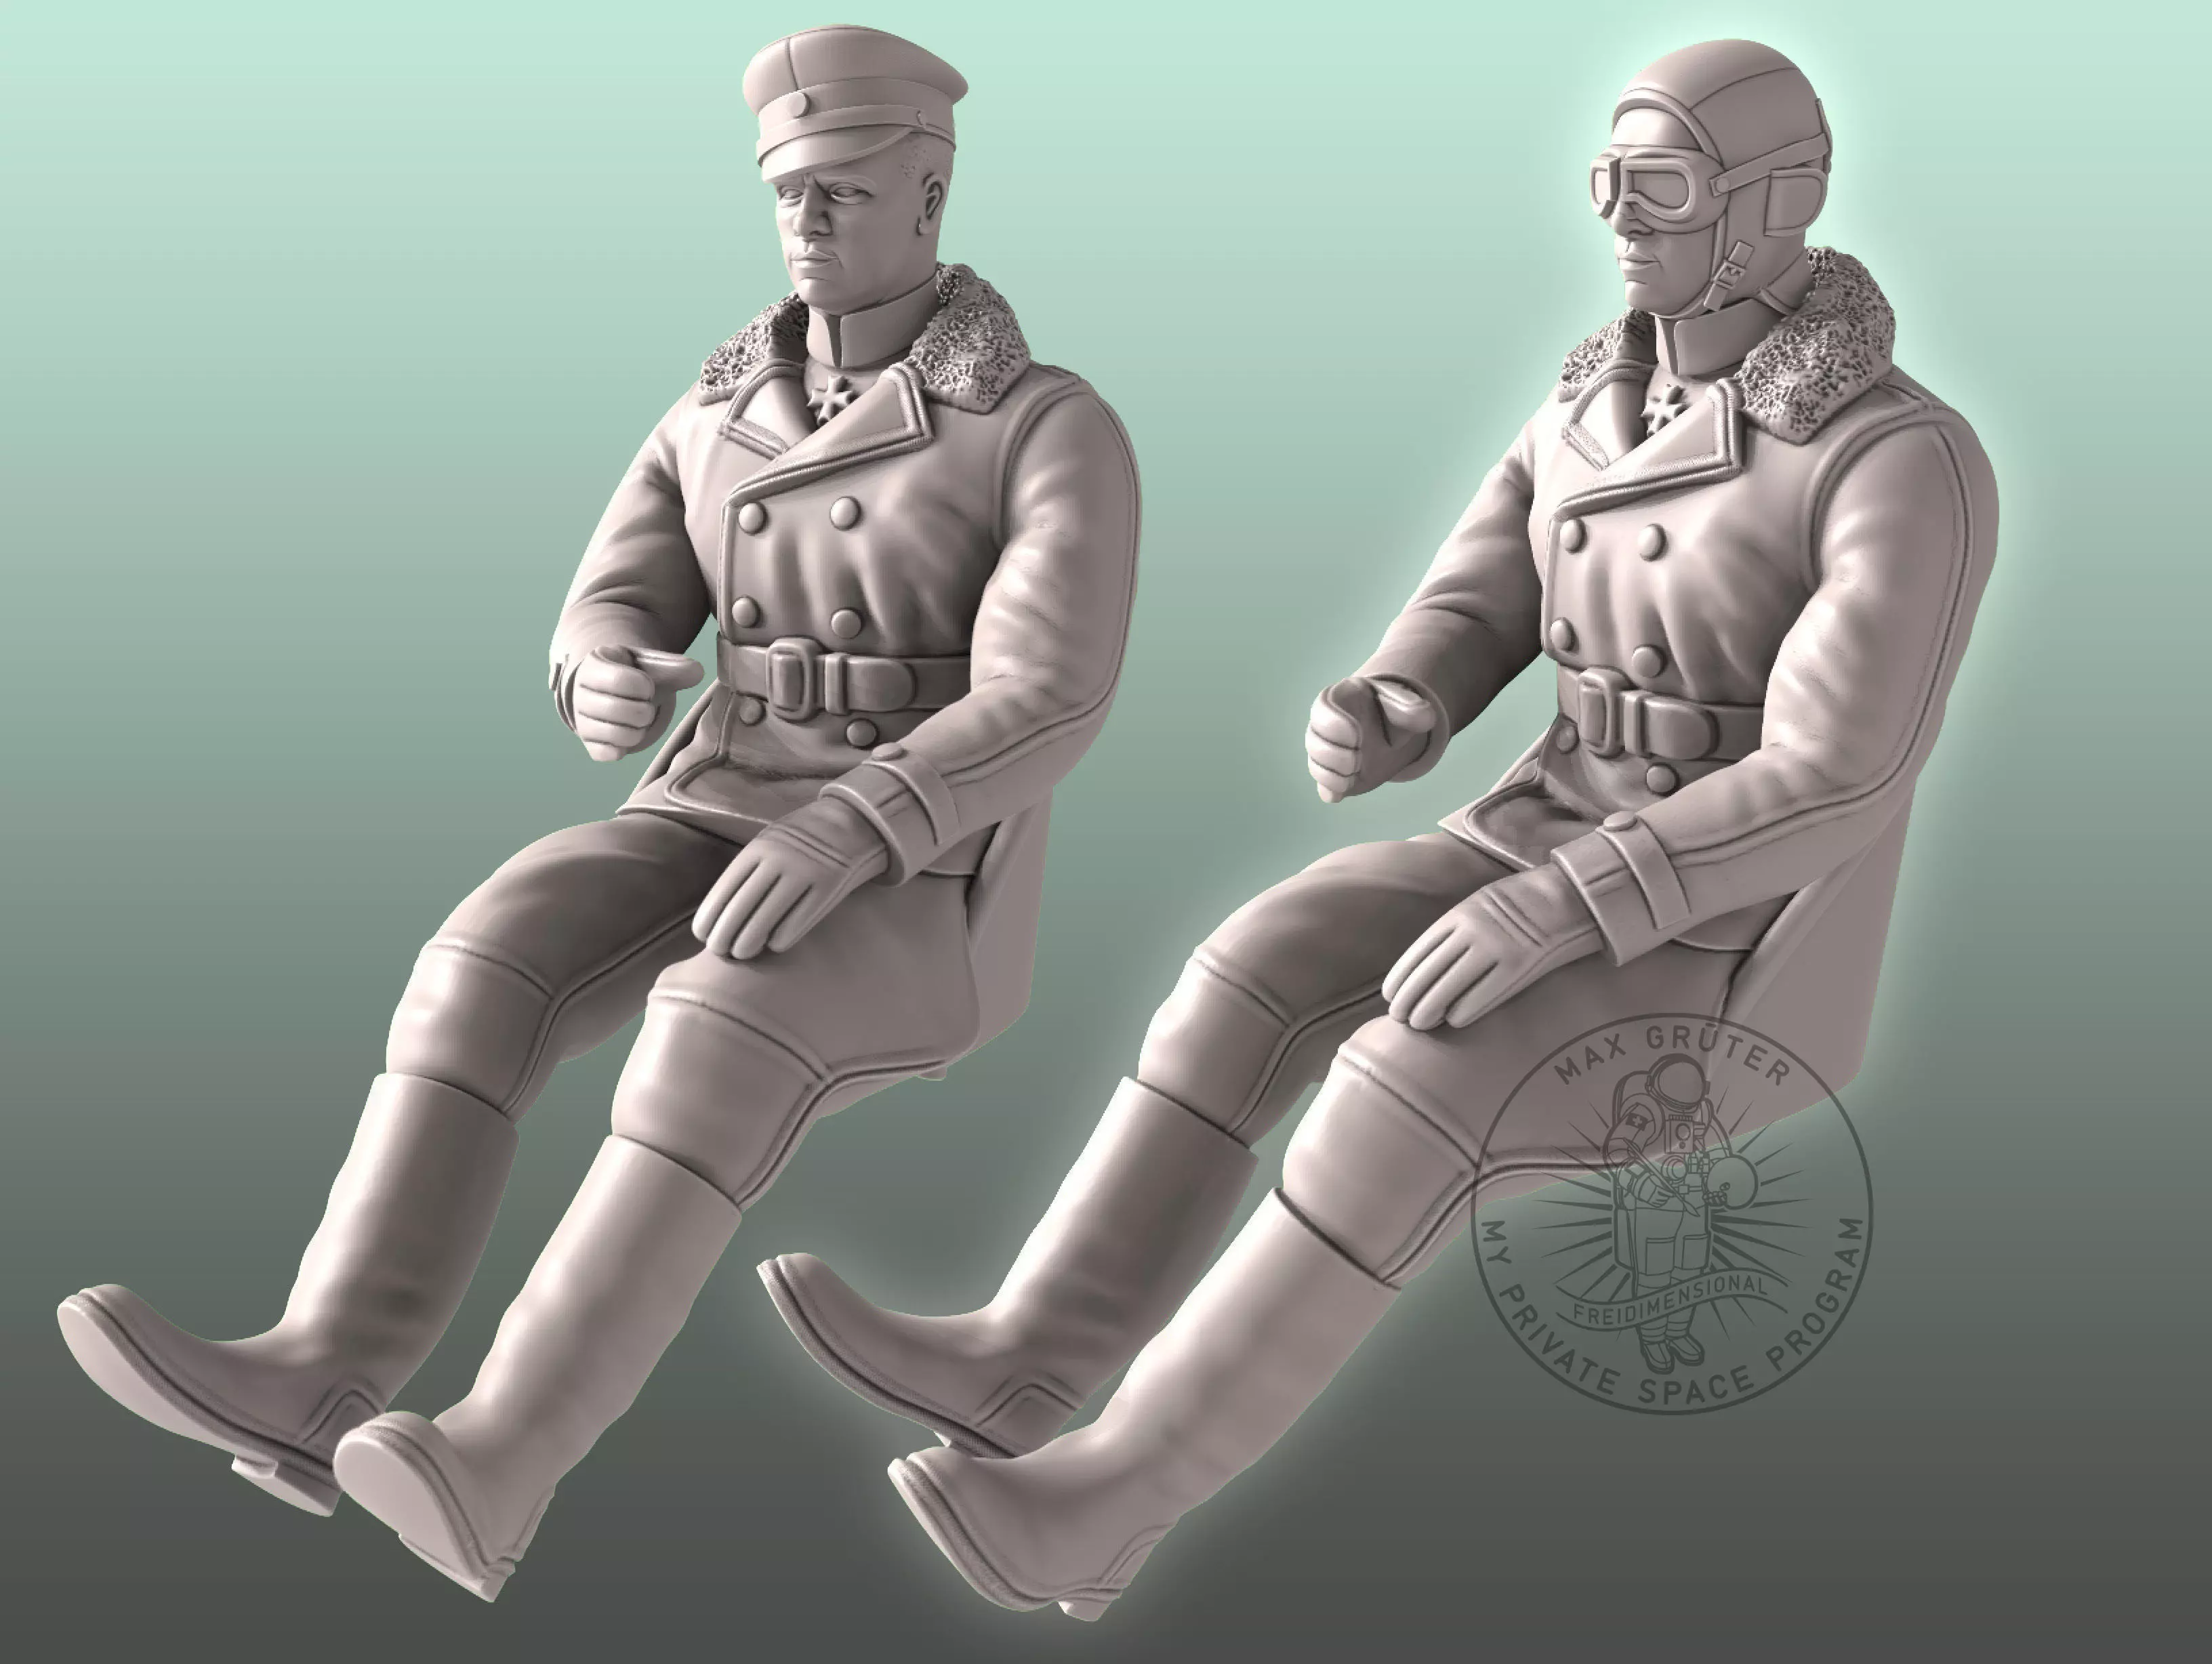
10-08-25 Captains log - Assembly Notes: Completed - Maiden Date (TBD) PENDING
The 1051gram SMC HCL-HV 90c 8000mAh LiPo are a snug fit into the motor box and will fit only if the top lip of the forward bulkhead is cut out for each ESC battery leads.
The Electric motor box is bolted on thus the extruding bolt and nut will sit proud of the surface meeting the flight batteries - ensure to put a flat stop brace onto the back of the forward inside motor box prevent damaging the flight packs. The battery tray straps will need to be very thin or low profile in order for the battery tray to deploy with flight packs on the tray to deploy and remove through the bulkhead.
My chosen LiFe 3000mAh Rx battery is velcro'd to the forward resting on a block of wood active as a shelf.
A power switch is deployed using popsicle sticks fabricating a pocket using CA to the forward side of the lower electronics bay lattice for better CG.
I am noting the Elevator/Rudder push rods are binding some in their respective control rod tubes...some resistance is noted with center buzz of the HS 645 servo's.
The HS 645MG Ultra Torque Servo arms needed drilling out for the ball joint screws. The servo arms Elevator/Rudder are set outermost holes to inside holes of the surface control horns. The Aileron servo arms are set 16mm out from servo arm center screw. Aileron-Elevator-Rudder control surfaces have full deflection capability noting - some differential is present in the Aileron (due to Aileron control horns not mounted directly center above the hinge line).
My Cowling needed to be cut back at the wing saddle to provide proper prop clearance.
The provided (2) piece prop nut assembly needed drilling for center shaft and the four bolts of the E-Flite Power 360 180Kv motor. The prop nut cover is soft aluminum and the small screws are prone to cross thread....take extra care with them.
The faux motor plate fits cleanly and positive against the inside lip of the cowling. Highly suggest cutting out spacing fins of the faux motor plate for motor and ESC cooling. The cowling blisters are very tedious to deploy....suggest careful sanding for proper curve fitment of the (six) colored blisters and ......ensure your CA pipe-ette is clean and clear before attempting to use CA......(Ya I had an issue here). I believe the historic early version of the aircraft did NOT have the cowling blisters....later versions had them.
The tail wheel springs are tedious to deploy.....there is another way to deploy using rubber tubing and zip tie heads that I may retrofit.
I chose to deploy landing gear strut covers and wheel pants via screws instead of gluing. I found the wheels do NOT need the added plastic 5mm "colar plastic" spacer against the jam nut on the axle......your choice to follow the manual.
I also choose to deploy the canopy on with screws.
The wing tube is snug and may bind while twisting into deployment.
The wing saddle fork tangs are secured by pinch bolts in the fuselage....a long hex nut driver will provide easy access to the pinch bolts. This model does NOT provide the topside pinch bolt access hole buttons as the BH 89inch ME BF 109G model.
The supplied decals are a bit fuzzy to me so Callie Graphics are in route for this bird.
Radio:
Aura 8 controller via dual Spektrum receiver satellites
Spektrum NX10 Transmitter
Power Train:
Avian 160amp ESC: Note (120amp ECS would work)
E-Flite Power 360 180Kv motor (Preferred Admiral 180Kv motor out of stock)
XOAR PJA 22x12 prop
e-Calc: 198watts per lb / 7.4min mixed throttle @ 72% 60mph cruise / 100% throttle 79mph / 35mph stall / 35.7 dm2 wing loading / 111Amp 100% throttle
Flight Batteries: SMC HV 90c 8000mAh LiPo: 1051g each (x2)
Fuselage + Wing Tube + 3000mAh LiFe Rx Battery: 15.0 lbs
Left Wing: 2.1lbs
Right Wing: 2.1lbs
Total All up flying weight: 23.8lbs
CG Balance: NOTE (Suggested by fellow club member flying this bird via Gas power)
The assembly manual graphic shows balancing right side up. The manual text clearly states "This airframe should be balanced while inverted". If CG is set upright it will be tail heavy.
I confirmed the CG to be severely different right side up vrs inverted.....set the CG to balance while inverted.
The supplied plywood CG jig is improperly drilled to the wing saddle pegs.....you must drill the CG balance jig for proper fitment.
In order to hang the airframe inverted using string or chord the main gear struts need to be removed.
My Airframe balanced slightly nose heavy with no additional nose ballast required.
Surface control throws:
The further forward or nose heavy CG will need more elevator throw. The manual suggest 118mm CG with elevator throw at 12mm.
This aircraft has a large wing with comparably small Aileron surface. Suggest Ailerons to be set 16mm as lowest throw....possible 30-40mm may be needed
Rudder throw may be subjective.....suggest 35mm as low rate
Expo is entirely pilot subjective per individual
Surface control throws: (Suggested by fellow club member flying this bird via Gas power) Set up for maiden @ 35% expo Low Mid High
Aileron:
(Low) 50% travel=20mm down/25mm up
(Mid) 90% travel=40mm down/43mm up
(High) 90% travel=40mm down/43mm up
Elevator:
(Low) 20% travel=10mm
(Mid) 26% travel=15mm
(High) 45% travel=30mm
Rudder:
(Low) 50% travel=28mm
(Mid) 65% travel=35mm
(High) 100% travel=50mm
TwistedGrinLast edited by TwistedGrin; Oct 8, 2025, 11:26 AM.Leave a comment:
-
I have been looking into this bird for years now.....purchased other aircraft each time I was ready for a new acquisition as this model was in and out of stock. A fellow club member flew his a couple days ago and I used the opportunity to confirm it would fit into my SUV. The airframe will fit if the rudder is deflected over 100%......so
I am in the game:
e-flite Power 360-180Kv motor
Avian 160amp ESC
XOAR PJA 22x12 prop
(2) 6s 8000mAh Flight batteries for 12s
Life 2s 6.6v 3000mAh Rx Battery
eCalc:
72% Throttle 7.4min flight time 60mph
200Watts per pound
Top Speed 79mph
Estimated Flight Weight 25lbs
Wing Loading at or near 37.7oz
I have zero storage space for it........ - !
TwistedGrinLeave a comment:
-
Love the plane, beautiful attention getter and flys very well but the structure is light and fragile. The separation failure I suffered was primarily my fault due to a failed engine, resulting in a rough landing. However I believe there is not enough strength for gas engines (in my opinion ) without added strength, reinforcing. Insufficient glue at firewall joints. The landing gear is also very fragile. I always have concern when there is a separation of support between landing gear mounts. Allows too much of a twisting force on mounts.
I am repairing both areas. It will fly again. Wish the wheel pants were fiberglass as the plastic shatters into many pieces.
I had a EME70 but will go back electric unless I can strengthen firewall support to my satisfaction. Just my views.
PS: The earlier wood version has a better looking structure than the new carbon laminate version, which is what I have.Attached FilesLeave a comment:
-
-
Doublecheck the firewall that it has been glued. Landed after the first flight and the firewall had pulled lose, very lucky the plane was not damagedLeave a comment:
-
Saito 90r3 was the perfect weight on the original version. I'm not so sure about the newer one.
Here is a youtube video from my intial star of the engine. You can see how i have the internals laid out and it balanced perfectly.
Leave a comment:
-
Hi guys new to the forum. i bought a gilmore of the newer variety and planned a 90 r3 for it. has anyone run a keleo ring on the carbon ply version? to me it seems ridiculously nose heavy... am i missing something? Have they corrected the tail heavy build with the new materials? Thanks CurlyLeave a comment:
-
A DA50 would make the plane flyable yes. You would probably need to make sure you get all your internals and weight pushed forward to make sure you hit that CG or possibly add weight.
DA50 wouldn't be my recommendation, but it would for sure work as long as you took the time to make sure everything was setup correctly.Leave a comment:
-
Hello Everyone.
Thanks for sharing all the build and maiden post. Lots of great info for a new modeler like me. Question about gas engine options. Would a DA50 work for this size/weight?Leave a comment:
-
Hello everyone, I'm a newbie.
I'm a 61 yr.old kid that loves his toys. I just joined a local club and I'm under training with a great, talented flyer. I have a very rare for of Epipsey that I have seizures if I stand or walk for a little while (I'm the third one in the USA) so I sit in a swivel chair when flying. The concern is in the future my hands will twinge and shake, so I want to learn to fly for a specific plane, the Gilmore Red Lion that raced in the 30's and on. I'd like to find a already built plane in the largest I can get. I would really like to buy a nicely used used 3 (+) cylinder with higher cc I can afford. I don't mind lashing valves if it's below 3 cylinders. I think 18 would take me 12 months to adjust. lol. Second would be a twin cylinder with high cc engine or maybe a gas HP gas,....a big electric motor is easy to take care of and very low maintenance, but I don't want to !
The radials are so fricking cool looking and sounding.
The rant here is because I've found a thread on the Gilmore plane build, questions and answers, but it's going to take me a long ass time to read 28 pages, so far. lol
Thank you to the OP for creating this thread. 😁
If anyone knows of a Gilmore plane for sale, please let me know ! 🙏Leave a comment:
-
Back in April I had a slight misfortune whereby the leading edge of my right wing got too close to a fence post. I mean way too close, such that repairing was not worth it. Thankfully, MotionRC had a spare right wing so I ordered it. I noticed it had a lot of carbon fiber in the framing of the wing. Much more than before. I didn't think much of it.
I got it all ready (hinges, aileron servo) and finally flew it a few weeks ago. On takeoff it started rolling away from the new wing. Had to feed in a ton of right trim, almost all that was available. Turns out the new wing was way lighter than the old one, I guess thanks to the carbon fiber. I glued 3.5 oz to the underside of the aileron servo cover plate. It seemed to balance when I held it up by the spinner. Flew it again today, but looks like it still needs probably another ounce.
Not complaining here, just thought everyone should know in case you need to replace a wing.Leave a comment:
-
It's been a bit, thought I'd post a couple pictures from National Model Aviation Day. The Gilmore is still an attention grabber.
Leave a comment:
-
I think the Robarts 3/16" hinges will work. I'll confirm when I get back to Florida later this week.Leave a comment:
-
These hinges appear to be unique to Black Horse. I wound up having to get a hardware set to get them.Leave a comment:
-
Could anyone please reply with what size hinge pins we need? I need to hinge a new wing . I have some hinges but the radius looks too small.
Thanks.Leave a comment:
-
With the Saito 90 in mine i was able to balance it perfectly. It just depends on placement of equipment inside. The saito 90 on a 24x10 pulls it along fantasitc!!Leave a comment:

Leave a comment: