


FnL,
I hear ya, Brother.
Intellectual property has little value to anyone other than the author, it would seem.
It is a sad commentary about an entitlement attitude, IMHO.
Don't get me started on real property rights...LOL.
Best, LB
-
In May 2024, I released an updated version of the Robart front rim to help with the side loads. A dab of glue should work on the original Oct 2023 version, but the latest one should work without that assist.
Link to Thingiverse
https://www.thingiverse.com/thing:6184138/files
.
Amazing to me that the Thingiverse post has seen 6.300 views and over 1,200 downloads since it was the very 1st wheel set I designed. The subsequent wheels have been of even better design , but come nowhere close to the number of hits.... Most of those designs are listed on Cults https://cults3d.com/en/users/FnL/3d-models with a minor fee to support my efforts.... Is $5 or $10 support for my efforts really unjustified?
Leave a comment:
-
Looking good, Dan! If you want to use the exact paint I used and is a very good match from Sherwin Williams, I do have the OD and grey. You can use as much as you like, if you want to take advantage of that option.
One thing about the nose wheel, if you have a less than perfect landing with some sideloads on the nose gear, the rubber tire can come partway off of the rim. You might want to fasten that down with a rubbery glue just to keep it from doing that.
Leave a comment:
-
Grossman56,
Looks like normal wear and tear to me, Dan.
A little light weathering and you're good to go.
Nice work, Sir.
Best, LBLeave a comment:
-
Dry Fittin' The Kitten!
Got the new front gear door on and had a piece break on the starboard main strut. Took it a part last night and glued it with E6000. Seemed pretty good today so I reassembled it and ran the gear a few times, worked like a charm. I ordered a new piece just in case and will probably swap it out.
Here's how she looks so far, mostly paint work left. Had a quart of grey that I used for the P51B so I used that as a base coat, not quite the right shade, a little too blue, but good enough for something I'll probably end up sanding. Let's see, a little white to lighten it up and orange to neutralize the blue (primary colors red yellow and blue. Complimentary color to blue would be a combination of the other two primaries, yellow and red, which equals orange)
Grossman56
Dangerous Dan)
Leave a comment:
-
-
Good looking little airplane!
There was a cutout hole on the floor of the nose, I think you may have put the weight there and then mounted the gunner over top of it. At any rate, I'll do some CG tests before filling it in.
DanLeave a comment:
-
I used 5000 mAh batteries exclusively on the B-25. I did find a small weight, about 0.7 ounces that must have been in that forward cockpit area somwhere, but I have no recollection of putting it in there. I cleaned it up and put it in the nose of the P-12E as it needed just a little nose weight on mine, just to be perfect. Maybe I could get away without it, but I'd prefer it to be slightly nose heavy for flying. You might want to double check the CG when you get it all back together in case it needs a little extra weight in the nose for perfect CG.
Gonna try it early next week. Went out to the field today to do some ground tests, too windy to try putting it in the air. I'll attach a couple pics. It really is a very cool airplane, and the Navy version is very popular amongst modelers that I have seen. We'll see how it flies next week.
I read that RC Geek did a lot of the development of this model. Looks like he was spot-on from what I've seen so far!
Cheers
Davegee
Leave a comment:
-
That'd be great, or at least the dimensions so I can create one myself. I looked through the spare parts page twice but there is nothing there, strange eh?
I compared the Olive Green paint on Shangri-la and it's soooo close I'm thinking I can get away with that at least for the initial coats. Will add some putty to the nose this weekend, sand and give it a coat, it's always easier to see where more work is needed when its all one color.
Were you running a 5000 6s battery? I may add a slight amount of weight to be able to use the 4500s and my HRB 5000s may weigh a little more than an Admiral. So much fun!
Grossman56
(Dangerous Dan)Leave a comment:
-
Thanks for finding that out. Since I definitely did NOT have elevator control at the critical moment for takeoff, I've got to assume that somehow, it came loose after I completed flight number 10 and found out about it unfortunately, on the takeoff roll of flight 11 (101 career takeoffs.) Since it never got off the ground, I can't count that as a flight, but you can add number 101 and more when you get it all together in flyable condition again!
Sorry, I have not found the ADF antenna in my kit. I don't think it was destroyed and I thought I took it off or found it on the ground nearby, but so far, no.
Perhaps you could ask Elbee if he could send you an STL for his B-25 and we could print it up for you. I did see that he offered to send you some STLs to this would undoubtedly be much better than the OEM foam antenna that came with the kit. I'll continue to keep a lookout for mine.
Cheers
Davegee
Leave a comment:
-
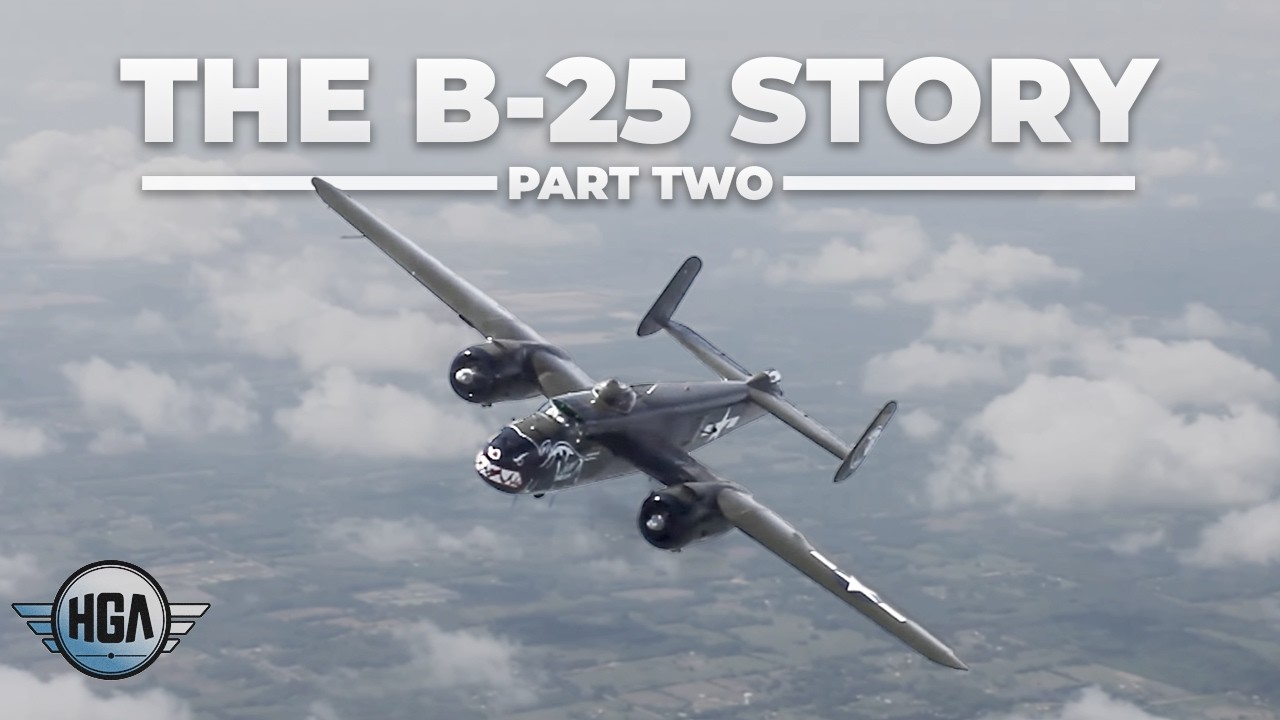
Now, here's something to get the juices flowing, check out this video, especially around 7:30....
Leave a comment:
-
Here's what I found when I slid back the tail section. The plug was , well, unplugged...
So that's why you had no rudders of elevator. I can't figure out why this would come loose, but I ordered a new circuit board and will have a look at whether I can use a zip tie to help hold it in maybe.
You didn't run across the Radio Direction finder anywhere did you?
You know, the thingy that looks like this:
For some reason, MRC doesn't offer one for sale. Worse comes to worse, I'll design one if one of the guys would be kind enough to measure the piece for me.
Elbee had been kind enough to offer the STL files for the forward greenhouse and cockpit, could you print these for me when I get them?
Meanwhile, I'll adjust the angle of the drop tank pieces as we discussed.
Thanks for the offer of the bombs and rack, you are more than generous!
Grossman56
(Dangerous Dan)Leave a comment:
-
Interesting... Possibly the prop got loosened when it hit all that rough sagebrush at almost takeoff speed, don't know. Did you say that the circuit board for the tail came loose when you took things apart? I never had any problems with any of these things even on all those 100 flights. Maybe that sudden stop past the end of the runway messed things up more than I thought. I didn't do any detailed post mortem, as you have done. I was ready to pass it on one way or the other. I'm sure you'll have a great time with it.
Once you get it flying, if you want some plastic bombs to play with or the "parafrag" bombs with little parachutes, you can have them. They are perfect for this scale and I have a printed bomb rack that screws into the bomb bay and you just fit the bombs onto the aluminum tubes. With small weights in the nose of each bomb, they come out in a very realistic manner. Sometimes hard to find when you try to pick them back up on our field, though.
Cheers
DavegeeLeave a comment:
-
Hi Dave, yeah I just finished wrestling with the nose gear and she's functioning fine now. It might have been the mounting point, but anyway, I cycled it quite a few times and she's good. I did have to replace the tiller arm as that small piece you found was the rod that comes out of the arm and has the pushrod that steers it attached to it. Had a spare tiller arm from one of the Avantis that matched up. I did notice a crack on the port side rudder just below the attachment point, easy to fix, had that on the Tigercat as well. Starboard main gear was loose at the retract attachment point (I noticed she 'waddled' when taxiing) so I managed to tighten that up. Man, I hope I never have to change that retract, what a nightmare!
Lastly, the starboard prop was loose. When I went to remove it, everything came off with the Allen head screw.
I have a new nose gear door coming along with the green house and a new circuit board for the tail. I can't for the life of me figure out how that would come loose, even if you hit it when changing the battery, it should not have come out, it's supposed to lock in to some degree. Maddening.
Grossman56
(Dangerous Dan)Leave a comment:
-
Hi Dan: you may have noticed it already, but I think in the aborted takeoff crash the nose wheel strut got bent a bit. Not sure if you can straighten that out or not. I think it might have a hollow section where the damage is and could break pressure was applied to it. But you'll figure out what you want to do with it.
Coming along great. I still didn't find that nose gear door today at the field, but I think a brand new one is only about $5 at MRC.
Cheers
DavegeeLeave a comment:
-
Grossman56,
Use the same as you. Works well just wondering if you used something better.
Thanks, RexLeave a comment:
-
Thanks in advance Elbee for the stl files.
Looking forward to getting into this one.
Grossman56
(Dangerous Dan)Leave a comment:
-
Leave a comment:
-
F&L,
Good to hear from you, Sir.
Yes, the ammo boxes, pilot heads, & Norden are resin.
Note: ammo box 1 is FDM and box 2 is SLA.
All the 50 cals are FDM printed on my ol' i3 Mk3 upgraded to a Mk3S+.
HatchBox Silver or Black PLA depending.
Post process with acetone and lacquer paints.
I am going to send some STLs to Grossman56 as soon as I find a little time.
Think I will post all the B-25 cockpit bits and fwd greenhouse to Prusa Printables, again as soon as I make some time.
If you're interested in someting, PM me and I'll see what I can do, Brother.
Best, SteveLeave a comment:


Leave a comment: