P-38 - The Ultimate EPO Lightning

1/16 Tongde M24 Chaffee Modifications

Collapse
X
Collapse
First Prev Next Last
 
  • Time
  • Show
Clear All
new posts
  • rb67mustang
    Member

    • May 2026
    • 290
    • People's Republic of Rhode Island
    • Send PM

    #21
    More progress to follow.

    Comment

    • rb67mustang
      Member

      • May 2026
      • 290
      • People's Republic of Rhode Island
      • Send PM

      #22
      Here's an image showing the styrene pieces filling the hole.
      Click image for larger version

Name:	20260519_092705.jpg
Views:	190
Size:	97.8 KB
ID:	448766
      The inside
      Click image for larger version

Name:	20260519_092715.jpg
Views:	176
Size:	145.4 KB
ID:	448767

      Comment

      • rb67mustang
        Member

        • May 2026
        • 290
        • People's Republic of Rhode Island
        • Send PM

        #23
        After the glue dried, the excess styrene was cut off, and is was ground and sanded. Then a small amount of Bondo was applied and sanded. It looks great. But in the process, I decided to sand off the bullet guards on both of the hatches. One of the guards was partially ground away as the windshield mount was removed. It was easier to sand the Bondo.

        This images shows the bullet guard at the right side of the windshield completely ground off.
        Click image for larger version  Name:	20260519_124842.jpg Views:	0 Size:	107.4 KB ID:	448770

        Bondo goes on, and sanded.
        Click image for larger version  Name:	20260519_144005.jpg Views:	0 Size:	113.8 KB ID:	448771

        While I waited for the Bondo to dry, I sanded off the strap detail from the new battery cover. It took a while, but I think it looks better than seeing the saw cut going through it.

        Click image for larger version  Name:	20260519_151757.jpg Views:	0 Size:	133.4 KB ID:	448772

        Comment

        • rb67mustang
          Member

          • May 2026
          • 290
          • People's Republic of Rhode Island
          • Send PM

          #24
          The Bondo was sanded, and shot with primer. What do you think about the removed bullet guards???

          Click image for larger version  Name:	20260519_200809.jpg Views:	0 Size:	141.3 KB ID:	448774

          A different angle of view.

          Click image for larger version  Name:	20260519_201532.jpg Views:	0 Size:	113.6 KB ID:	448775

          Comment

          • rb67mustang
            Member

            • May 2026
            • 290
            • People's Republic of Rhode Island
            • Send PM

            #25
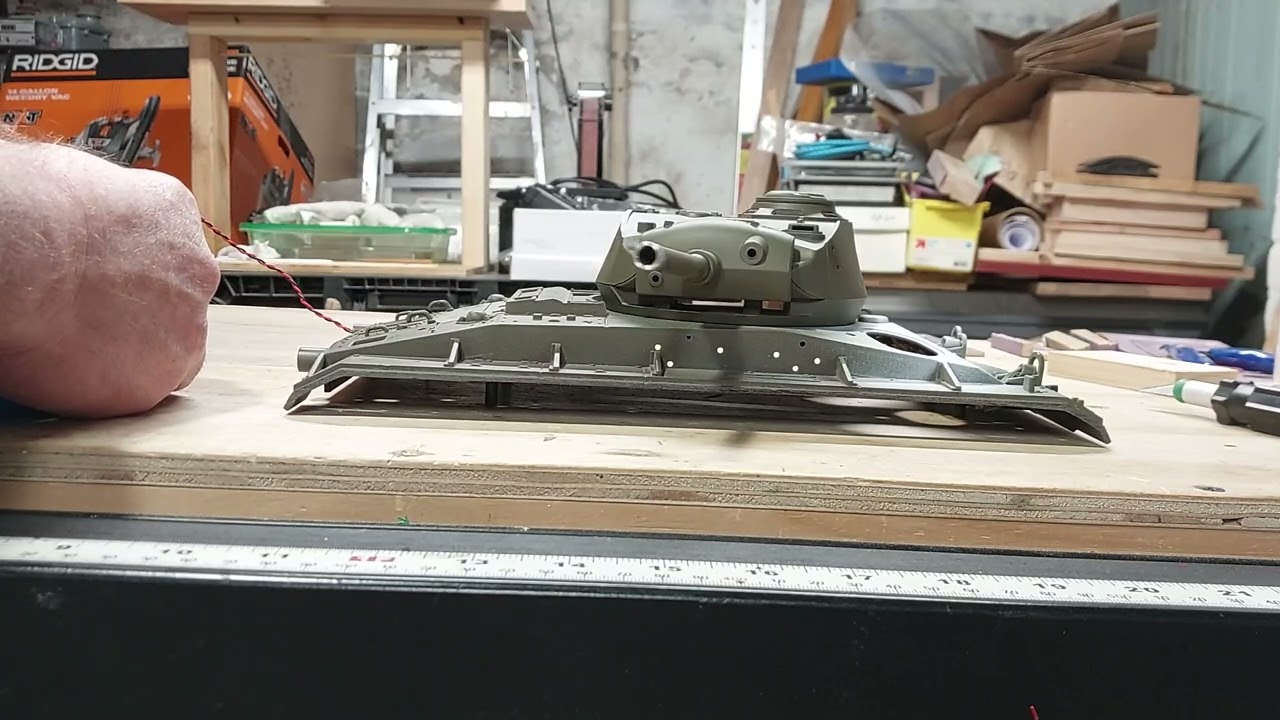
            Next, I tweaked the torsion bars to give the M24 more ground clearance. I'm not sure if I lifted it up too much. With the tracks on, it has 1 11/32" ground clearance (1/32" less than 1 3/8"). I had to add one track link to the tracks.

            I've always used aluminum angle to cover the jaws of my bench vise. I drew the angle (40 degrees) with a sharpie, so each side of the torsion bar would be twisted the same amount.

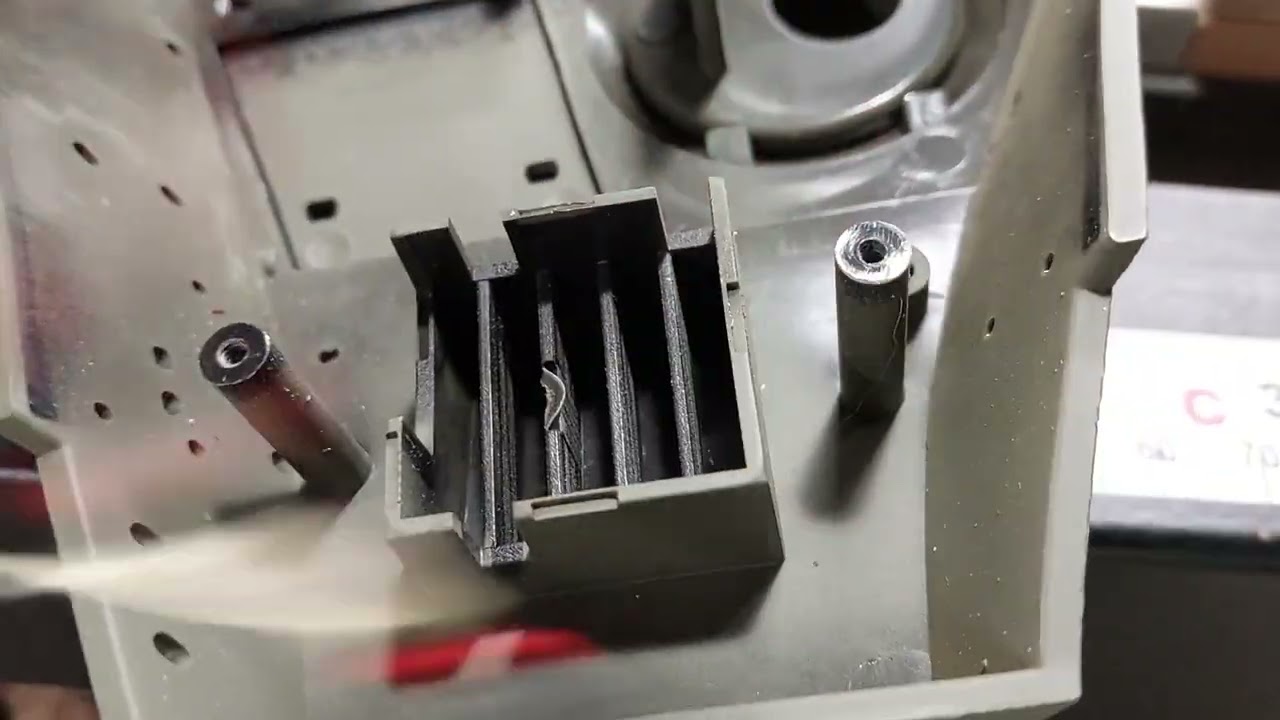
            It's an easy modification to do, except the lower hull must be gutted to have access to the 5 torsion bars.

            Click image for larger version

Name:	20260519_184757.jpg
Views:	188
Size:	149.7 KB
ID:	448777

            Comment

            • rb67mustang
              Member

              • May 2026
              • 290
              • People's Republic of Rhode Island
              • Send PM

              #26
              Here's the side view with the fender skirt delete upper hull, and the ground clearance measured.

              Click image for larger version

Name:	20260519_223936.jpg
Views:	183
Size:	123.6 KB
ID:	448780

              Clearance measured.

              Click image for larger version

Name:	20260519_201350.jpg
Views:	178
Size:	96.8 KB
ID:	448781

              Comment

              • Rubicon99
                Senior Member

                • Dec 2019
                • 3311
                • Send PM

                #27
                Originally posted by rb67mustang
                Here's the side view with the fender skirt delete upper hull, and the ground clearance measured.

                Click image for larger version

Name:	20260519_223936.jpg
Views:	183
Size:	123.6 KB
ID:	448780

                Clearance measured.

                Click image for larger version

Name:	20260519_201350.jpg
Views:	178
Size:	96.8 KB
ID:	448781
                Much nicer more realistically stance. You will also find it actually drives better with the higher stance then with the factory one.

                Comment

                • rb67mustang
                  Member

                  • May 2026
                  • 290
                  • People's Republic of Rhode Island
                  • Send PM

                  #28
                  Originally posted by Rubicon99

                  Much nicer more realistically stance. You will also find it actually drives better with the higher stance then with the factory one.
                  Thank you, Rubicon99, after all, I read what you had done to your M24, I liked it, and I copied it. Thanks for sharing your modification!!!

                  Comment

                  • rb67mustang
                    Member

                    • May 2026
                    • 290
                    • People's Republic of Rhode Island
                    • Send PM

                    #29
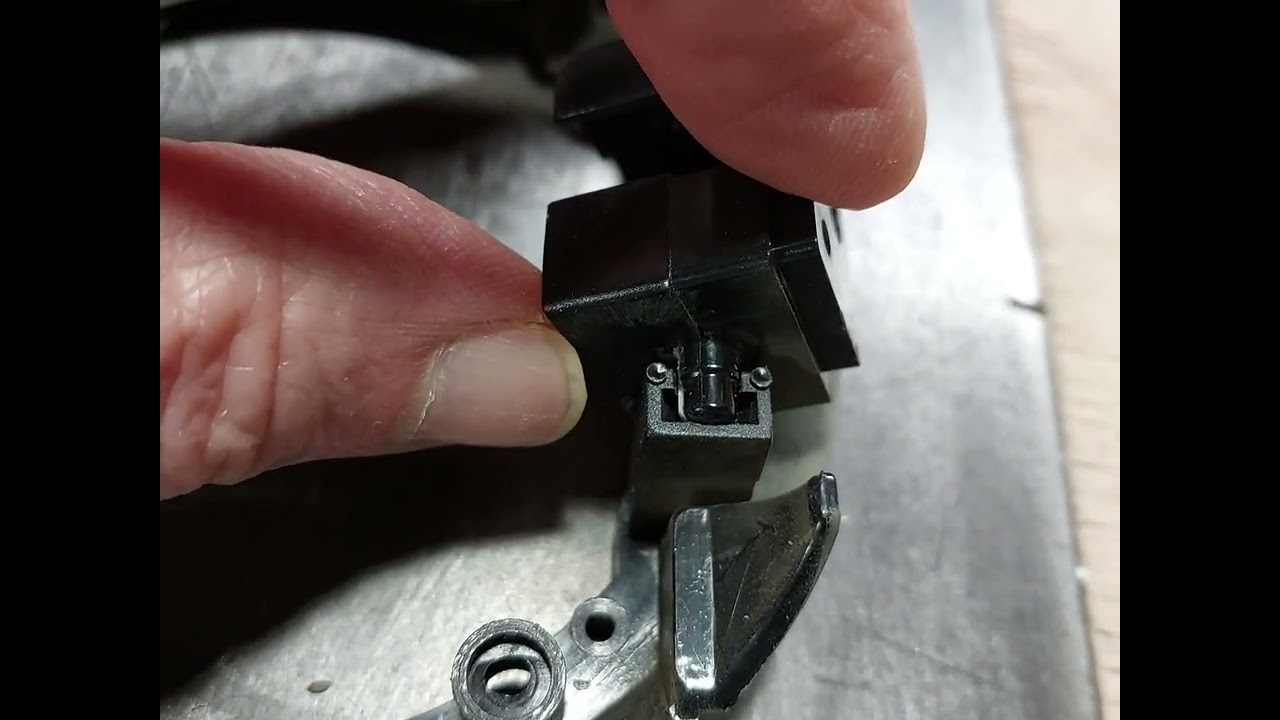
                    Next, I'll be addressing the sloppy fit of the 75mm gun pivot. Measuring the pivot hole/cradle isn't going to be easy. I'll measure it as best as possible with my preferred 6" scale, and then I'll turn a piece of a wood dowel in the lathe for a more accurate fit. After knowing the size, I'll make a couple of aluminum sheeves, and glue then onto the existing plastic pivot pins. I'll also relocate the screw hole that attaches the mantlet onto the gun body so they're clear of the pivot pins.

                    I'm also thinking to move the elevation servo, and to give it a better attaching point.

                    After the turret repair and modifications are finished, I'll cut the missing teeth in the turret gear and install a slip ring for continuous 360 degree rotation!!!!!!!

                    Comment

                    • rb67mustang
                      Member

                      • May 2026
                      • 290
                      • People's Republic of Rhode Island
                      • Send PM

                      #30
                      So here's a 5 minute video explaining the M24's Turret problems, and what I'm planning to do to solve them.

                      Actually, there are only 10 wires going into my M24's turret because it's not going to be used in IR battIes.

                      Comment

                      • rb67mustang
                        Member

                        • May 2026
                        • 290
                        • People's Republic of Rhode Island
                        • Send PM

                        #31
                        First, I repaired the gun pivot points.

                        Click image for larger version

Name:	20260520_142603.jpg
Views:	156
Size:	136.3 KB
ID:	448822

                        Attached Files

                        Comment

                        • rb67mustang
                          Member

                          • May 2026
                          • 290
                          • People's Republic of Rhode Island
                          • Send PM

                          #32
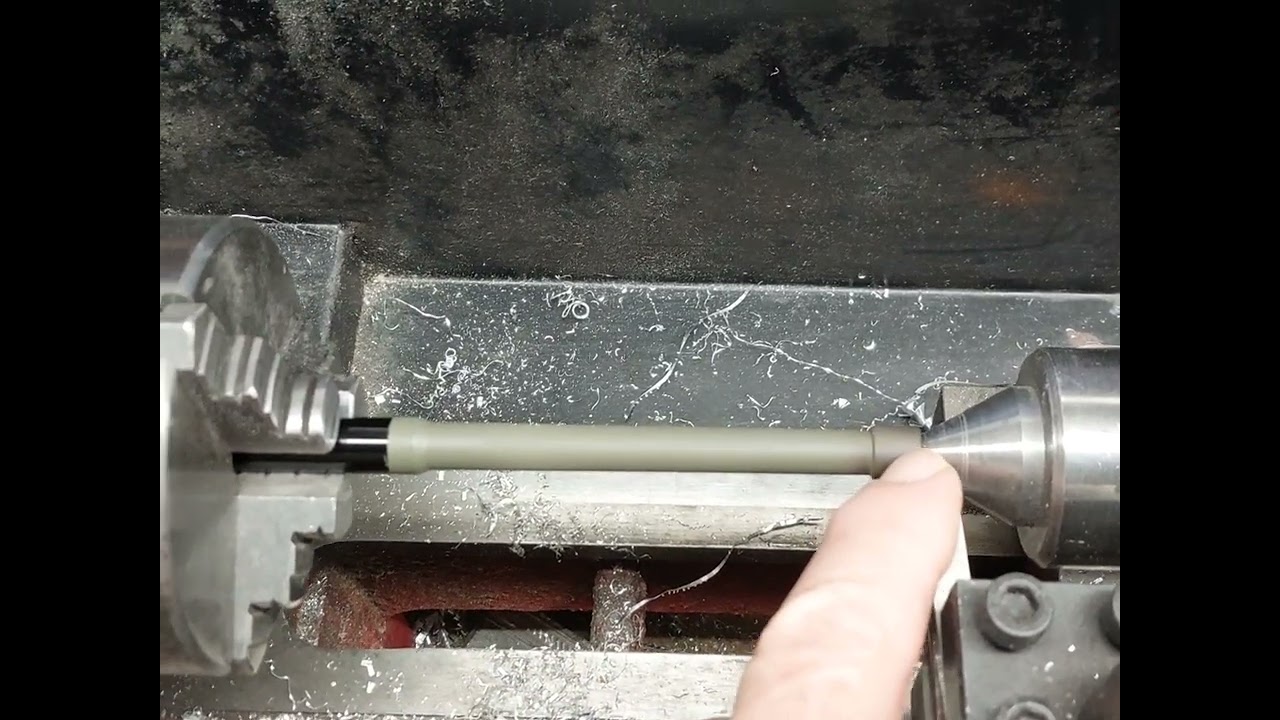
                          While I was using my lathe, I decided to turn down the muzzle end of the gun barrel due to it being oversize.

                          Comment

                          • rb67mustang
                            Member

                            • May 2026
                            • 290
                            • People's Republic of Rhode Island
                            • Send PM

                            #33
                            More progress later, I have to go out.

                            Comment

                            • rb67mustang
                              Member

                              • May 2026
                              • 290
                              • People's Republic of Rhode Island
                              • Send PM

                              #34
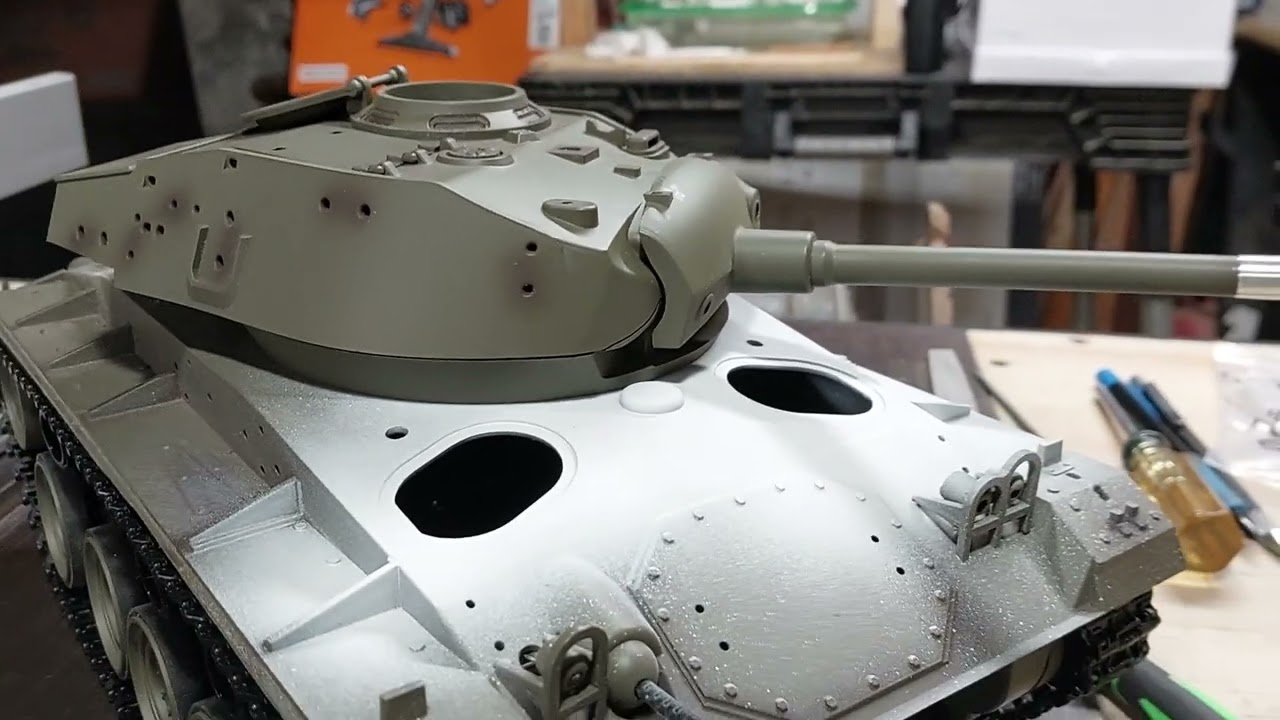
                              Next, I reassembled the gun, and I drilled new holes to attach the rear portion of the gun body. Then I checked the fit and movement of the gun with the turret assembled.

                              Click image for larger version

Name:	20260520_154937.jpg
Views:	158
Size:	146.4 KB
ID:	448833
                              Click image for larger version

Name:	20260520_154946.jpg
Views:	136
Size:	144.8 KB
ID:	448834

                              Comment

                              • rb67mustang
                                Member

                                • May 2026
                                • 290
                                • People's Republic of Rhode Island
                                • Send PM

                                #35
                                That's it for today. Tomorrow, I'll cut the missing teeth in the turret gear for 360 degree rotation.

                                Comment

                                • rb67mustang
                                  Member

                                  • May 2026
                                  • 290
                                  • People's Republic of Rhode Island
                                  • Send PM

                                  #36
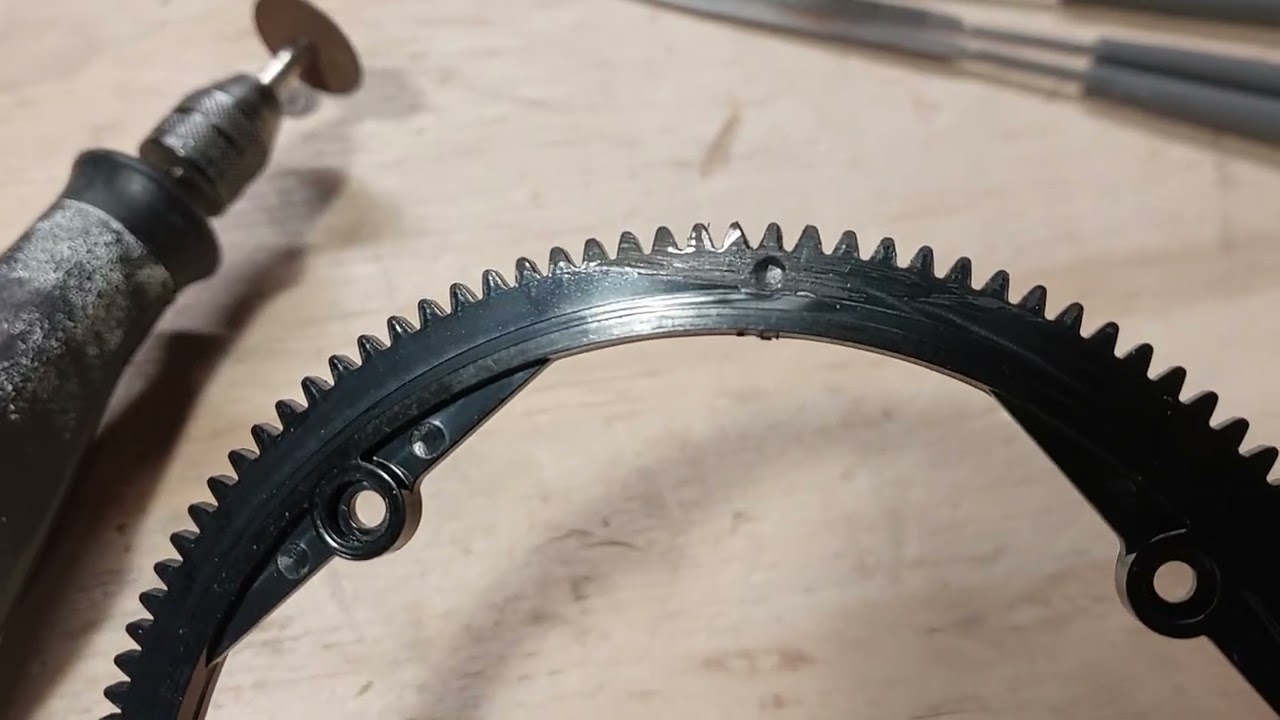
                                  Cutting the new, or missing teeth from a turret gear is an easy modification. There are videos on Commietube (Youtube) showing how it's done. The few times I've done it, I usually have another gear that's either the same size, or a little bit smaller. I line up the two gears, and clamp them together, and I scribe the shape of the missing teeth. If you don't have a gear to trace, measure the width of the uncut tab, and draw a line in the middle. Then measure between two teeth to get the center distance. Then draw a line on each side of the center of the tab to represent the middle of the three teeth. Free hand draw the rough shape of the teeth to be cut.

                                  Put a cutoff disc in your Dremel, and hold it in your left hand so the rotation of the cutoff wheel is turning away from you. Don't hold the Dremel in your right hand because all the melted plastic will hide the lines of the teeth. First cut in the middle of the teeth, and then cut the angles leaving some material. Hold it up to the gear in the turret traverse unit to check your progress. Then cut away more material and check it again, until the newly cut teeth roll freely over the traverse drive gear.

                                  The scribed lines can be seen in this image.

                                  Click image for larger version

Name:	20260521_123836.jpg
Views:	124
Size:	76.3 KB
ID:	448853

                                  Then the teeth are cut, and filed a bit, and it's finished!!!

                                  Comment

                                  • rb67mustang
                                    Member

                                    • May 2026
                                    • 290
                                    • People's Republic of Rhode Island
                                    • Send PM

                                    #37
                                    Here's an image before testing the modified turret gear.

                                    Click image for larger version

Name:	20260521_132606.jpg
Views:	130
Size:	121.3 KB
ID:	448855

                                    Here's a 360 degree test video to see how well the modification works.


                                    That's it for today. Next I'll be making a new roller mount to elevate the gun.

                                    Comment

                                    • 761st
                                      Member
                                      • May 2022
                                      • 392
                                      • Send PM

                                      #38
                                      I had the same problem with my hatch. At first, I built a magnet connection. Which eventually broke. But seems the pull of the magnets straightened it out. Maybe leave "weights" on it for a while Click image for larger version

Name:	IMG_9137 (3).jpg
Views:	130
Size:	134.0 KB
ID:	448865 ?.

                                      Comment

                                      • rb67mustang
                                        Member

                                        • May 2026
                                        • 290
                                        • People's Republic of Rhode Island
                                        • Send PM

                                        #39
                                        Originally posted by 761st
                                        I had the same problem with my hatch. At first, I built a magnet connection. Which eventually broke. But seems the pull of the magnets straightened it out. Maybe leave "weights" on it for a while Click image for larger version

Name:	IMG_9137 (3).jpg
Views:	130
Size:	134.0 KB
ID:	448865 ?.
                                        Thank you very much! I appreciate your interest in my build.

                                        Comment

                                        • rb67mustang
                                          Member

                                          • May 2026
                                          • 290
                                          • People's Republic of Rhode Island
                                          • Send PM

                                          #40
                                          I trust everyone had a great Memorial Day weekend!!!

                                          Comment

                                          Working...