Official FlightLine RC 1600mm Spitfire Mk. IX Thread

Collapse
X
Collapse
First Prev Next Last
 
  • Time
  • Show
Clear All
new posts

  • mszulen
    replied
    Originally posted by Evan D
    Paint or just decals?
    Decals and paint. I wanted to paint everything but didn't have enough motivation :) IIt was also beaten a little bit, because I've got mine second hand from Stuart from Motion RC Europe (it was the model he used for the review/promo video for Motion RC). Also, because of this, I have 2 sets of wirngs (original and clipped). I've been flying it like 3 years ago or so and then it was sitting on the shelf. Now, it's time to re-introduce it to the air :)

    Leave a comment:


  • kallend
    replied
    Originally posted by kallend

    The "unit" is just an Arduino (pretty much any one, I used a Nano Every for testing and a cheaper Pro Mini ($7) for the installed one, a AO3400 MOSFET for the switch*, and a 22ohm resistor for current limiting. Total cost came to around $10 and weight around 10 grams.

    * $8.95 for 100 from Amazon
    Just to review - this is a pretty easy Arduino project, you can create up to 100 of your own messages to send out in Morse code, and I'll supply the code for free, on request.

    The guys at my club who are radio hams are having a ball decoding the messages.

    Leave a comment:


  • davegee
    replied
    Originally posted by mszulen

    I did repaint mine. It's in the Jan Zumbach of 303rd polish squadron scheme (yes, I know that it was mk.Vb originally :) ).
    I like your repaint. I've seen pictures of this plane before in books.

    I did a likeness of Witold "Lanny" Lanowski's aircraft with 302 Sqdn before he moved over to fly P-47s with the 56th Fighter Group in England. His son Krys still lives in England and I got some help from him on how his dad's plane looked while attached to the RAF. Great flyer, I've had this plane going on 6 years. Flew it yesterday, in fact.

    Cheers

    Davegee

    Click image for larger version  Name:	IMG-1145.jpgadjusted.jpg Views:	0 Size:	141.4 KB ID:	353019Click image for larger version  Name:	IMG-1144.jpg Views:	0 Size:	188.6 KB ID:	353020

    Leave a comment:


  • Evan D
    replied
    You'll have no regrets, it flies even better than it looks. The only thing you'll spoil is wearing out the tires flying it so much!

    Leave a comment:


  • Simon Bee
    replied
    WOW , just completed everything and this model looks fantastic. So good that I almost don’t want risk spoiling it by flying it !
    I have a couple of Admiral 4500s and a couple of 5000s, would about 8 mins flight time seem reasonable?
    I haven’t used Y leads like some people and am still using the blue box….hope I’m not going to regret it 😢

    Leave a comment:


  • Evan D
    replied
    Paint or just decals?

    Leave a comment:


  • mszulen
    replied
    Originally posted by Elbee

    AC, Crack-on, indeed, Sir. Any plans for a repaint? The OEM liveries are quite good, though. Best, LB
    I did repaint mine. It's in the Jan Zumbach of 303rd polish squadron scheme (yes, I know that it was mk.Vb originally :) ).

    Leave a comment:


  • kallend
    replied
    Flying off rough grass is hard on the landing gear. I have put some 3DP part files (scissors, brackets, gear doors) for the gear legs on Thingiverse:

    Leave a comment:


  • Simon Bee
    replied
    👍👍

    Leave a comment:


  • kallend
    replied
    Originally posted by Simon Bee
    Just a couple of questions re the build.
    Are you guys putting your receiver underneath in the wing bay ? If I’m going to remove the wing each time for transport, that means plugging and unplugging every time the aileron,gear and flaps into the receiver. Are you guys using extension leads so as not to keep plugging/unplugging into the receiver?
    cheers
    I use a single "multi servo" connector. There are lots available, just google "multi servo connector".

    Leave a comment:


  • Simon Bee
    replied
    Just a couple of questions re the build.
    Are you guys putting your receiver underneath in the wing bay ? If I’m going to remove the wing each time for transport, that means plugging and unplugging every time the aileron,gear and flaps into the receiver. Are you guys using extension leads so as not to keep plugging/unplugging into the receiver?
    cheers

    Leave a comment:


  • ontario
    replied
    ok...I got the decals to work

    I`m posting here so another poor soul does not have to lose sleep over this

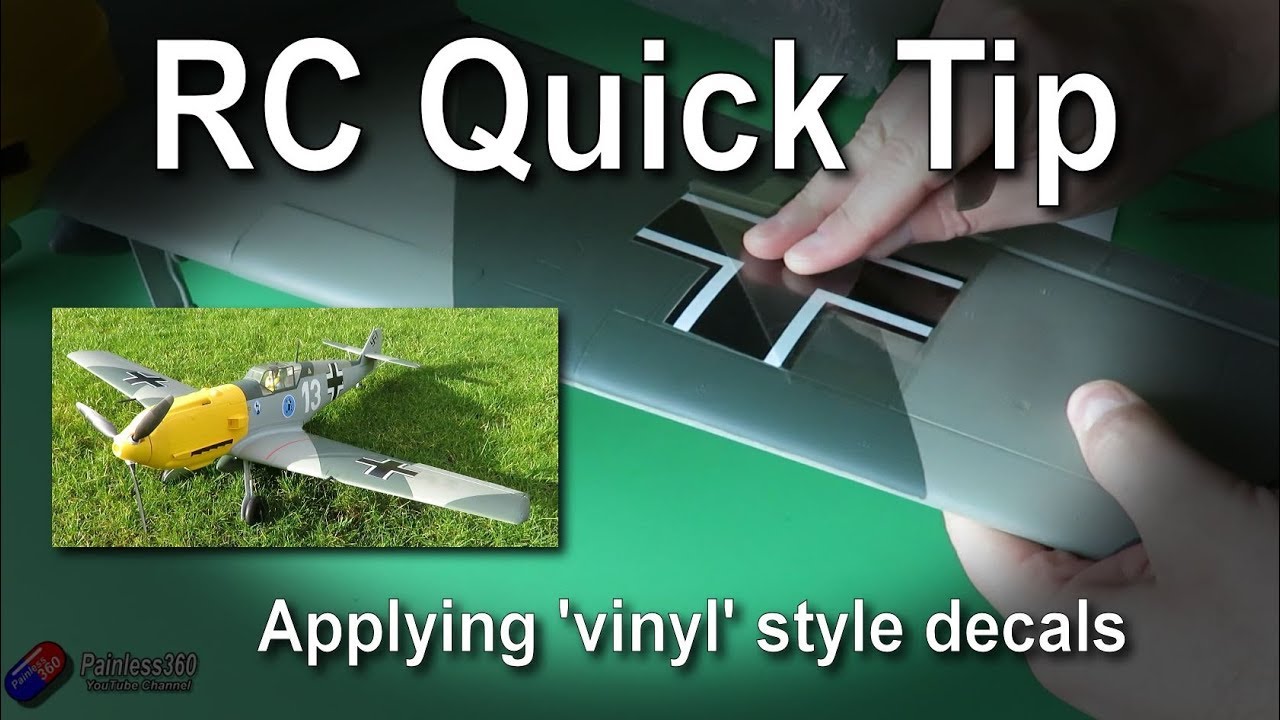
    this video shows you the general idea of how to do it......BUT..... the decals with the spitfire don't want to come off the plastic easily...so you have to use a hobby knife/exacto blade to pic the corner of the decal loose from the plastic film and help it stick to the surface......once you do get it started carefully pull the film back while using the side of the knife or thin tool to stick the decal to the surface as you pull the film back...take your time and pull the plastic back carefully or you will distort the decal as they are very thin....this is not a fast process if you want good results take your time

    I tucked the letters under the rondel plastic so all the letters and rondel were one big decal that were lined up and went on together perfectly



    This video is also helpfull
    Leave a comment:


  • kallend
    replied
    Originally posted by ontario
    Hi everyone

    Im trying to put on the fuselage decals and having a very hard time


    The vinyl decals went on fine...

    The waterslide decals, I understand how they work...

    but the fuselage decals...like the light green stripe that goes at the back before the tail...wont come off the plastic when I peel it

    Can someone post a procedure for the application of the transfer decals ...I`ve tried pressure...I`ve tried a heat gun...I`m stumped at how you can get a professional application with these....there is nothing in the manual about it and not much on YouTube about it

    Thanks
    Welcome to the club.

    The decals do not match the quality of the rest of the model.

    Leave a comment:


  • ontario
    replied
    Hi everyone

    Im trying to put on the fuselage decals and having a very hard time


    The vinyl decals went on fine...

    The waterslide decals, I understand how they work...

    but the fuselage decals...like the light green stripe that goes at the back before the tail...wont come off the plastic when I peel it

    Can someone post a procedure for the application of the transfer decals ...I`ve tried pressure...I`ve tried a heat gun...I`m stumped at how you can get a professional application with these....there is nothing in the manual about it and not much on YouTube about it

    Thanks

    Leave a comment:


  • Elbee
    commented on 's reply
    Much appreciated. I will take a look. Would you be willing to start an Arduino Thread here at the Squawk?
    Possibly, make some recommendations of your own or other tutorials.
    My knowledge is limited to my own trial and error with a starter set. Just thinking out loud as it were.

  • kallend
    replied
    Originally posted by Elbee

    Indeed I have and I must tell you I am liking the "flicker" feature most. It's about the sensation, right? The flicker is atmospheric mostly, but my eye sees it, so it is real for me.

    And yes, I want to build it; however, I would understand if this one is a proprietary secret.

    Frankly, that is one of the reasons I bought my starter kit. I had differing lighting setups in my Hornet requiring differing voltages and sequencing.
    I wanted to control those with a light weight single source.
    The OEM part, the now 'infamous' Blue Box', had had several issues and did not handle different voltages.
    In the end, I did not use my Arduino to resolve the systems, but I will go back to it after I finish the Corsair.

    Best, LB
    Not at all proprietary - I give the code and instructions away for free. See my blog on RCGroups.

    Leave a comment:


  • Elbee
    replied
    Originally posted by kallend
    Have you seen my do-it-yourself afterburners for EDFs?
    Indeed I have and I must tell you I am liking the "flicker" feature most. It's about the sensation, right? The flicker is atmospheric mostly, but my eye sees it, so it is real for me.

    And yes, I want to build it; however, I would understand if this one is a proprietary secret.

    Frankly, that is one of the reasons I bought my starter kit. I had differing lighting setups in my Hornet requiring differing voltages and sequencing.
    I wanted to control those with a light weight single source.
    The OEM part, the now 'infamous' Blue Box', had had several issues and did not handle different voltages.
    In the end, I did not use my Arduino to resolve the systems, but I will go back to it after I finish the Corsair.

    Best, LB

    Leave a comment:


  • kallend
    replied
    Originally posted by Elbee
    kallend it is a great scale feature and quite cleverly done. My congrats, Sir. I am certain not many folks even know this was a thing. I had written some time back, we should start an Arduino Thread, but there doesn't seem to be much interest here. I still believe it is something that could become popular once members were exposed to its potential, if just for lighting. Regardless, nicely executed project. Best, LB
    Have you seen my do-it-yourself afterburners for EDFs?
    https://www.youtube.com/watch?v=WWvH...el=JohnKallend

    https://www.youtube.com/shorts/eDpmZlzUuT8

    Leave a comment:


  • kallend
    replied
    Originally posted by davegee

    I have been "schooled" on this light that adorns the spine of the Spitfire. From the beginning when I got mine over 5 years ago, I just assumed it was a MRC added flashing light to help the pilot keep his plane in sight. I had no idea of its true scale meaning!

    I, for one, would like some more information on the unit that allows Morse code messages to flash out of this light. If someone could direct me to more info on it, I'd like to see it. Well done, Kallend!!

    davegee
    The "unit" is just an Arduino (pretty much any one, I used a Nano Every for testing and a cheaper Pro Mini ($7) for the installed one, a AO3400 MOSFET for the switch*, and a 22ohm resistor for current limiting. Total cost came to around $10 and weight around 10 grams.

    * $8.95 for 100 from Amazon

    Leave a comment:


  • davegee
    replied
    Originally posted by Elbee
    kallend it is a great scale feature and quite cleverly done. My congrats, Sir. I am certain not many folks even know this was a thing. I had written some time back, we should start an Arduino Thread, but there doesn't seem to be much interest here. I still believe it is something that could become popular once members were exposed to its potential, if just for lighting. Regardless, nicely executed project. Best, LB
    I have been "schooled" on this light that adorns the spine of the Spitfire. From the beginning when I got mine over 5 years ago, I just assumed it was a MRC added flashing light to help the pilot keep his plane in sight. I had no idea of its true scale meaning!

    I, for one, would like some more information on the unit that allows Morse code messages to flash out of this light. If someone could direct me to more info on it, I'd like to see it. Well done, Kallend!!

    davegee

    Leave a comment:

Working...

