


Originally posted by Marksj100
View Post
-
Mine worked,but I bypassed it and plugged them in to the double flash input. Looks great and can actually see them from quite a distance. Have a feeling that the battery would run them for days -
I found when installing the wing tanks it sure was easy, because of the tight fit, for them to become unplugged.Originally posted by Marksj100 View Post
Comment
-
I thought about that so I tested them at the wing board and they worked fine. Anyhow for some reason they work now when the gear is down ????. Still may plug them in to stay onOriginally posted by adb2@suddenlink.net View PostComment
-
They only work when the gear is down for landing. At least on mine that is the way they work.Originally posted by Marksj100 View PostComment
-
I believe these boards use one or two common grounds for everything. Yours may have had poor contact on some of the plug pins. I had that on an early version of these boards and by unplugging each one and wiggling them vigorously back on, stuff that didn't work started to work. Poor pin contact can be a random, on/off sort of thing.Originally posted by Marksj100 View PostComment
-
Stuart shows how to do this in a MotionRC YouTube video, maybe you've seen it... link included.Originally posted by Marksj100 View PostComment
-
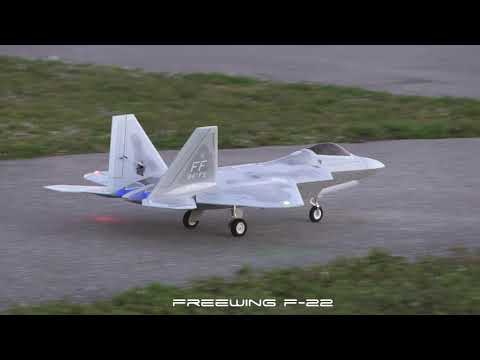
Owe an update here after having been flying the Albatros for the past weeks. That the flight is absolutely delicious we already know from all the positive feedback from the guys, even that it is efficient but did not expect it to be to this extent. The past days we have been flying the Albatross perfectly at around 35 / 40% throttle stick, cruising around comfortably and even at a very reasonable speed squeezing up to 6min out of the stock setup..what and amazing flier and how aerodinamic the design is. Yet to see it stall too... Initially I had my timer set at 3min but ultimately after taxiing back my radio shows -3min with a voltage of 3.80V per cell. I could still squeeze it up to more than 6min I am sure. Kudos Motionrc & Freewing!Comment
-
Thank you Pat,Originally posted by crxmanpat View Post
I think that is a very smart idea. There is no one near who has a 3D printer so I'll make one out off aircraft plywood.
RudyComment
-
They should change the mitten hands on their pilots. I always paint them black so they are not so obvious.Comment
-
I always thought people mounted these right on top of the servo. At least I thought that was what I had seen people do on Avantis. I have one I am gonna install on my FW Bae Hawk and didn't even think about putting it further down like that.Originally posted by Deegeedoo View PostComment
-
Would be great if they would release a bunch of these in primer only, for those of us who like to customize.Comment
-
Nobody ever looks inside the cockpit of my planes to see what kind of hands the pilot has but when they do, Mario, the plumber and Bob, the Minion, have mitten hands. LOLComment
-
I think the farther away from the leverage point the better. On this L-39 the designer chose pretty well the best spot to mount the brace.Originally posted by JamesonC View PostComment
-
-
Did some visual upgrades to the L-39. Printed out the 3D cockpit files and used the instrument faces from the stock instrument panel decal. Painted the stock pilot’s helmet and mittens.Comment
-
-
The aircraft I represented is actually called the L-159. The back seat is removed and has, I’m assuming, additional avionics in the back bay. I used thin aircraft plywood to create the cover seen on the actual aircraftComment
-
Fashioned a HUD using thin aircraft ply and a material called Solyx. This stuff is a pretty good for HUD material. It’s transparent but also has a “prism” effect that reflects light at different colors depending on the angle viewed. Samples of this material can be purchased cheaply.Comment
-
The finished product!Comment
-


Comment