Official Freewing T-33 Shooting Star 80mm EDF Thread
Collapse
X
-
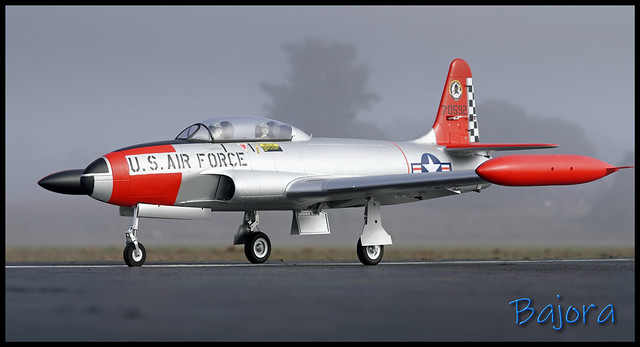
[QUOTE=Bajora;n291069]I know this one is "old "news to most but mine is new to me and I had her out for first flights this very foggy AM. Two nice flights in the book! Powered by an FMS 80mm V2 12B Pro 2100Kv.
I think there’s one of these waiting for me under the Christmas tree. Keep the thread alive!Comment
-
I "finished"mine with several light coats of semi-matte finish Minwax Polycrylic laid down with my airbrush. I haven't done that in a while and was anxious that my airbrush would still work after several years packed away. But she went on real nice! Adds a real nice finish IMOComment
-
Nice paint finish. I just assembled my new t33, I've noticed the nose fear has a lot of play- both forward/aft and left/right. I checked the set screws and everthing is tight. I fly off a grass field and am worried about tearing it out if I dont flair in time.
Any suggestions. Also CG balance with gear up?
Thanks for the assist.Comment
-
-
Comment
-
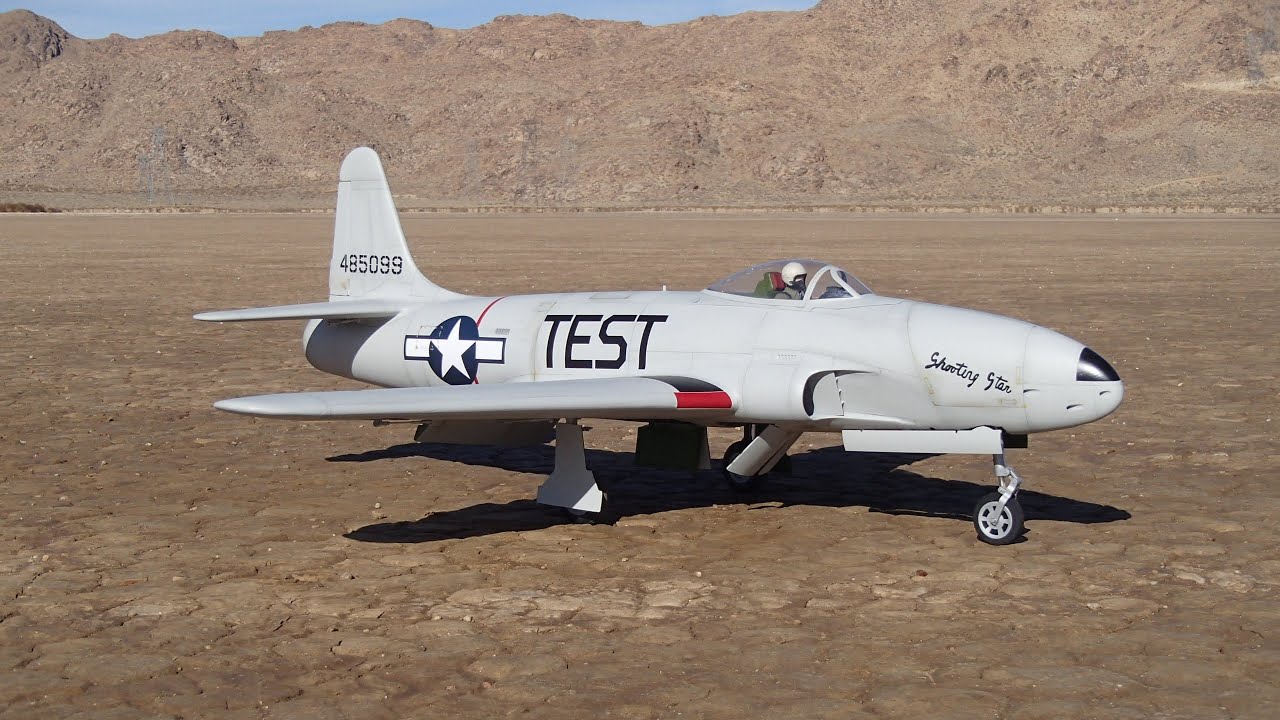
Brent "Corsairnut" Hecht's super cool Lockheed P-80 Shooting Star out at Rabbit Dry Lake recently...😎
This VERY nice rendition models an early P-80 out at Muroc dry lake/Edwards Air Force Base, and flies absolutely amazing! She really looks great, both in the air, and on the ground...
Happy New Year and all the best!
Enjoy 😁!
Comment
-
This VERY nice rendition models an early P-80 out at Muroc dry lake/Edwards Air Force Base, and flies absolutely amazing! She really looks great, both in the air, and on the ground...
Happy New Year and all the best!
Enjoy 😁!
[/QUOTE]
Great flight! I enjoyed watching that
Comment
-
-
Comment
-
Lighting is complete. Tail light, top and bottom fuselage flashing red, red and green wingtip lights with accompanying strobes and the landing gear lights. I used the GT Power Aircraft Navigation Lighting System for all but the landing gear. For the lenses on the tip tanks I used the Freewing 80mm EDF L-39 Albatros Plastic Part D. For the landing gear I used the lights from the A-10 light set and the 3d printed parts that were graciously posted earlier in this thread by Radar-Guy and they are connected to the blue box. Next up are the speed brakes. I have the self contained 3D setup made and functioning but will need to do some foam carving to the wing and the fuselage for fit.
Graphics should arrive this week but I will need some warmer weather to get to the repaint. So far I was able to spray silver over the black and decals in order to get a better base for the red to cover and get the wingtips red so I could fit the tanks and get the lighting complete. Typically I paint the parts separately and then put together but this one is basically all red, it will be easier to mask off the few places that aren't and get it done in one or two sessions.
Comment
-
Comment
-
Comment
-

.png)


Comment