



I'm using a Talon HV in my 8S. I put a meter on it and its 5.8V. I haven't had any odd issues but only use the BB for retracts and lights.
-
-
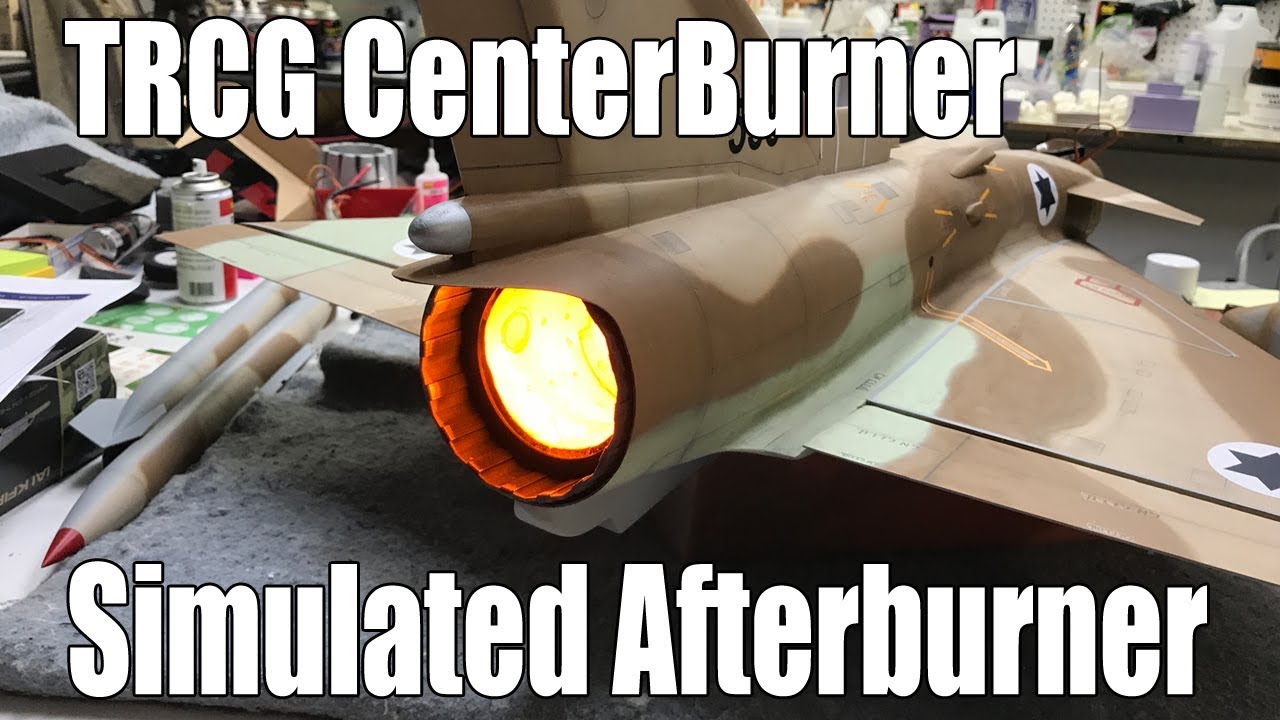
Hey Todd, got Chris' centerburner in the mail today. Will do that and the airflow parts at the same time while I've got that bay open. Pulled the fan unit out and have to figure out how to remove the tail cone and replace with centerburner. Then wiring with the 2s admiral battery.:Cool:Comment
-
That's what I had it for. It only offered 8.0 v and 6.0 v in the setup so went for the 6. (may only be 5.8 in real life). With mine (even though I had bypassed the board for rudder, steering and elevators after the rudders didn't work with gear extended) the landing light would not come on when 1st dropping the gear. Usually took a cycle left & right on the rudder to get it to come on. I swapped out to the stock 6s setup Saturday and now the landing light works like it should. On another note, the Scorpion backup guard that triggers when voltage drops below 5 comes on every time I wiggle a servo. While the Talon was in it, I flew it for 3 weeks without it ever kicking in at all.My YouTube Videos https://www.youtube.com/channel/UCrz...4Q-xrOOtP2C-8wComment
-
The only weird thing I found was when I first wired it I put a anti spark in with a resistor. When I used it the three flash light I added wouldn't flash and the ESC didn't do the 8 cell count beeps. The solid tip lights and the landing light worked and the ESC/ BEC did work as it was supposed to. I didn't like it and removed the anti spark. No issues since...Comment
-
Painted the rudder servos right from the start. also just installed the center burner afterburner. I think I`ll need it -17degrees with 25mph winds today. Great for flying!Comment
-
I have a question for all Freewing F-22 8s version pilots, will this be
a good replacement for the stock 12 blade fan?...https://www.rc-castle.com/index.php?...+90MM+12+BLADEComment
-
Any news about if we're getting a clear canopy option for this one guys?
I remember some talk about it being a possibility.Comment
-
-
-
Same as above... the glow will be much more realistic reflecting off the entire exhaust. Here’s the F-14 with aluminum ducting tape lined exhaust. I install the tape in long strips starting from Forward of the aft section of the fan housing (with the motor/fan out obviously) all the way back to about 1/2 in from the exhaust opening. This helps prevent thrust from unfeeling the tape and restricting airflow while airborne.
I also use a separate UBEC so I don’t have to deal with a 2S battery. I’ve done both... they all run 7.4v UBECs now. Don’t use anything with higher than 7.4v , ever. I also program mine to light at 80% throttle.Attached FilesComment
-
-
-
Thanks for all the center burner tips, guys!Freewing A10, F4, F22, Sebart Avanti S miniComment
-
Center burner install: on the aluminum ducting tape, how wide are you guys making the strips?
JohnFreewing A10, F4, F22, Sebart Avanti S miniComment
-
Yeah Todd, got mine yesterday and put it in this afternoon. Also going with the 2s. Soldered the battery terminals for deans connectors to hook up with the admiral battery. Wound up with a 1000mah Admiral pack as they didn't have anything smaller at the time. Guess I wont have to charge it very often.:)Haven't hooked it to the receiver yet . Working on Radarguy's streamlining pieces while everything is out. Could use a tutorial on that too.:Thinking: Got the spar teardrop in but having trouble fitting the other piece.:Confused:Comment
-
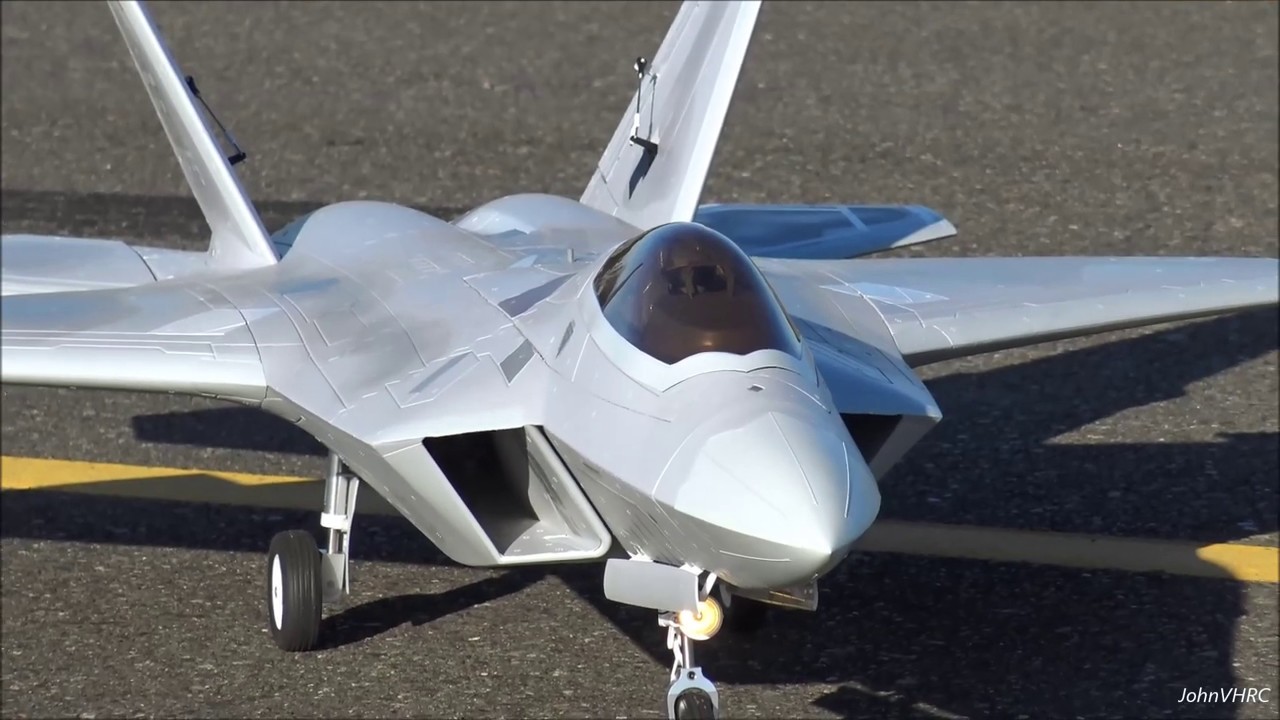
Let me try to give some more information on the assembly. The first pic shows how the fairing parts need to be arranged. Start with the two small parts, those are the front fairing for the spar. Use some high quality glue, you don't want any of the parts to hit the operating fan. Then add the rear fairing to the spar. After that, add the "sharp divider" part. It might be necessary to enlarge the rectangular vent hole in the foam of the stock divider a bit to get the vent extension to slide in (see second pic). The rear fairing and the divider should be installed in one action to get them properly alligned. That's it. Hope that makes sense.
Did you install the nose gear brace?
Frank :Goodbye:Comment






Comment