You must Sign-in or Register to post messages in the Hobby Squawk community
Registration is FREE and only takes a few moments

Register now

Announcement

Collapse
No announcement yet.

Freewing 90mm F-22 Raptor - Official Thread

Collapse
X
Collapse
First Prev Next Last
 
  • Filter
  • Time
  • Show
Clear All
new posts

  • I had to “set” my on position about three times before it was stored.
    Freewing A10, F4, F22, Sebart Avanti S mini

    Comment


    • Freewing A10, F4, F22, Sebart Avanti S mini

      Comment


      • Originally posted by crxmanpat View Post
        It should. It's on the exterior, and is visible upon visual inspection. Barely, but it is visible. :)
        what did you use to make those?

        Comment


        • Originally posted by Aros.MotionRC View Post
          With the help of my friend I installed the RC Geek centerburner today. Had some issues at first...We couldn't figure out what the deal was. We added a Castle 10A BEC, routed it appropriately and for the longest time it would just flash intermittently. We kept trying to set the programming to a set throttle quadrant to no avail. Eventually we got it to work but it was reversed. Full throttle it was off. Idle throttle it was on, lol...

          Eventually, we got it to work but neither of us know what in the heck we did to get it to work right. LOL

          Did anyone else deal with those kinds of issues when installing? Just curious. I will be adding some aluminum tape to the exhaust next. The centerburner looks SWEET even in the middle of the day!
          Hey Todd, I had seemingly the identical problem. The intermitent flashing was making me crazy! :Thinking: Wound up sending it back to Chris after several emails back and forth. Like your experience, the throttle was reversed and he reset the "on" point as a courtesy. I still couldn't get it to work when I got it back but soon discovered I had the throttle cut on from the first trial and error phase. DOH!! Once again I realize that, when I'm in the process of elimination, I sometimes create more problems than I solve.:Scared:But now it works fine and I was finally able to reinstall the fan/motor, route the controller and extra wires through the lower channel, and button up the fan bay with the centerburner and streamlining pieces all installed. Whew!! Two more mods to check off the list!:Cool:

          Comment


          • Originally posted by C17loadmaster View Post
            Yeah, I just pressed the button on the control board when I wanted it to light. It took a minute or two, but not any more than that. What is powering it? The Castle? If so, what volts is it set to?

            There is a thread specifically for the centerburner. The owner, Chris, will help you out.
            The Castle BEC is powering it. We set it to 7.1. It's working fine now, just was weird how it was acting at first. Thanks for the input all!

            My YouTube RC videos:
            https://www.youtube.com/@toddbreda

            Comment


            • Originally posted by downwindleg View Post
              ... I still couldn't get it to work when I got it back but soon discovered I had the throttle cut on from the first trial and error phase. DOH!! Once again I realize that, when I'm in the process of elimination, I sometimes create more problems than I solve.:Scared:
              I totally did the same thing Brad!! Chris kept wondering why (in the early stages) nothing was working...He finally said "You don't have throttle cut activated do you?" OOPS! :Silly:

              I told him there's a good reason I don't work for NASA. LOL
              My YouTube RC videos:
              https://www.youtube.com/@toddbreda

              Comment


              • O.K. dumb question John. Why do you have foil under the motor mount? If that is for the afterburner, shouldn't that be aft of the fan? :Confused:Please explain.

                Comment


                • Originally posted by downwindleg View Post

                  O.K. dumb question John. Why do you have foil under the motor mount? If that is for the afterburner, shouldn't that be aft of the fan? :Confused:Please explain.
                  It was recommended by another squawker to extend the foil beyond the fan lip so as to capture tape, preventing it from coming loose at front edge. The pic I used was before trimming foil from wooden motor mount although I don’t think it would hurt to leave it.
                  Freewing A10, F4, F22, Sebart Avanti S mini

                  Comment


                  • I’m sure others do this as well.... but after laying down aluminum tape, I hold the nose of my jet and run it up to full throttle for at least 30 seconds and check the tape for unpeeling. I’ve seen it come up and block large portions of thrust before. I now try to use long strips that start mid fan housing. So there is little possibility of that happening in flight

                    Comment


                    • Good advice, I will heed when I apply.
                      My YouTube RC videos:
                      https://www.youtube.com/@toddbreda

                      Comment


                      • Originally posted by p51mustangman View Post

                        what did you use to make those?
                        Water slide decal paper and a laserjet printer.
                        Pat

                        Comment


                        • Snow Patrol!

                          My YouTube RC videos:
                          https://www.youtube.com/@toddbreda

                          Comment


                          • Originally posted by C17loadmaster View Post

                            I’m sure others do this as well.... but after laying down aluminum tape, I hold the nose of my jet and run it up to full throttle for at least 30 seconds and check the tape for unpeeling. I’ve seen it come up and block large portions of thrust before. I now try to use long strips that start mid fan housing. So there is little possibility of that happening in flight

                            I also laid most of my strips full length. Believe it was 5 pieces per side. There was a small section toward top of where it transitions from one hole to two that was about 6” in length on both sides. I made sure I wrapped at least 1/4” over the splitter. A picture would be better used to describe but I don’t have one.

                            Another tip: I used the cardboard tube from a roll of mono coat to press tape on to foam. Seemed to be the perfect size when shoved up the exhaust pipes.

                            No sign of anything coming loose after 10 flights.

                            John
                            Freewing A10, F4, F22, Sebart Avanti S mini

                            Comment


                            • [QUOTE=Aros.MotionRC;n181180]Snow Pat
                              Very cool flight my friend! Great landing too but how the heck are we supposed to see that awesome after burner? Have to mount the camera on a selfie wand three feet long taped down the center between the two motor shrowds.:Cool:

                              Comment


                              • Originally posted by john2kx View Post


                                I also laid most of my strips full length. Believe it was 5 pieces per side. There was a small section toward top of where it transitions from one hole to two that was about 6” in length on both sides. I made sure I wrapped at least 1/4” over the splitter. A picture would be better used to describe but I don’t have one.

                                Another tip: I used the cardboard tube from a roll of mono coat to press tape on to foam. Seemed to be the perfect size when shoved up the exhaust pipes.

                                No sign of anything coming loose after 10 flights.

                                John
                                Yep, I use a 1/4in carbon support rod in the areas I can’t secure the way I would like to by hand.

                                I tried painting inside the exhaust of one of my F-15’s silver with gloss clear coat... not nearly the same effect. I’m repainting that plane next, it was supposed to be the blue splinter “Aggressor” scheme from Nellis AFB. Now it just won’t be as cool. The other F-15 is going to be “Glamorous Glennis” from the 50 year anniversary of the sound barrier being broken. I had callie make them for me. They’re now listed on her website

                                Comment


                                • Originally posted by Aros.MotionRC View Post
                                  Snow Patrol!

                                  GREAT Video AMRC! I especially liked your "Chase Plane - Wing Man" on take off. Too bad he didn't get off the ground! LOL

                                  Comment


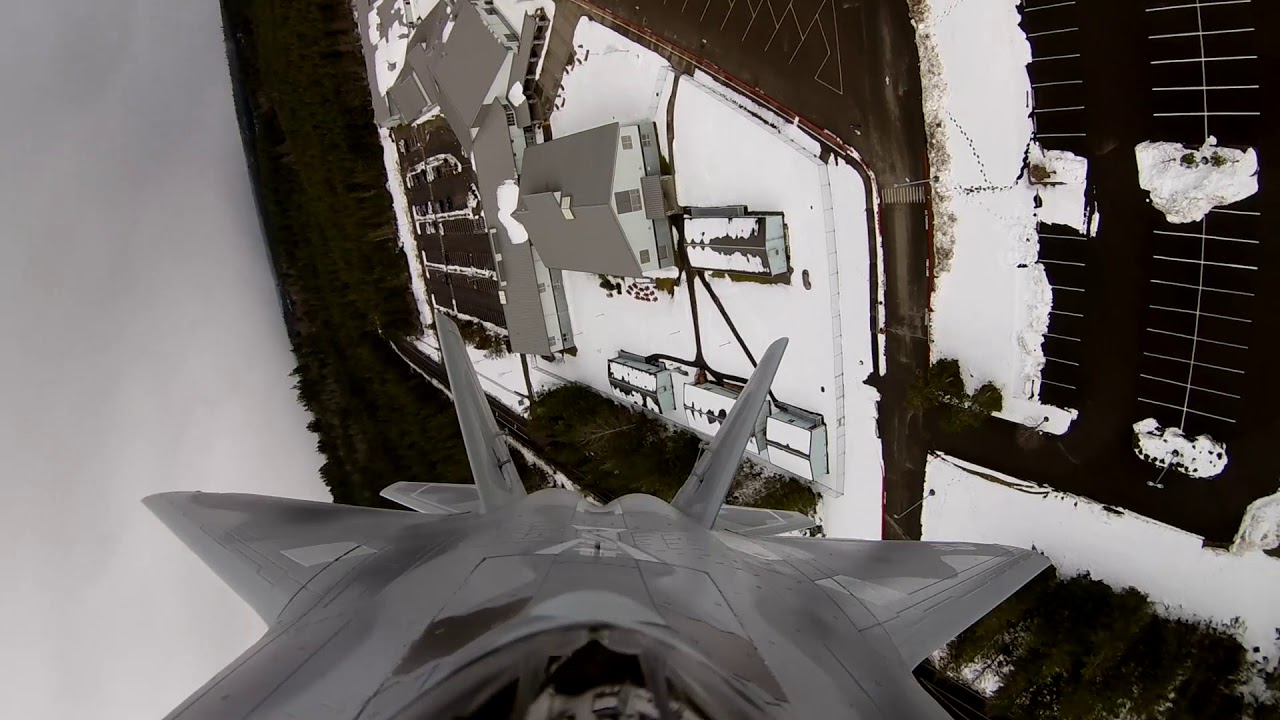
                                  • From the EDF Leaf Blower event at Apollo field in LA on Saturday.
                                    Pat

                                    Comment


                                    • Originally posted by Grover54 View Post
                                      GREAT Video AMRC! I especially liked your "Chase Plane - Wing Man" on take off. Too bad he didn't get off the ground! LOL
                                      Thanks!! Yeah she has a really bad habit of trying to run in FRONT of the jets on the takeoff roll and seems to think they are made of bacon! :Scared: :Angry: :P LOL
                                      My YouTube RC videos:
                                      https://www.youtube.com/@toddbreda

                                      Comment


                                      • Originally posted by Aros.MotionRC View Post

                                        Thanks!! Yeah she has a really bad habit of trying to run in FRONT of the jets on the takeoff roll and seems to think they are made of bacon! :Scared: :Angry: :P LOL
                                        I had a dog years ago that felt the same way about hubcaps!LOLLet's just say she didn't die of old age.:Straight-Face:Lucky the planes don't have a vehicle behind them.:Cool:Getting close to having the lit hud screen and instrument panel and functioning canopy done. Pics coming soon (I hope). When the replacement blue box comes I will have everything functioning and lit.:)

                                        Comment


                                        • Get 'er done Brad !:Cool:
                                          I made some servo covers from thin fiberglass sheet and painted them with the darker of the greys from HD that Xplaneguy kindly provided. They're glued in place and blended into the existing paint with light and dark grey pastel chalks as airbrushing ain't (yet) my forte.
                                          Tom

                                          Comment

                                          Working...
                                          X